Switching in the a/b mode, P. 17, Video operations – Roland V-60HD Multi-Format HD Video Switcher and UVC-01 USB Video Capture Kit User Manual
Page 17: Using the [auto] or [cut] button to switch video
17
Video Operations
4.
Move the video fader in the direction opposite to the
direction in step 1.
Transition indicator
The video changes.
When the video has been switched completely, the cross-point
buttons for the PGM/A and PST/B buses change places.
MEMO
5
If the transition indicators are both lighted, move the video
fader all the way, so that only the indicator for the PGM bus
end or the PST bus end is illuminated.
5
Using a cross-point button for the PGM/A bus to select a
channel directly switches the video using a cut.
Switching in the A/B Mode
The video at the end to which the video fader is flipped is always
the final output.
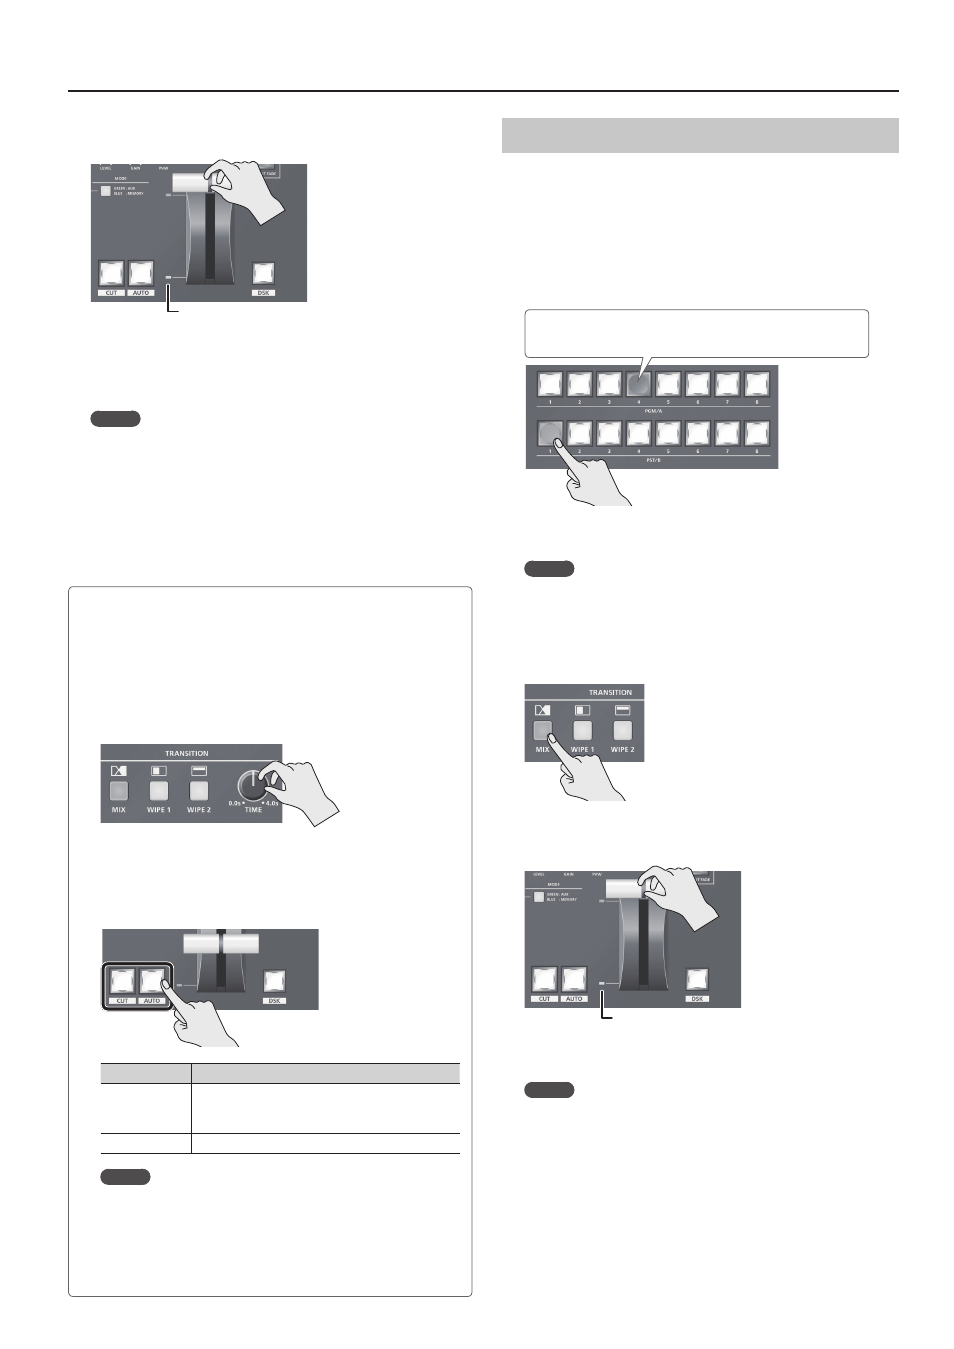
1.
Flip the video fader all the way upward or downward.
2.
Press a cross-point button at the end to which the video
fader is not flipped to select the preset video (the video to
output next).
Lighted in red:
Final output video
Lighted in green: Preset video (the video to be output next)
The preset video appears in the PVW section of the multi-view
monitor.
MEMO
You use channels 7 and 8 to output a still image or a
monochrome picture (background color) (p. 18).
3.
Press one of the [WIPE 1], [WIPE 2], or [MIX] button to select
the transition effect.
The selected button lights up.
4.
Move the video fader in the direction opposite to the
direction in step 1.
Transition indicator
The video changes.
MEMO
5
If the transition indicators are both lighted, move the video
fader all the way, so that only the indicator for the bus end to
be output is illuminated.
5
Using a cross-point button for the final-output bus to select a
channel directly switches the video using a cut.
Using the [AUTO] or [CUT] button to switch video
You can use the [AUTO] or [CUT] button to switch video, without
using the video fader.
* You can perform operations using the [AUTO] and [CUT] buttons
both in the PGM/PST mode and in the A/B mode.
1.
Use the [TIME] knob to set the video transition time.
* The setting for the video transition time is applied when you
use the [AUTO] button to switch video.
2.
Press the [AUTO] or [CUT] button at the desired timing for
switching the video.
Button
Explanation
[AUTO] button
A transition effect is applied and the video is
switched automatically. The [AUTO] button
flashes while the video transition is in progress.
[CUT] button
The picture switches instantly.
MEMO
When you use the [AUTO] or [CUT] button to switch video,
the actual output might come to differ from the position of
the video fader.
Operating the video fader while in this state yields no change
in output until the position of the video fader matches the
actual output.