Them to sdi video, Audio operations – Roland V-60HD Multi-Format HD Video Switcher and UVC-01 USB Video Capture Kit User Manual
Page 31
31
Audio Operations
Separating Discrete Analog Input Audio Streams and Adding Them to SDI Video
The SDI OUT connectors on the V-60HD accommodate eight channels of embedded audio. In addition to two channels for master out
(or the AUX bus), you can separate the six discrete channels of analog input audio (AUDIO IN 1 through 5/6) and add them to SDI video.
* The HDMI OUT connectors accommodate two channels of embedded audio (master out or the AUX bus).
The audio shown below is assigned to the respective channels of
SDI embedded audio.
SDI embedded-audio
channel number
Assigned audio
Channel 1
Master out (L) or AUX bus (L)
Channel 2
Master out (R) or AUX bus (R)
Channel 3
AUDIO IN 1
Channel 4
AUDIO IN 2
Channel 5
AUDIO IN 3
Channel 6
AUDIO IN 4
Channel 7
AUDIO IN 5 (L)
Channel 8
AUDIO IN 6 (R)
Using this feature lets you separate up to six discrete channels of
analog input audio and add it to SDI video.
As a backup for visual or sound recording...
Digital audio is extracted from the SDI embedded audio one
channel at a time, so after visual recording or sound recording,
you can edit the audio channel by channel.
For multilingual support...
Taking multilingual narration or other such audio, making it
embedded audio and adding it to SDI video lets you later extract
and use the digital audio for the required language.
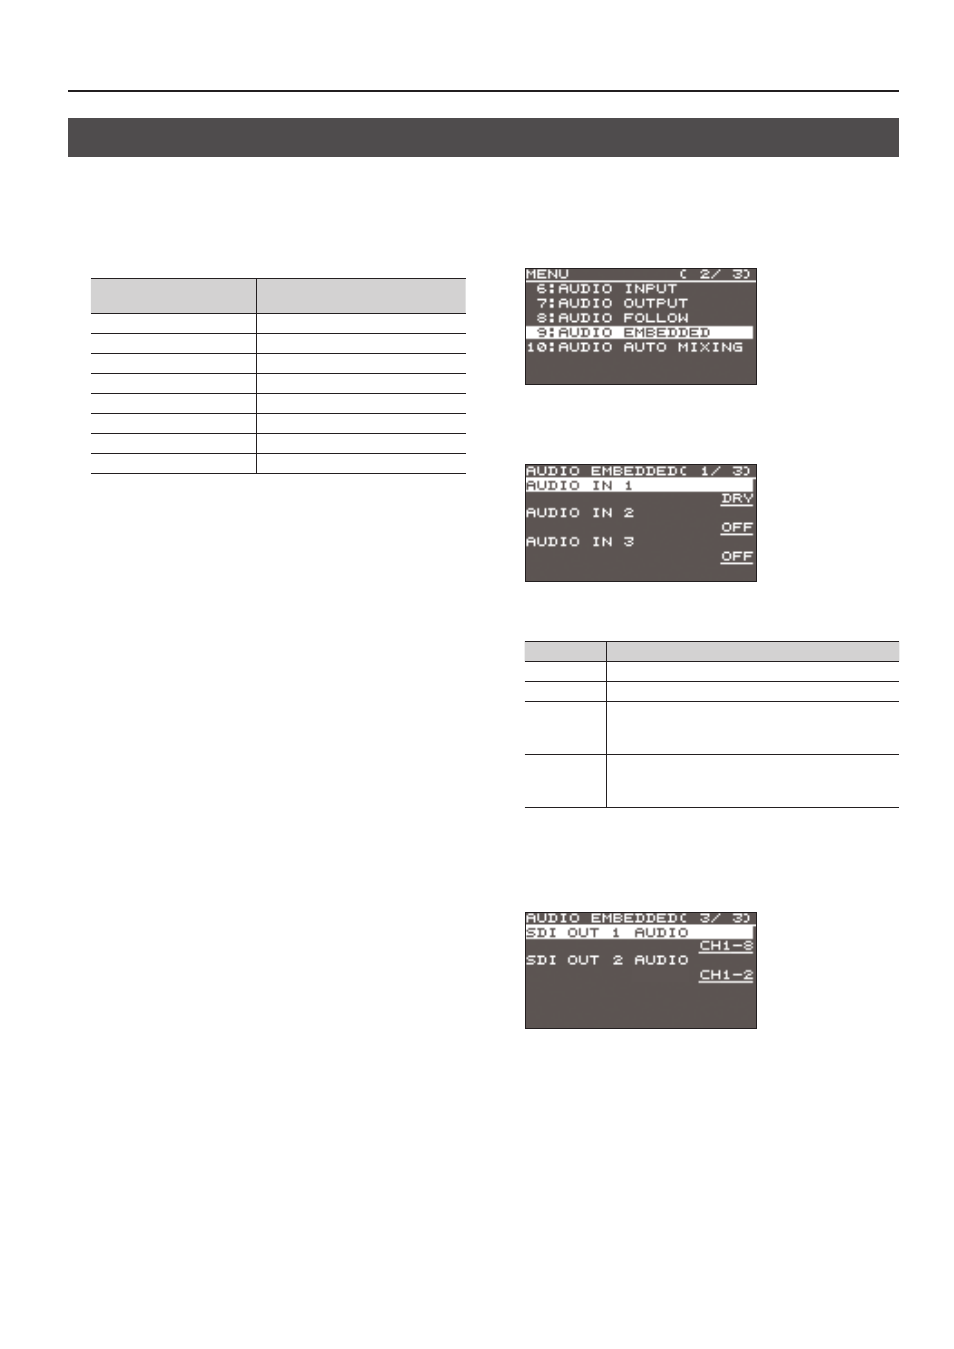
1.
Select the [MENU] button
0
“AUDIO EMBEDDED.”
2.
From among “AUDIO IN 1” through “AUDIO IN 5/6,” select the
input audio you want to send to the SDI embedded-audio
channel.
3.
Use the [VALUE] knob to set the audio type to “DRY,” “PRE
FADER,” or “POST FADER.”
Value
Explanation
OFF
No audio is sent.
DRY
Sends the source audio with no effects applied.
PRE FADER
Sends the effect-applied audio.
The send volume is constant, regardless of the
volume (INPUT LEVEL).
POST FADER
Sends the effect-applied audio.
The send volume can be changed by adjusting the
volume (INPUT LEVEL).
4.
Press the [VALUE] knob to apply the setting.
Repeat steps 2 through 4 as needed.
5.
Select “SDI OUT 1 AUDIO” or “SDI OUT 2 AUDIO,” then use
the [VALUE] knob to set it to “CH1–8.”
Audio containing channels 3 to 8 of embedded audio is output
from the SDI OUT connector set to “CH1–8.”
6.
Press the [VALUE] knob to apply the setting.
7.
Press the [MENU] button to quit the menu.