Saving a still image to a usb flash drive, P. 20, Video operations – Roland V-60HD Multi-Format HD Video Switcher and UVC-01 USB Video Capture Kit User Manual
Page 20
20
Video Operations
Saving a Still Image to a USB Flash Drive
Here’s how a still image captured from the input/output video
(p. 18) can be saved to a USB flash drive.
1.
Connect the USB flash drive to the USB MEMORY port.
2.
Select the [MENU] button
0
“USB MEMORY”
0
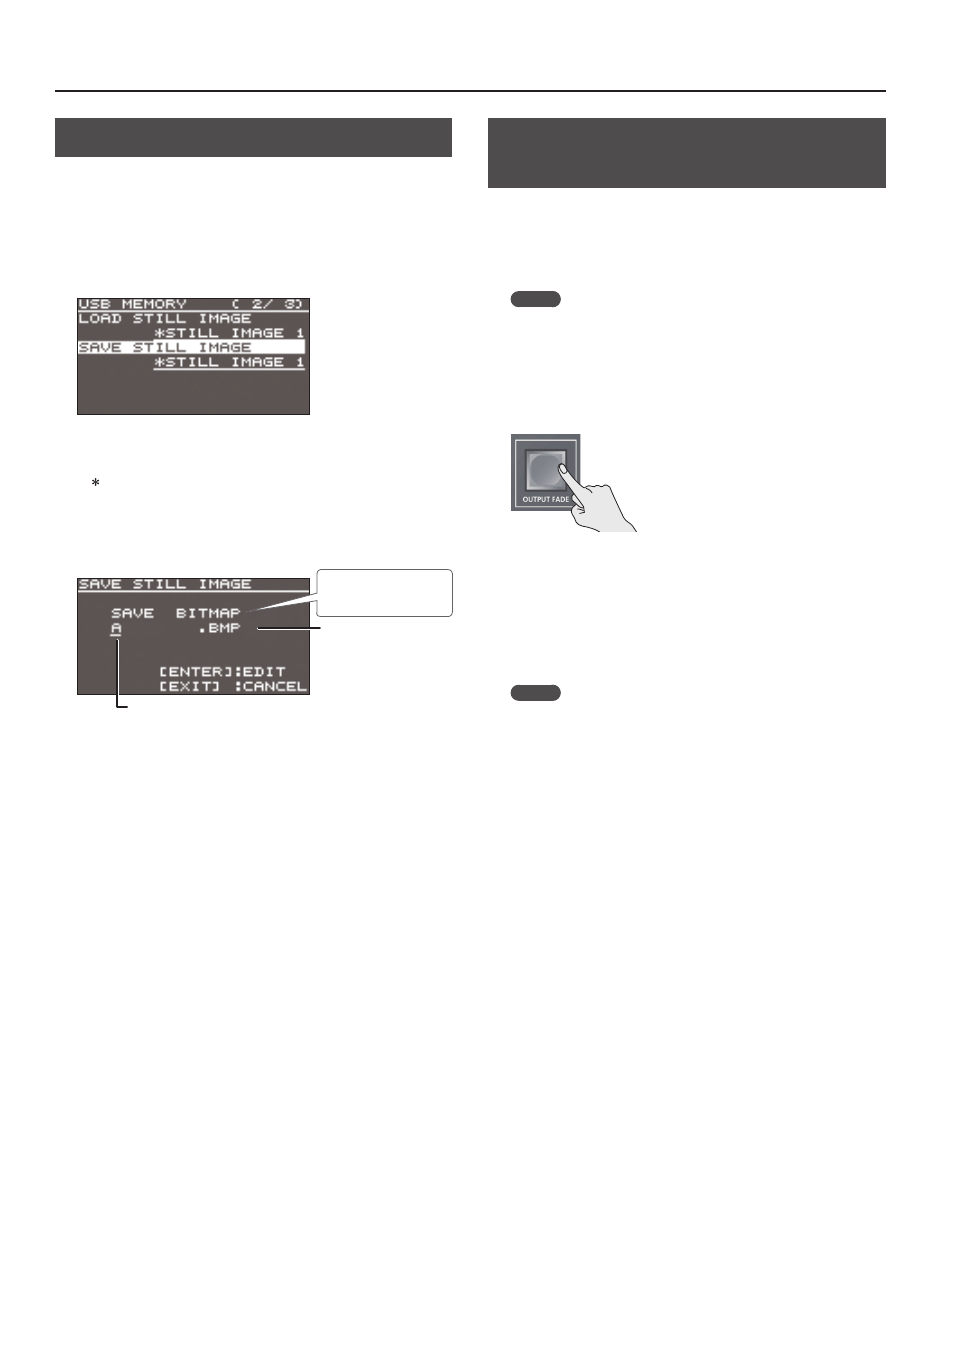
“SAVE STILL
IMAGE.”
3.
Use the [VALUE] knob to select the memory (“STILL IMAGE 1”
or “STILL IMAGE 2”) for the still image that you want to save.
A “ ” symbol is displayed for memory where a still image is saved.
4.
Press the [VALUE] knob to apply the setting.
The SAVE STILL IMAGE screen is displayed.
5.
Select the file format, and enter a file name.
Cursor
File Name
Select the file format
(BITMAP, PNG, JPEG).
1.
Use the [VALUE] knob to move the cursor.
Moving the cursor to a location where no character is present
increases the number of characters.
2.
Press the [VALUE] knob to highlight the character at the cursor
location.
3.
Use the [VALUE] knob to change the character, then press the
[VALUE] knob to accept the change.
5
Pressing the [EXIT] button deletes the character at the cursor
location.
5
You can enter a text string of up to 8 characters in length.
4.
When you finish entering the name, use the [VALUE] knob to
select “SAVE,” then press the [VALUE] knob.
A confirmation message appears.
If you want to cancel the operation, press the [EXIT] button.
5.
Use the [VALUE] knob to select “YES,” then press the [VALUE]
knob.
The still image is written to the USB flash drive.
6.
Press the [MENU] button to quit the menu.
Applying a Fade to PGM/PVW Output
Video (Output Fade)
This performs a fade-out from the output video to a black screen,
or a fade-in from a black screen to the output video.
You can insert a black screen into the output video at times
where you don’t want to output a picture, such as at intervals in
presentations or band performances.
MEMO
Fade-ins and fade-outs are applied to the final video output
(program output) and the preset video (preview output).
Applying a fade to AUX-bus output is not possible.
1.
Press the [OUTPUT FADE] button to perform a fade-out.
During the fade, the [OUTPUT FADE] button flashes.
When the fade-out is complete, the [OUTPUT FADE] button lights
up.
2.
To perform a fade-in, press the [OUTPUT FADE] button again.
When the fade-in is complete, the [OUTPUT FADE] button goes
dark.
MEMO
5
The length of the fade-in or fade-out time uses the setting for
length transition time.
5
You can apply a fade-in and fade-out for both video and audio
at the same time. [MENU] button
0
“SYSTEM”
0
set “OUTPUT
FADE TYPE” to “VIDEO & AUDIO.”