Front panel, 3 – names and functions of parts – Teac DP-008EX User Manual
Page 26
26
TASCAM DP-008EX
3 – Names and functions of parts
d
m [RTZ] button
Press when stopped or playing back to search
backward. Press it again to change the speed from
10x to 50x, again for 100x and 1000x.
Press while pressing and holding the Stop (8)
button to locate to the beginning of the song
(00h00m00s00f) using the Return To Zero function
(RTZ). (See “Returning to the song beginning (RTZ
function) or the point where recording was last
started (LRP function)” on page 52.)
f
Stop (8) button
Press to stop playback, recording and searching
backward/forward. Press together with the m
[RTZ] button or the , [LRP] button to locate to
the beginning of the song (00h00m00s00f) or the
last recording point (LRP). (See “Returning to the
song beginning (RTZ function) or the point where
recording was last started (LRP function)” on page
g
, [LRP] button
Press when stopped or playing back to search
forward. Press it again to change the speed from
10x to 50x, again for 100x and 1000x.
Press while pressing and holding the Stop (8)
button to locate to the point when recording last
started using the Last Recording Position (LRP)
function. (See “Returning to the song beginning
(RTZ function) or the point where recording was
last started (LRP function)” on page 52.)
h
Play (7) button
Press this button to start playback. While pressing
the Record (0) button, press this button to start
recording. Press this button again when recording
to stop recording and start playback (punch out).
j
REPEAT button
Turns the repeat playback mode ON and OFF. (See
“Repeat playback” on page 53.)
k
Record (0) button / indicator
Press the PLAY (7) button while pressing this
button to start recording. The indicator lights
when recording.
Press when any of the TRACK REC indicators is
blinking, or during playback, to start recording
(punch in). (See “Punching in and out” on page
54.)
Press the IN/OUT button while pressing and
holding this button to start or end auto punch in/
out mode. (See “Using automatic punching in/out”
l
IN/OUT button
Press this button to open the
I/O SETTING
screen, and to set IN (starting) and OUT (ending)
points for repeat playback and track editing. (See
“Setting IN and OUT points” on page 53.)
The IN and OUT points are also used as the
starting and ending points when creating stereo
master tracks.
Press this button while pressing and holding the
Record (0) button to start or end auto punch in/
out mode. (See “Using automatic punching in/out”
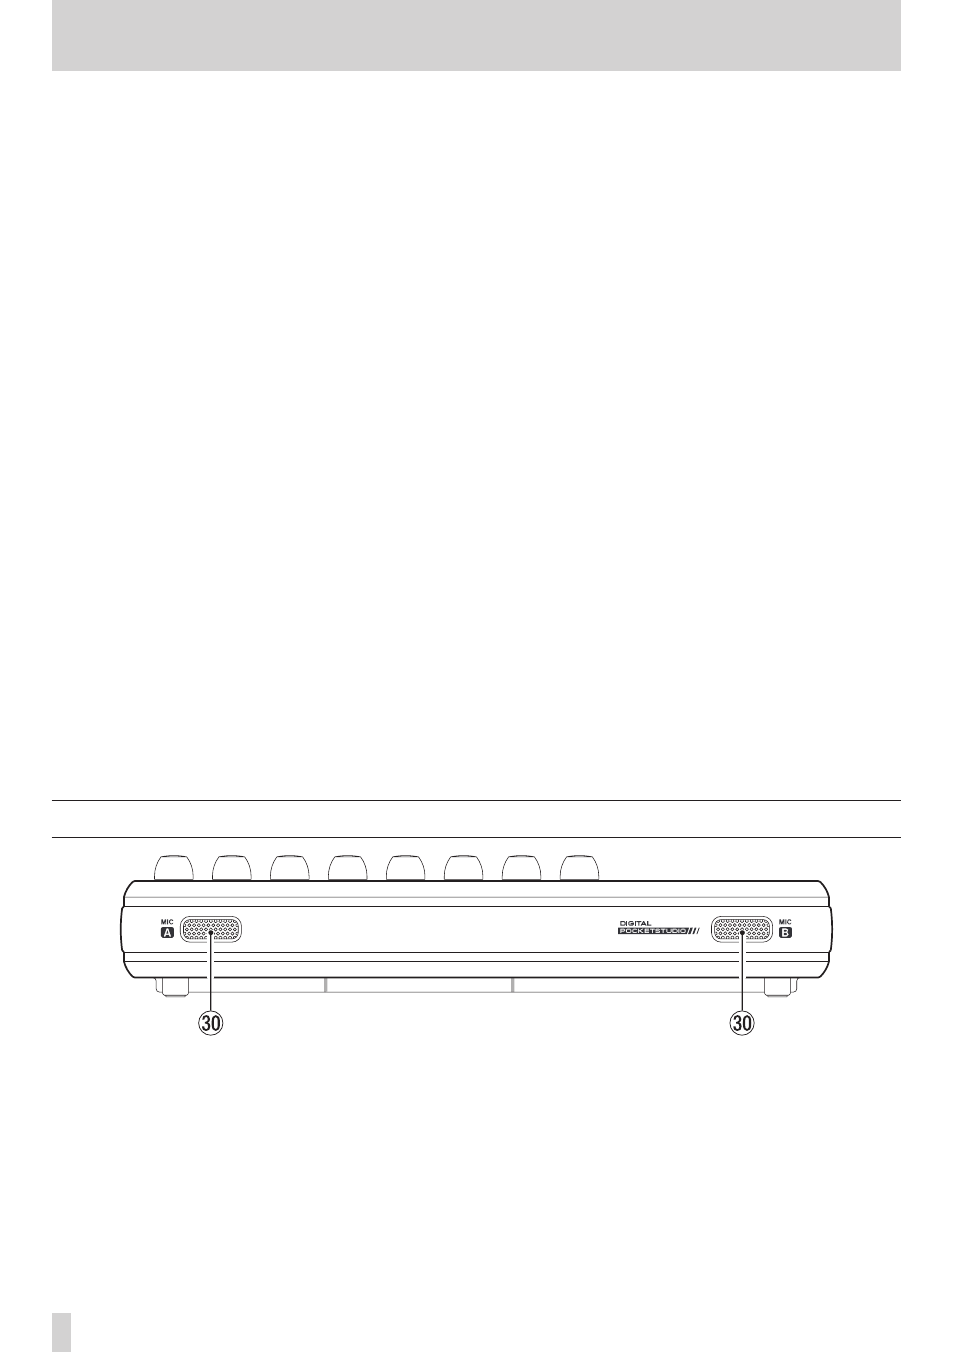
Front panel
;
MIC A / MIC B
These are built-in omnidirectional microphones.
They can be used as input sources for INPUT A/B
when set to
Internal MIC/Low
or
Internal
MIC/High
.