Song backup and restoration, Backing-up songs, 12 – exchanging data with a computer – Teac DP-008EX User Manual
Page 77
TASCAM DP-008EX
77
12 – Exchanging Data with a Computer
Song backup and restoration
Song backup saves not only audio tracks, but also
backs up editing data and other song data. Song
restoration is the reverse of this process. In short,
song files are transferred from the computer to the
FAT partition of the unit and then used to restore the
song.
Backing-up songs
Before starting a backup, check that the MTR partition
that has the song that you want to backup is selected.
(See “Selecting the active partition” on page 37.)
1. When the recorder is stopped, press the MENU
button to open the
MENU
screen.
2. Use the DATA wheel to select (highlight) the
DATA BACKUP
item, and press the F4 [t]
button to open the
DATA BACKUP
screen.
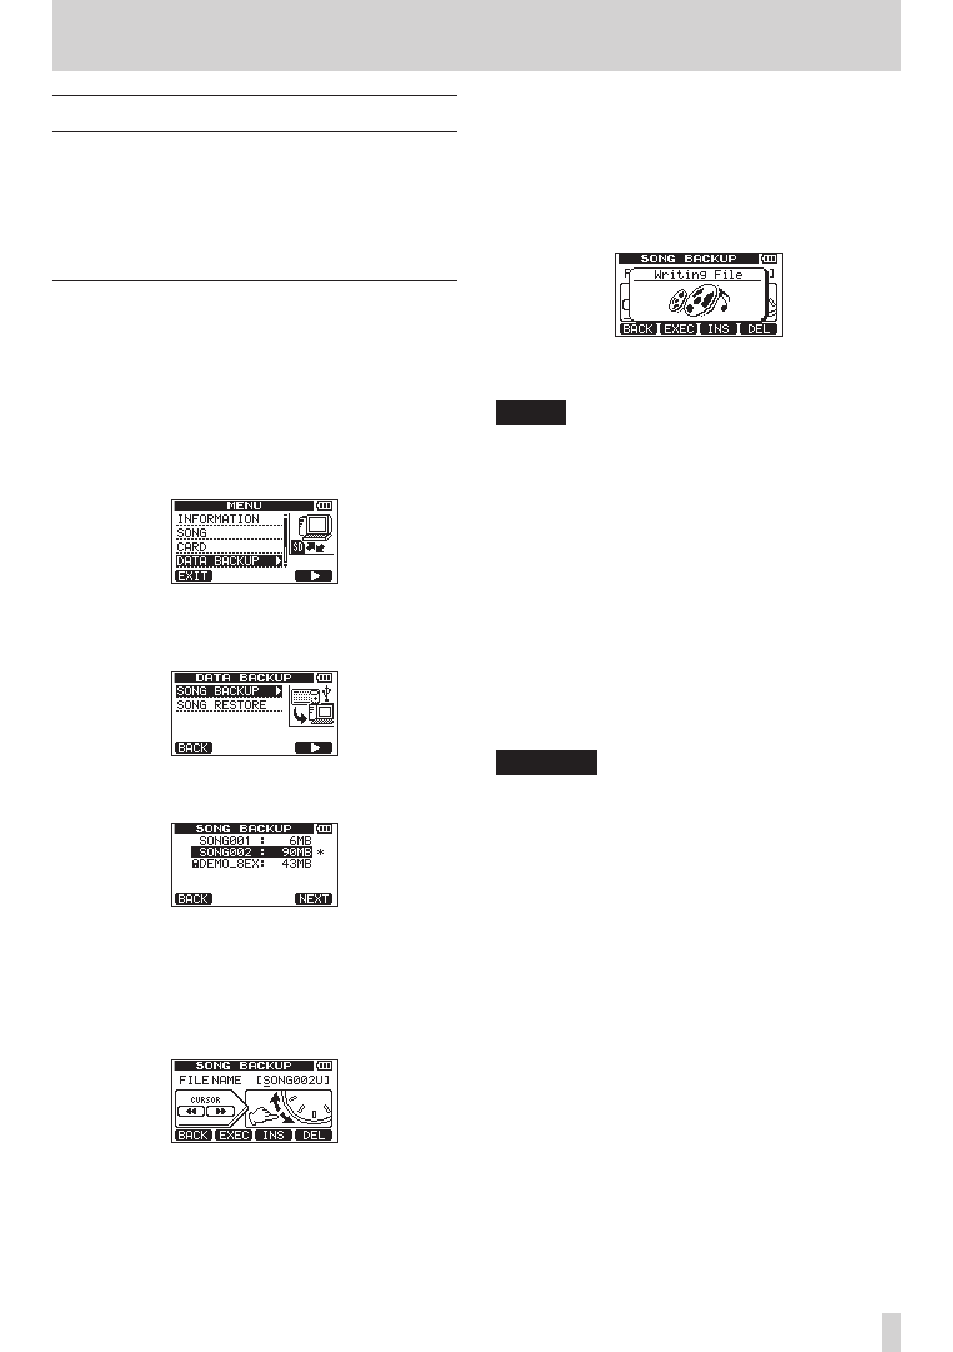
3. Use the DATA wheel to select (highlight) the
SONG BACKUP
item, and press the F4 [t]
button to open the
SONG BACKUP
screen.
A list of songs in the currently selected MTR
partition appears.
4. Use the DATA wheel to select (highlight) the song
you want to back up, and press the F4 [NEXT]
button.
A screen appears that allows you to edit the file
name (title) of the song selected on the
SONG
BACKUP
screen.
5. Edit the name (title) of the song being backed up
as necessary. (See “Editing names” on page 38.)
6. After setting the name (title), press the F2 [EXEC]
button.
A backup copy of the song on the active partition
is made on the FAT partition (“.001” is added as an
extension).
A
Writing File
pop-up message appears on
the display while backing up.
When the backup is complete, the
DATA
BACKUP
screen reopens.
NOTE
If the open space necessary to back up a song is
not available on the FAT partition, a
It's too
Large
(the file is larger than the available open
space) pop-up message appears. In this case,
connect this unit and a computer, and erase
unnecessary files on the partition using the
computer to make enough open space.
7. Connect this unit to a computer using the USB
cable. (See “Connecting with a computer” on
8. Use the computer to copy backup files from the
BACKUP directory on the FAT partition of the unit
to the computer.
9. When done backing up, end the USB connection.
(See “Disconnecting” on page 76.)
CAUTION
•
If you use a computer to change the name of a
song file that has been backed up, use no more
than eight ordinary English letters and numbers.
•
Do not change the file extension.