Locating to in and out points, Punching in and out, Using a foot switch to punch in/out – Teac DP-008EX User Manual
Page 54: Setting the time between repetitions, Repeat interval), 7 – recorder functions
54
TASCAM DP-008EX
7 – Recorder Functions
3. Press the REPEAT button again to stop repeat
playback. The
icon on the Home Screen
disappears.
The next section explains how to set the repeat
interval that determines the amount of time
until playback starts again after the OUT point is
reached.
NOTE
If the time between the IN and OUT points is
less than 2 frames, an
I/O Too Short
pop-up
message appears when you press the REPEAT
button and repeat playback will not occur.
Setting the time between repetitions
(repeat interval)
The time between repetitions (repeat interval) can be
set from 0.5 to 9.9 seconds.
1. Press the MENU button to open the
MENU
screen.
2. Use the DATA wheel to select (highlight) the
PREFERENCE
menu item, and press the F4 [t]
button to open the
PREFERENCE
screen.
3. Use the F3 [5] and F4 [b] buttons to select
(highlight) the
Repeat Int
item setting value,
and use the DATA wheel to set the value between
1.0sec
(default value) and
9.9sec
(in 0.1-second
increments).
4. After making the setting, press the HOME button
to return to the Home Screen.
Locating to IN and OUT points
When the home screen is open, press the F1 button
while pressing and holding the Stop (8) button
to locate to the IN point. Press the F2 button while
pressing and holding the Stop (8) button to locate
to the OUT point.
Punching in and out
Punching in/out is a technique to replace a part of an
already recorded track.
Start playback and when you reach the part that you
want to replace, switch to record (punch in), then
switch back to the Play (or stop) when you finish the
part that you want to replace (punch out).
1. Decide what part of the track you plan to replace
and choose a point to begin where the new
recording can sit well with the existing recording.
2. Press the REC button of the TRACK that you plan
to replace part of to start record standby (REC
indicator blinks).
3. Start playback before the part of the track that
you want to replace.
4. Press the Record (0) button to start recording
(punch in) when you reach the part. Play or sing
what you want to record.
5. Press the Play (7) button to switch to playback
(punch out) when you finish the replacement
recording.
TIP
You can also press the Stop (8) button to punch
out at the end of the replacement recording.
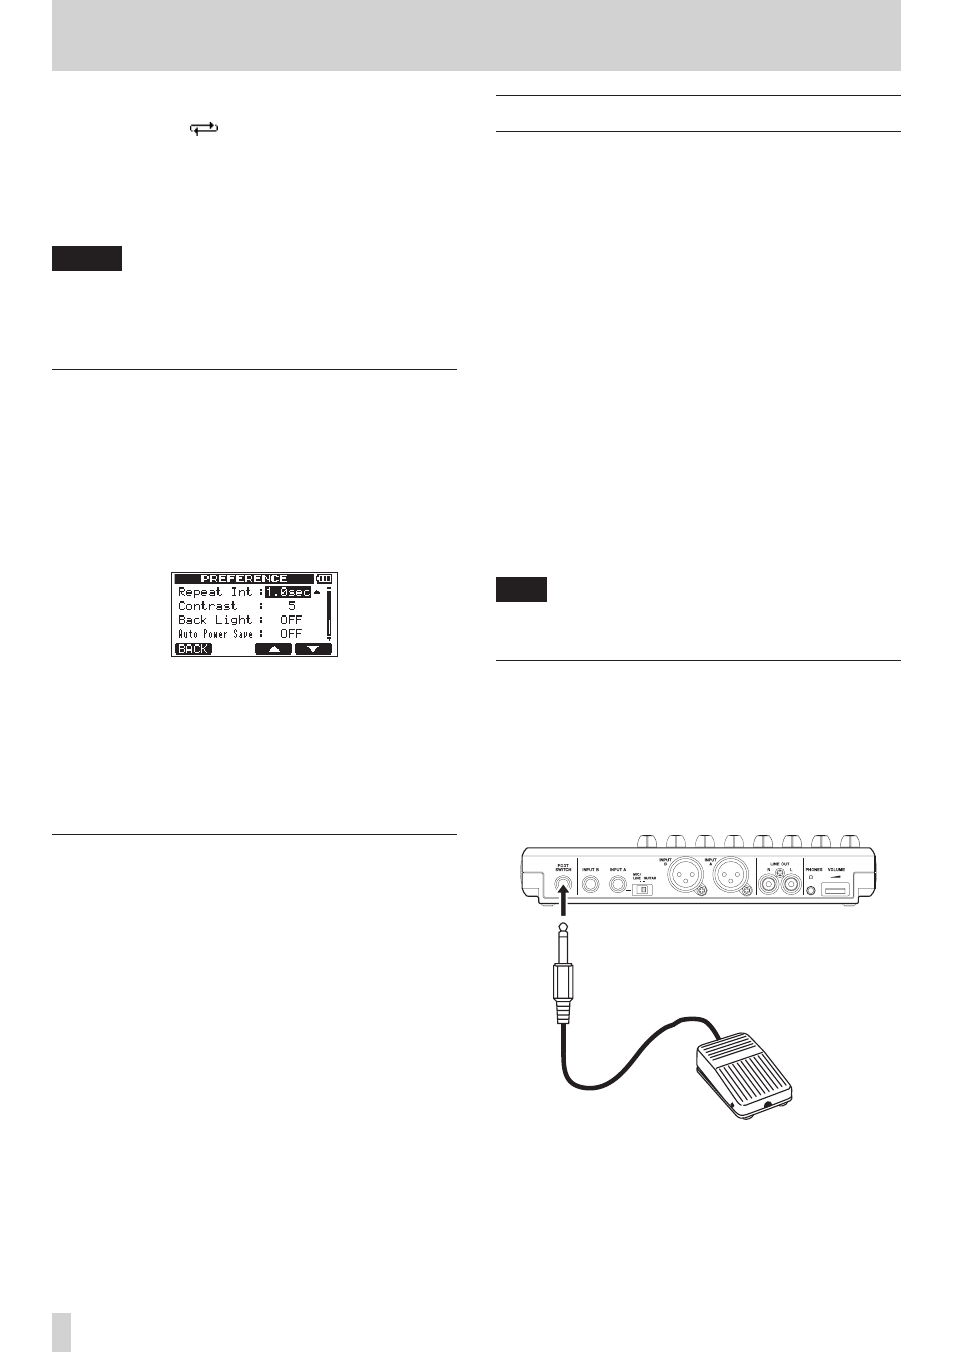
Using a foot switch to punch in/out
You can use a foot switch (standard plug) connected
to the FOOT SWITCH jack on the rear panel to punch
in and out.
In step 4 above, press the foot switch instead of the
Record (0) button. In step 5, press the foot switch
again instead of the Play (7) button.
Foot switch (standard jack)