NETGEAR MS510TXPP 8 Port Gigabit PoE Managed Switch User Manual
Page 268
Smart Managed Pro Switches MS510TX and MS510TXPP
Manage Device Security
User Manual
268
Add a Rule to a MAC ACL
To add a rule to a MAC ACL:
1.
Connect your computer to the same network as the switch.
You can use a WiFi or wired connection to connect your computer to the network, or
connect directly to a switch that is off-network using an Ethernet cable.
2.
Launch a web browser.
3.
In the address field of your web browser, enter the IP address of the switch.
If you do not know the IP address of the switch, see
The login window opens.
4.
Enter the switch’s password in the
Password
field.
The default password is
password
.
The System Information page displays.
5.
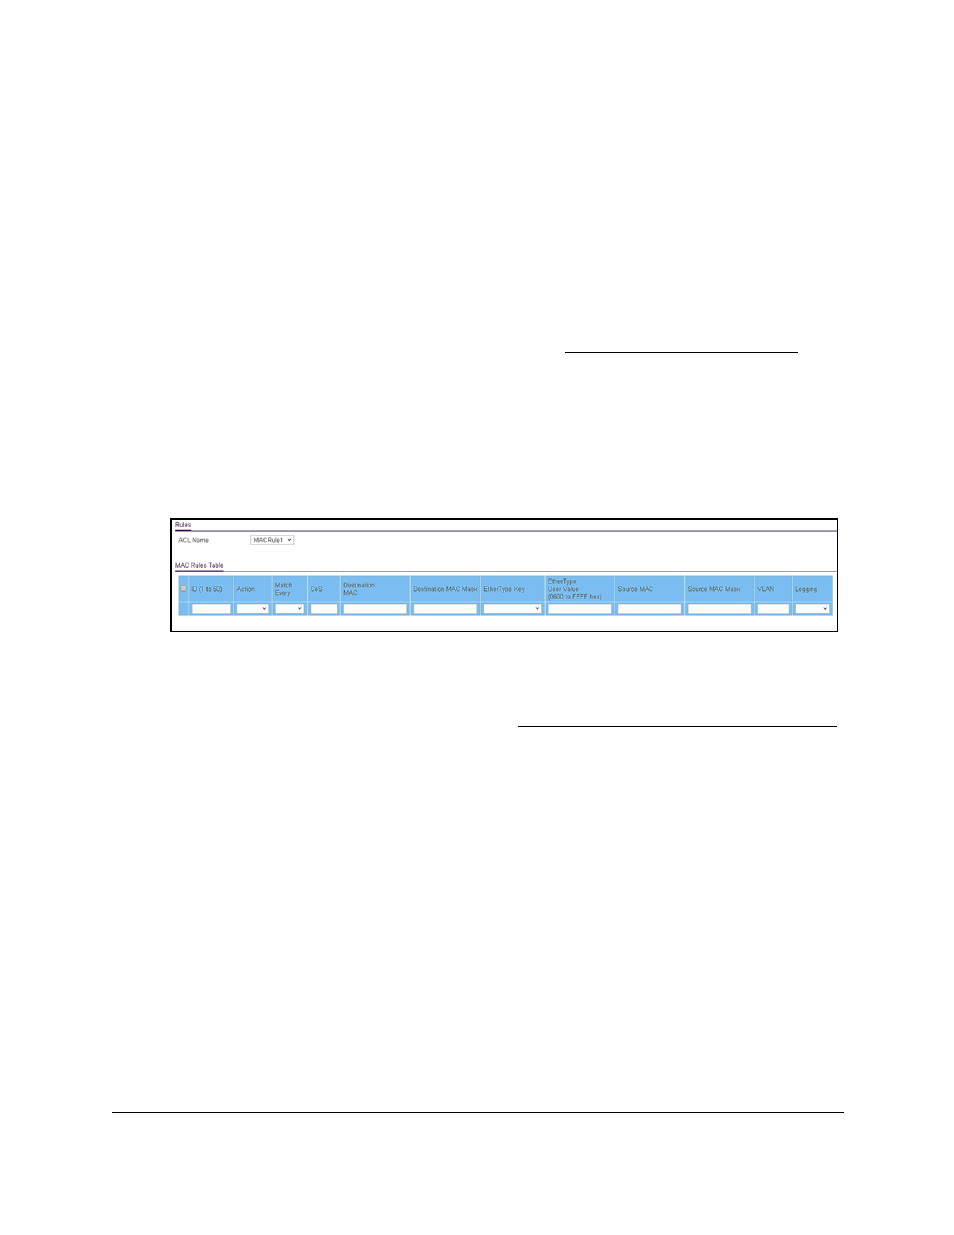
Select
Security > ACL > Basic > MAC Rules
.
The previous figure does not show all columns.
6.
From the
ACL Name
menu, select the MAC ACL.
For information about adding MAC ACLs, see
Configure a Basic MAC ACL on page
.
7.
In the
ID
field, enter a whole number in the range of 1 to 50 to identify the rule.
8.
From the
Match Every
menu, select whether each Layer 2 MAC packet must be matched
against the rule:
•
True
. Each packet must match the selected ACL rule.
•
False
. Not all packets need to match the selected ACL rule.
9.
In the
CoS
field, specify the 802.1p user priority that must be compared against the
information in an Ethernet frame.
The range of valid values is 0 to 7.
10.
In the
Destination MAC
field, specify the destination MAC address that must be compared
against the information in an Ethernet frame.
The valid format is xx:xx:xx:xx:xx:xx.
11.
In the
Destination MAC Mask
field, specify the destination MAC address mask that must
be compared against the information in an Ethernet frame.