2 tour – AGI Security SYS-HC0451S2 User Manual
Page 188
178
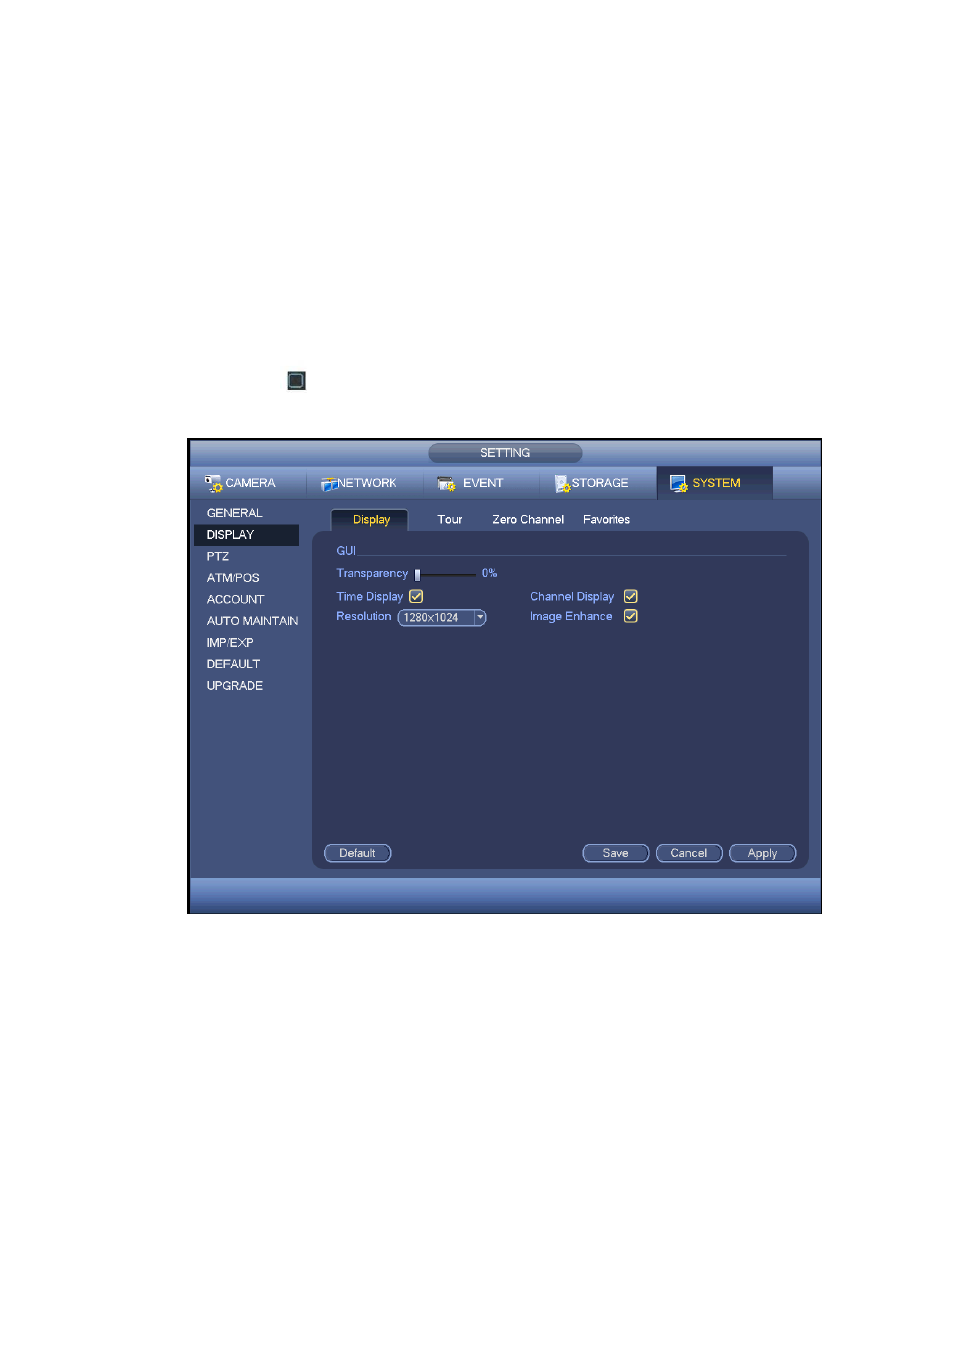
Channel name: Here is for you to modify channel name. System max support 25-digit (The value
may vary due to different series). Please note all your modification here only applies to DVR local
end. You need to open web or client end to refresh channel name.
Time display: You can select to display time or not when system is playback.
Channel display: You can select to channel name or not when system is playback.
Resolution: There are four options: 1920×1080, 1280×1024(default), 1280×720, 1024×768. Please
note the system needs to reboot to activate current setup.
Image enhance: Check the box; you can optimize the margin of the preview video.
Preview denoise: It is to reduce the video noise and make it clearer. You can set denoise level. The
higher the level is, the clearer the video is.
Please highlight icon
to select the corresponding function.
After completing all the setups please click save button, system goes back to the previous menu.
Figure 4-122
4.10.5.2.2 Tour
Here you can activate tour function. Click Setup button, you can see an interface shown as in Figure
4-123
Enable tour: Highlight box here to enable this function.
Interval: System supports 1/8-window tour. Input proper interval value here. The value ranges from
5-120 seconds. It is for schedule tour/alarm/motion detect tour.
Split: You can select window split mode from the dropdown list.
Channel group: It is to display all channel groups on current split mode. You can edit and delete a
channel group here. Double click an item in the list; you can edit its channel group setup. Right now
system max supports 32.
Add: Under specified window split mode, click it to add channel group.