Registering a file to the bin as a clip, Registering consecutive still images – Grass Valley EDIUS Pro v.6.5 User Manual
Page 178
Importing Sources
156
EDIUS - Reference Manual
* Use the source browser to import VOB files if they cannot be imported.
* AIFF/AIFC files are PCM only.
* Electronic Arts IFF files (*.iff) are not supported on EDIUS.
3
•
When installing WIC codec as required, still image files in a format compatible with the WIC codec (such as
RAW format of the camera) can also be imported.
• When installing WIC codec while EDIUS is running, restart EDIUS.
Registering a File to the Bin as a Clip
Select and register a source to the bin.
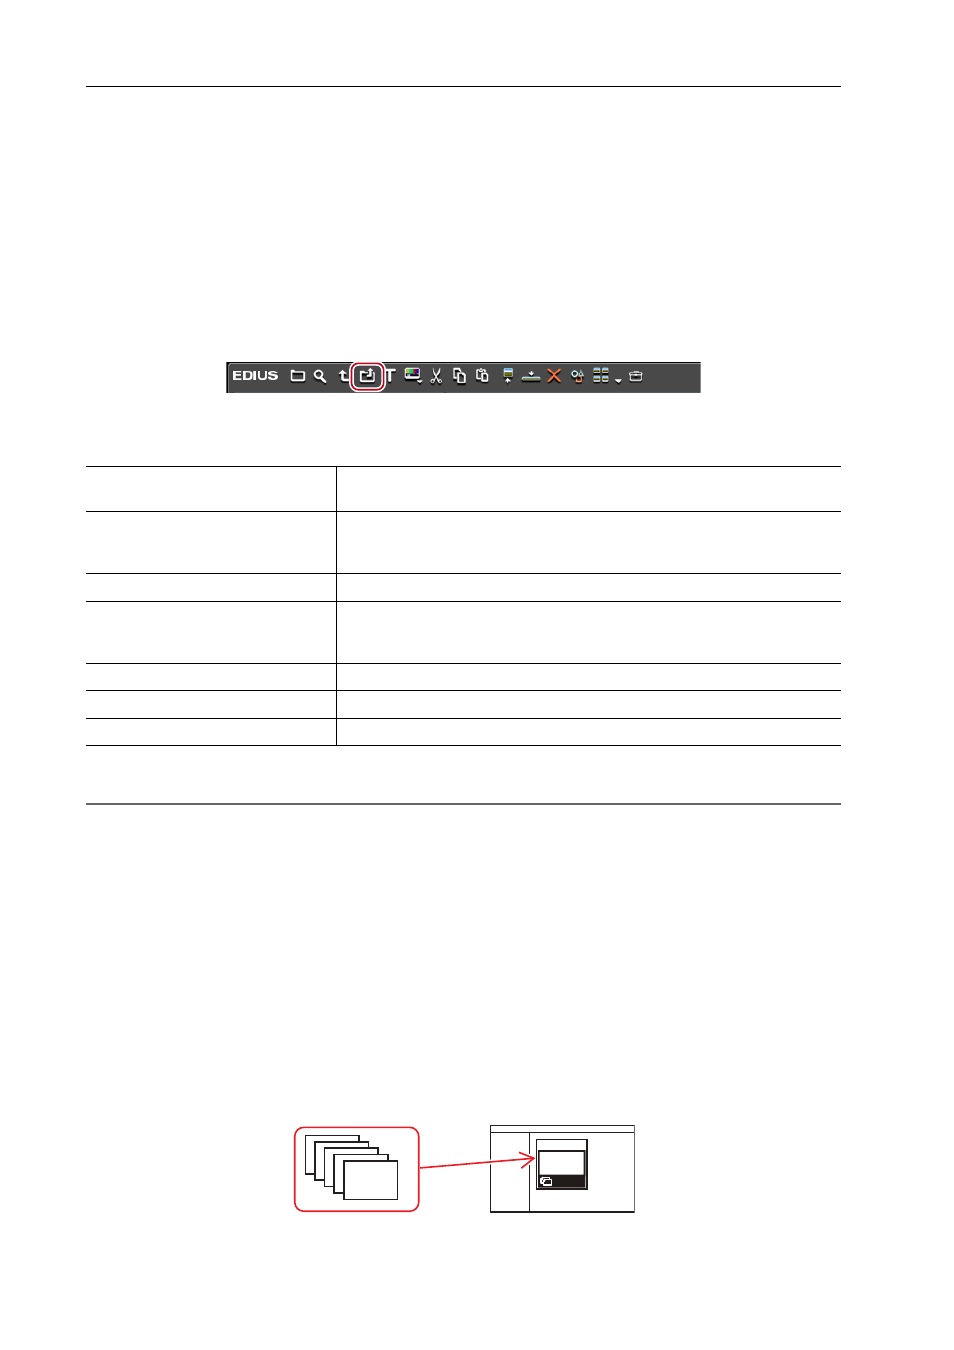
1 Click [Add Clip] in the bin.
The [Open] dialog box appears.
2 Select a file and set the following items if necessary.
3 Click [Open].
2
Alternative
• Click [File] on the menu bar, and click [Add Clip]. Select the source from the [Open] dialog box, and click [Open] to
display the source clip on the Player. Click [Add Clip on Player to Bin] on the Player.
• Double-click a blank area of the clip view, select the source from the [Open] dialog box, and click [Open].
• Right-click a blank area in the clip view, and click [Add File]. Select the source from the [Open] dialog box, and click
[Open].
• Open the folder containing the sources in Explorer, and drag and drop the source to register onto a folder in the clip
view or folder view.
• Press [Ctrl] + [O] on the keyboard, select the source from the [Open] dialog box, and click [Open].
3
•
You can also register sources displayed on the Player by dragging and dropping them onto the bin.
Registering Clips Displayed on the Player to the Bin
Registering Consecutive Still Images
Import the still image clips with sequential numbers in a single operation, and register them to the bin.
[Poster frame]
Enter the timecode, or move the slider to the left and right to set the poster
frame of the clip.
[Show properties]
Check this item to display the [Clip Properties] dialog box and view clip
properties.
[Transfer to Project folder]
Transfer the clip to the project folder.
[Sequence clip]
Import the still image clips with sequential numbers in a single operation, and
register them to the bin.
Registering Consecutive Still Images
[Name]
To rename a clip registration in the bin, enter the new name of the clip.
[Comment]
Enter a comment.
[Clip color]
Color the display of clips.