Rendering overload areas in the entire project, Rendering only overload/load areas, Rendering overload areas between in and out points – Grass Valley EDIUS Pro v.6.5 User Manual
Page 317: P295
295
Playing Back Timelines
EDIUS - Reference Manual
3
•
Overload areas (red) and load areas (yellow) on the entire sequence can be rendered in a single operation by
the following operation.
- Click the [Render In/Out (Render Overload Area)] list button, and click [Render All]
→ [Render Loaded Area].
- Click [Render] on the menu bar, and click [Render Sequence]
→ [Render Orange Area].
- Rendering (load areas) on the entire sequence:
[Shift] + [Ctrl] + [Alt] + [Q]
• When the In and Out points are set on the timeline, only the range between In and Out points is rendered.
Rendering Overload Areas between In and Out Points
Rendering Overload Areas in the Entire Project
Render all areas that are judged as overload (red) in the entire project that comprises multiple sequences.
1 Click [Render] on the menu bar, and click [Render Entire Project]
→ [Render Red Area].
To cancel rendering, click [Cancel] in the [Render] dialog box.
Lines in the rendered areas on the time scale change color to green.
3
•
You can render the overload (red) and load (yellow) areas in the entire project in a single operation. Click
[Render] on the menu bar, and click [Render Entire Project]
→ [Render Orange Area].
Rendering only Overload/Load Areas
Render only the areas that are judged as overload (red) or load (orange).
1 Right-click the overload area (red) or load area (yellow) on the time scale, and click [Render].
To cancel rendering, click [Cancel] in the [Render] dialog box.
Lines in the rendered areas on the time scale change color to green.
Rendering Overload Areas between In and Out Points
Render areas judged as overload (red) between In and Out points on the timeline.
1 Setting the In and Out Points to the Timeline
Setting In/Out Points and Placing Clips
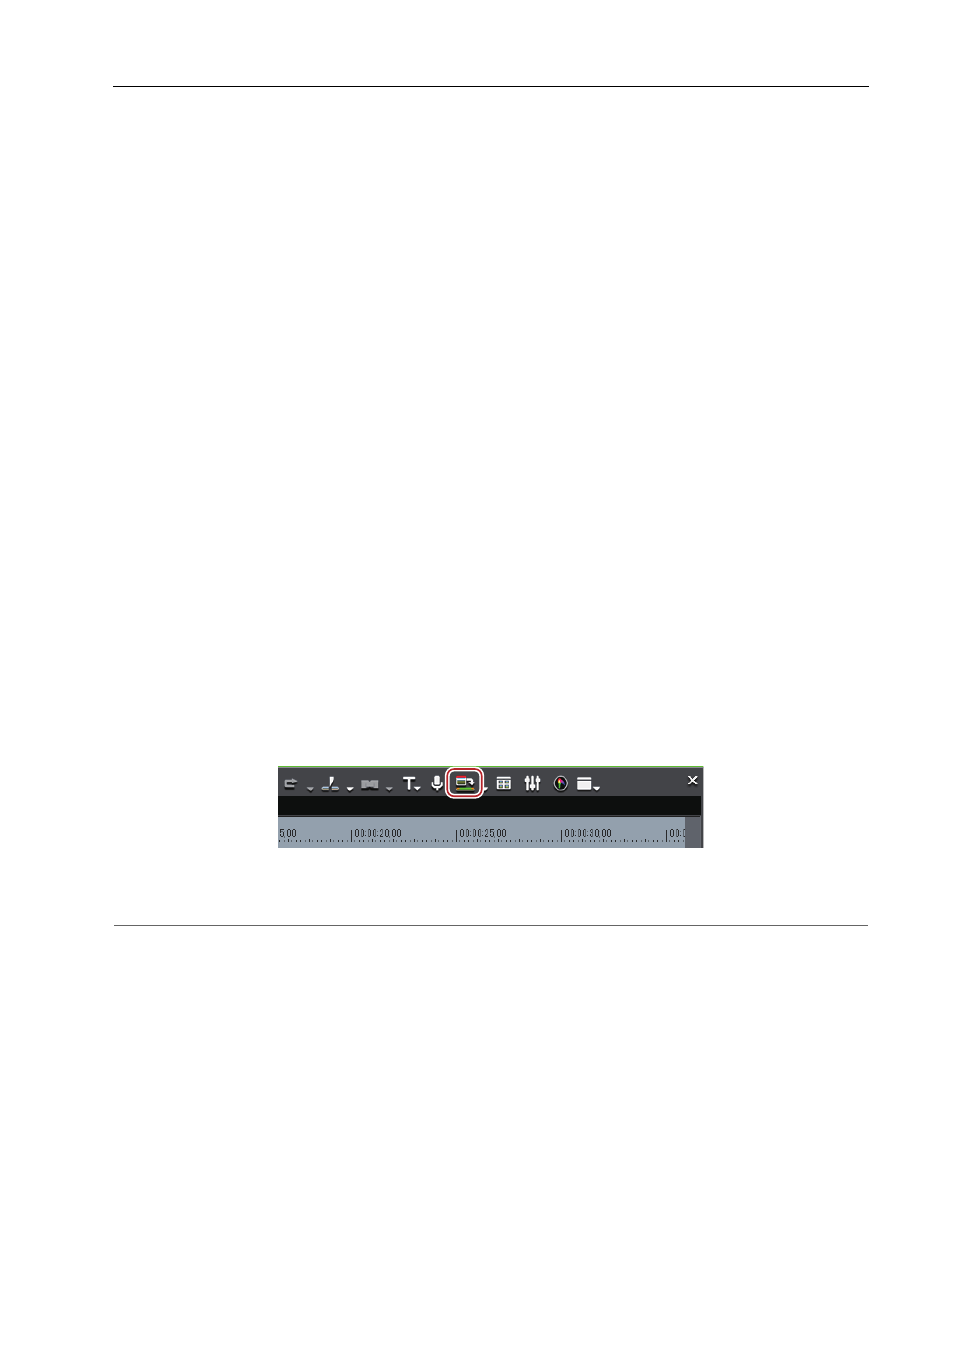
2 Click [Render In/Out (Render Overload Area)] on the timeline.
To cancel rendering, click [Cancel] in the [Render] dialog box.
Lines in the rendered areas on the time scale change color to green.
2
Alternative
• Click [Render] on the menu bar, and click [Render Between In/Out]
→ [Render Red Area].
• Click the [Render In/Out (Render Overload Area)] list button, and click [Render In/Out]
→ [Render Overload Area].
• Right-click the time scale, and click [Render In/Out Point]
→ [Render Overload Area].
• Rendering overload areas between In and Out points:
[Ctrl] + [Q]
3
•
You can render all areas judged to be red, yellow and light blue between In and Out points by the following
operation.
- Click [Render] on the menu bar, and click [Render In/Out]
→ [All].
- Click the [Render In/Out] list button, and click [Render In/Out]
→ [All].
- Right-click the time scale, and click [Render In/Out Point]
→ [All].
- Rendering between In and Out points (all):
[Shift] + [Alt] + [Q]
• Overload areas (red) and load areas (yellow) between In and Out points can be rendered in a single operation
by the following operation.
- Click [Render] on the menu bar, and click [Render Between In/Out]
→ [Render Orange Area].
- Click the [Render In/Out (Render Overload Area)] list button, and click [Render In/Out]
→ [Render Loaded
Area].
- Right-click the time scale, and click [Render In/Out Point]
→ [Render Loaded Area].
- Rendering between In and Out points (load area):
[Ctrl] + [Alt] + [Q]