Playing back a step sequence, Editing a sequence -simple editing – Casio XW-G1 User Manual
Page 54
Using the Step Sequencer
E-52
A step sequence can be played back from the Performance,
Tone, or Step Sequencer Mode.
The step sequence can be changed by switching to a different
pattern, selecting a different sequence bank and number, and
by shifting the key (Key Shift).
• If the
bk
CHAIN button is lit (indicating the Chain
Mode), press
bk
CHAIN to turn off the light before
starting the procedure below.
1.
Press
bk
START/STOP.
The
bk
START/STOP button will flash and sequence
playback will start.
• Pressing
bk
START/STOP while playback is in
progress will stop the sequence and cause the
bk
START/STOP button light to go out.
• Step Sequencer playback can be performed
automatically, without pressing
bk
START/STOP, by
using the Arpeggio Function to specify Step Sequencer
playback triggers. For details, see the section of this
manual from “To use the Arpeggio Function” on page
E-40.
• For information about changing the playback tempo,
see “To change the tempo setting” (page E-46).
2.
To change to a different pattern, enter the Step
Sequencer Mode and press one of the
bl
PATTERN 1 to 8 buttons.
The light of the button whose pattern you select will go
out.
• When changing to a different measure, the light of the
button of the currently selected pattern will flash until a
point is reached where the change can be made.
• Pressing the button of the currently selected pattern will
cause its button light to flash, indicating that playback is
standing by to stop. Next, pressing
bk
START/STOP
will stop playback when it reaches the end of the
currently playing measure. To cancel the stop standby
operation described above, press the flashing button
again.
3.
If you want to change to a different sequence,
enter the Step Sequencer Mode and change the
sequence bank and/or number.
• To select a sequence, perform steps 2 through 5 under
“To use the Arpeggio Function” (page E-40).
4.
If you want to shift the key, press
1
STEP
SEQUENCER and then press
2
KEY SHIFT.
• When the original key is C2, you can shift the key by
pressing a keyboard key within the range of D2 to B2.
• You can specify whether or not to shift the key of each
individual part. For details, see the section of this
manual from “Editing a Sequence - Advanced” on page
E-56.
• The Key Shift on/off setting is saved as Performance
parameter.
Simple editing of a sequence can be performed from the
Performance, Tone, or Step Sequencer Mode.
• If the
bk
CHAIN button is lit (indicating the Chain
Mode), press
bk
CHAIN to turn off the light before
starting the procedure below.
1.
If the Synthesizer is in the Performance or Tone
Mode, press
1
STEP SEQUENCER.
This enters the Step Sequencer Mode, which causes the
1
STEP SEQUENCER button to light.
2.
Perform steps 1 through 3 of the procedure
under “Playing Back a Step Sequence” on page
E-52 to select the sequence and pattern you
want to edit.
3.
Use the
9
PART minus (–) and plus (+) buttons
to select the part you want to edit.
A pointer (e) will appear on the display under the number
of the currently displayed part.
• The pointer (e) does not appear on the display if you
select a control type part.
4.
Edit each part using the procedures in the
following sections.
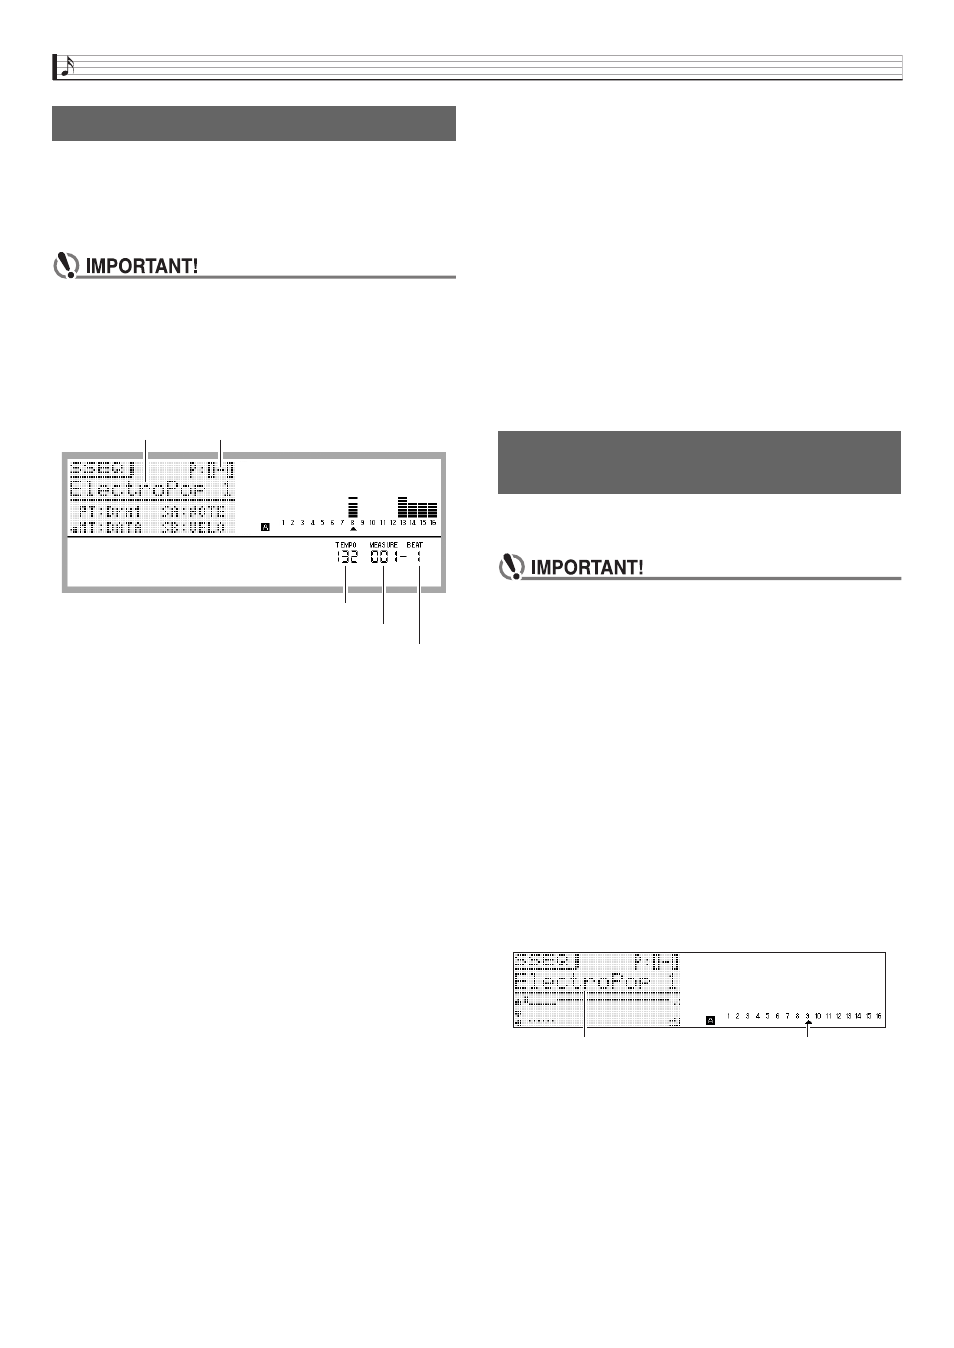
Playing Back a Step Sequence
Sequence name
Beat
Sequence bank, number
Measure
Tempo
Editing a Sequence -Simple
Editing
Selected part number
Selected part name