Casio XW-G1 User Manual
Page 58
Using the Step Sequencer
E-56
1.
Perform steps 1 through 3 of the procedure
under “Changing the Solo1 Channel” on page
E-55.
2.
Use the
br
up (q) and down (w) to move the
item selection cursor (0) to “Pattern Change
Timing”.
3.
Use the
br
minus (–) and plus (+) buttons to
select one of the pattern switching timings
described below.
• The pattern switching timing setting is saved as
Performance parameter.
See “To use the Arpeggio Function” on page E-40.
You can use the Synthesizer’s mixer function to change the
Step Sequencer tone.
• Data assigned by the mixer to channels 8 through 16 is
saved as Step Sequencer data.
• Mixer parameters are applied to all pattern parameters.
• For details, see “Using the Mixer” on page E-78.
1.
Press
1
STEP SEQUENCER and then press
7
EDIT.
• This step is not necessary if you already pressed
7
EDIT and are already editing a step sequence.
2.
Press
bn
MIXER.
3.
Hold down the button (
4
9 to 16 note part
buttons) that corresponds to the part you want
to solo.
• To cancel the solo setting, exit the Step Sequencer
Mode or display the Track On/Off screen (page E-57).
• For details about mixer operations, see “Using the
Mixer” on page E-78.
You can use the procedures in this section for advanced,
detailed editing of sequence parameters.
1.
Press
7
STEP SEQ.
2.
Press
7
EDIT.
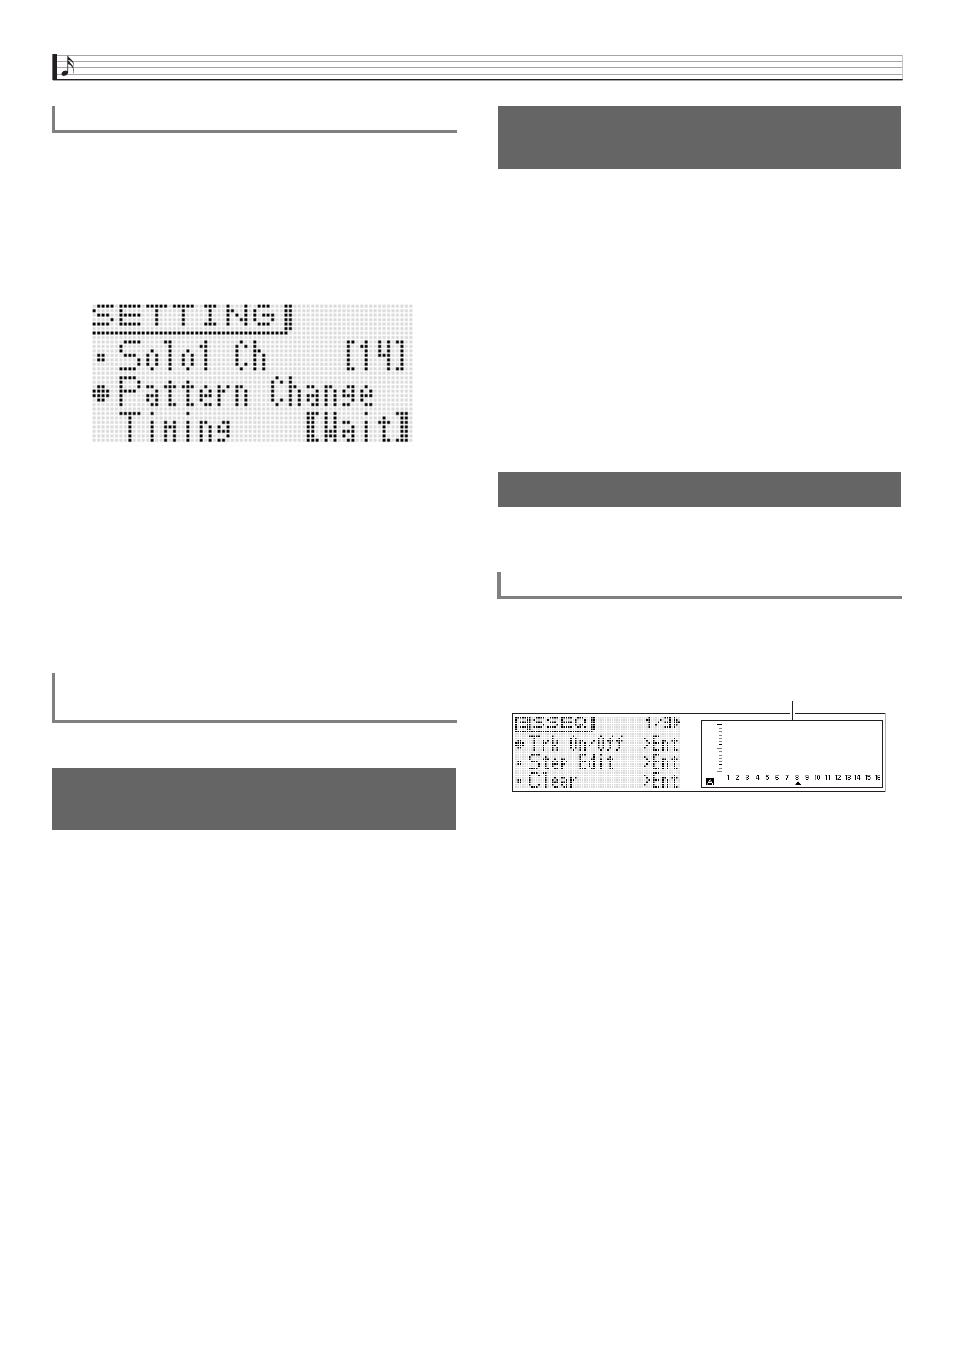
3.
Use the
br
cursor (U, q, w, I) buttons to
move the item selection cursor (0) to the menu
item for the edits you want to perform.
Changing the Timing of Pattern Switching
Wait : Wait until the start of the next measure.
Real : Switch immediately, even if it is partway through a
measure.
Beat : Switch at the beginning of the beat.
Syncing Step Sequencer Playback with an
Arpeggio
Changing the Step Sequencer
Tone
To sound a single part
(solo mode)
Editing a Sequence - Advanced
To perform advanced parameter editing
Mixer screen