Casio XW-G1 User Manual
Page 70
Recording and Playing Back with the Sample Looper
E-68
■ BEAT-AT
Play something on the keyboard, input sound
from the microphone or connected electronic
music instrument, or press
bm
REC to start
recording of Beat 1.
• The
bm
REC button will stop flashing and remain lit
when recording starts.
• After recording of Beat 1 is complete, the rest of the
sample from Beat 2 up to the number of beats specified
by the “Beats” setting will be created automatically.
After that, recording will enter overdubbing standby.
■ SPLT-AT
Play something on the keyboard or input sound
from the microphone or connected electronic
music instrument and recording will start
automatically.
• The
bm
REC button will stop flashing and remain lit
when recording starts.
• If you specified something other than “Free” for the
“Length” setting, recording will stop after the specified
number of beats. When the input sound becomes
silent, recording will enter standby for input of the next
sound. Recording will restart automatically when an
input sound is detected.
• If you specified “Free” for the “Length” setting,
recording will pause and standby by for further input
sound when the input sound goes silent. Recording will
restart automatically when an input sound is detected.
• The input level the Synthesizer uses for auto silence
judgment is approximately 0.5 seconds of continual
input at a level that half or less the level specified by the
Threshold setting (page E-65).
For example, if the Threshold level is set to 80,
approximately 0.5 seconds of continual level of 40 or
lower is judged to be silence.
• Recording enters overdubbing standby after the
number of recordings specified by the “Splits” setting
are complete.
• If you press
bm
REC to stop recording before the
number of splits specified by the “Splits” setting, only
the number of splits you recorded up to that point will
be saved. For example, stopping recording after three
splits when 5 is specified for the “Splits” setting will
create a loop of three splits.
■ OVDB-ML
When using the OVDB-ML Rec Mode, you need to select
the existing sample you want to overdub before you
perform step 1 of this procedure.
Press
bm
REC.
• This causes
bm
REC to light and starts overdubbing of
the sample you selected.
• During overdubbing, the Synthesizer’s display shows
the current location of the overdubbing.
• The
bm
REC button light will go out momentarily to
indicate when playback is at the beginning of the
sample.
• Overdubbing undo is not possible with the sample
looper.
5.
To restart overdubbing from overdubbing
standby, press
bm
REC.
The
bm
REC button will stop flashing and remain lit when
overdubbing starts.
• To pause overdubbing, press
bm
REC.
• Though the sample that has been recorded up to that
point continues to play as a loop, anything you play
while overdubbing is paused is not recorded.
• Press
bm
REC again to resume overdubbing.
6.
To stop recording, press
bm
PLAY/STOP.
This causes the
bm
REC button light to go out and
“!TEMP” (Temporary) to appear on the display for the
sample number.
• Even if you stop recording of a sample that contains
only silence, it is still treated as a sample.
7.
After you finish recording, save the data as
described below.
• Press
7
WRITE to display the screen for saving a
sample.
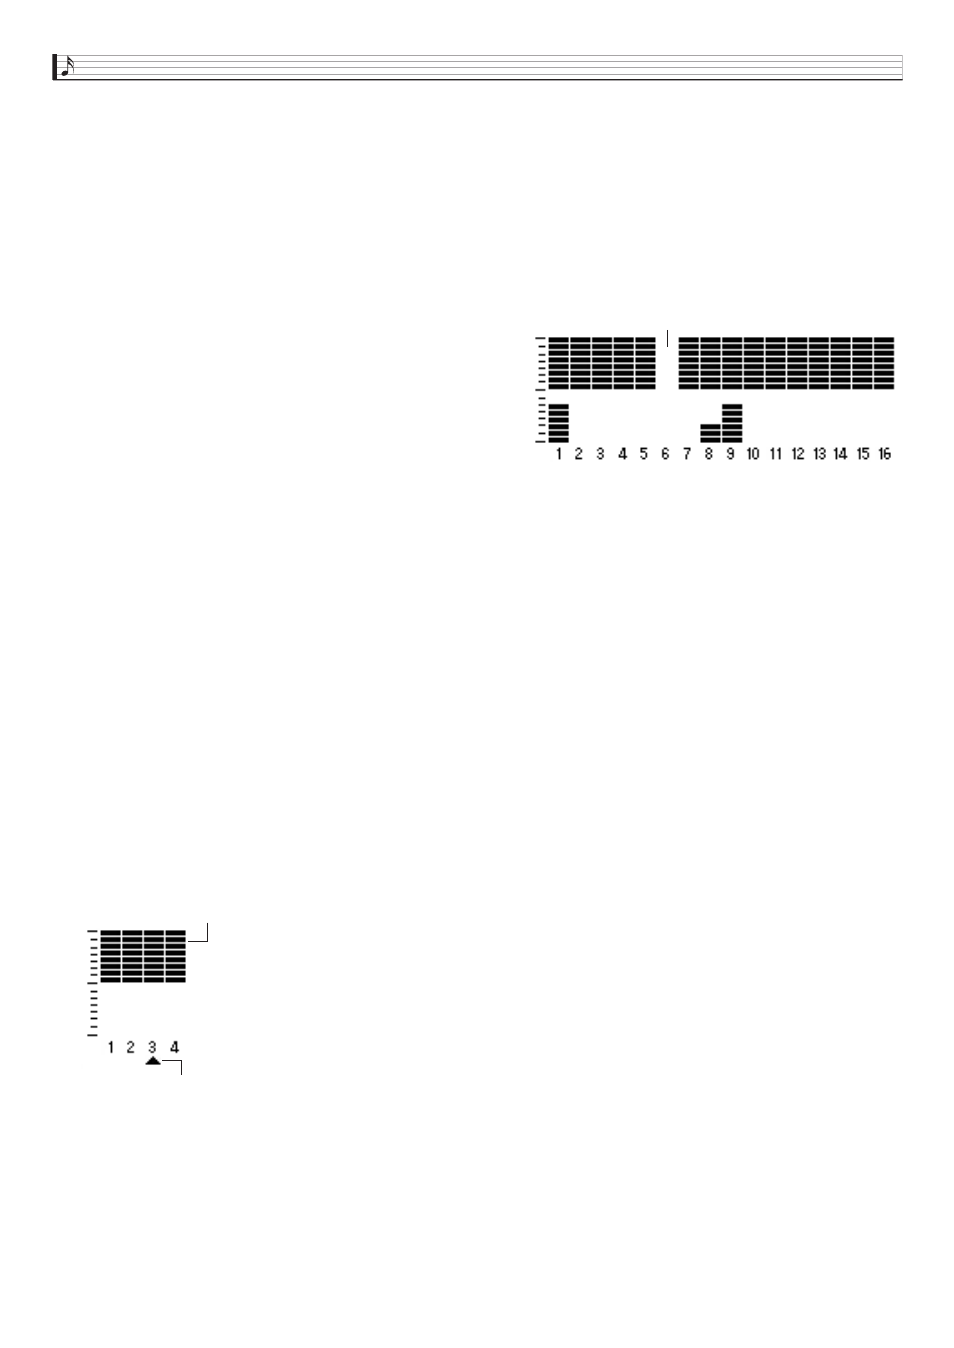
Indicates split number being recorded.
Memory usage indicator
Current overdubbing location