Casio XW-G1 User Manual
Page 56
Using the Step Sequencer
E-54
■ Selecting a Slider Function
Pressing
2
SLIDER A/B toggles the sliders between two
functions.
Example: Preset sequence
2
SLIDER A/B unlit: L (NOTE)
2
SLIDER A/B lit: M (VELOCITY)
• Moving a
5
1/9 to 8/16 slider will turn on the
corresponding step, even if it is currently turned off.
• Slider function switching cannot be performed for a
control part.
You can use the
5
MASTER slider to batch change the
settings (note, velocity, staccato/tenuto, playback speed,
groove) of all of the parts.
• The settings that can be changed using the master slider
depend on the part type.
• For some parts, the master slider cannot be used to change
settings.
• You can assign other settings to the master slider, if you
want. For more information, see “Changing the Function
Assigned to the Master Slider” on page E-54 and
“Changing Slider Settings” on page E-60.
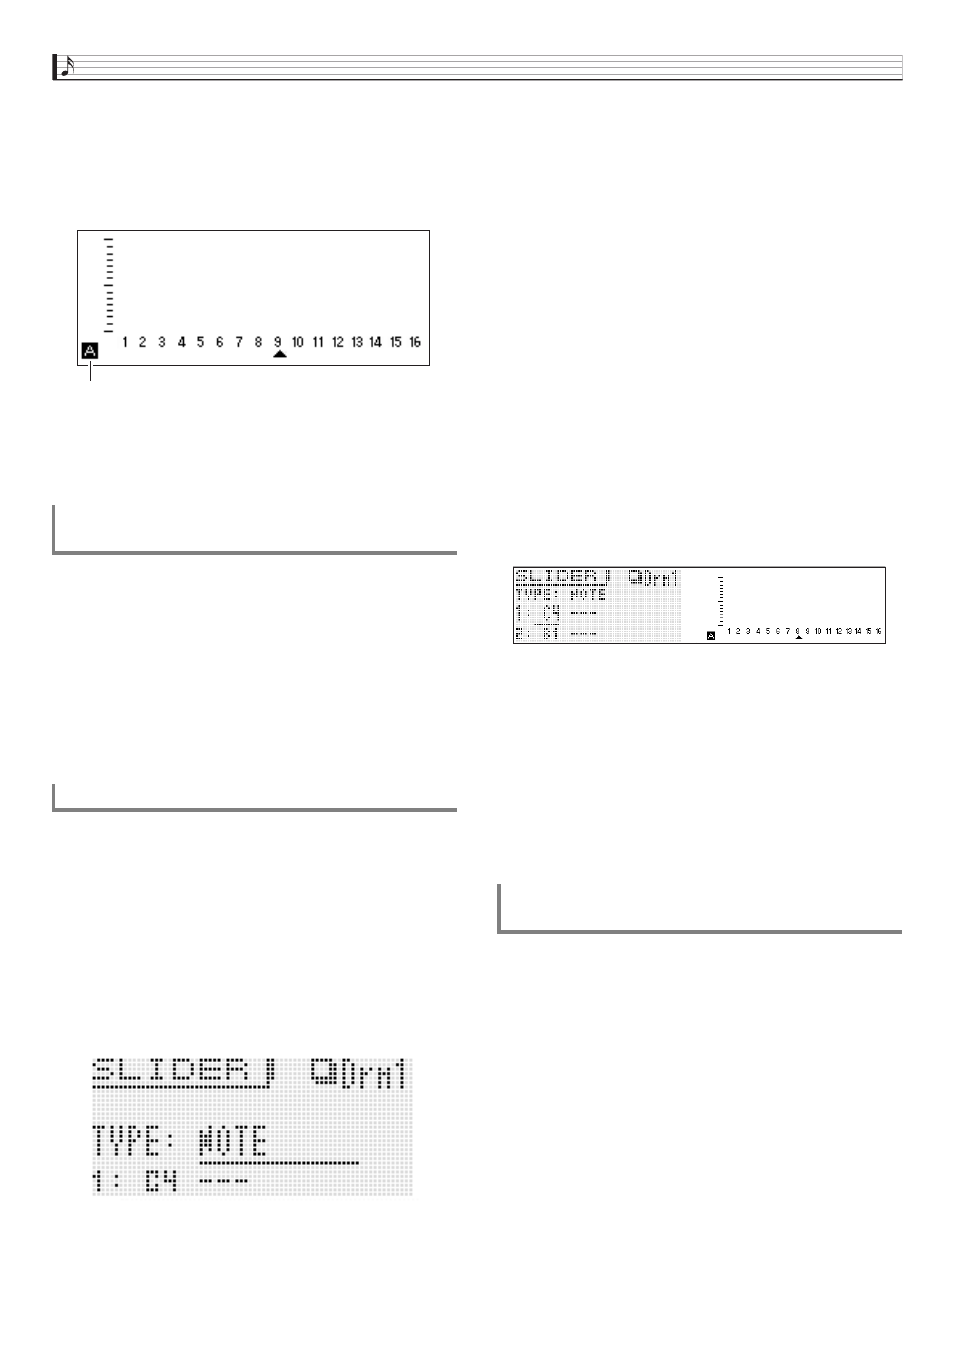
Under default settings, the A sliders have note settings
assigned to them, while the B sliders have velocity settings
assigned. You can use the procedure below to assign note
settings, velocity settings, or both note and velocity settings to
sliders.
You also can specify the note or velocity setting that is
selected at each of the eight slider positions.
1.
Press
1
STEP SEQUENCER.
2.
Hold down
2
SLIDER A/B until the SLIDER
screen shown below appears.
3.
Use the
9
PART minus (–) and plus (+) buttons
to select the part whose slider assignments you
want to change.
4.
Press
2
SLIDER A/B to select the set of sliders
(A or B) whose assignments you want to
change.
5.
Move the display cursor to “TYPE” and then
use the
br
NO and YES buttons to assign one
of the following functions to the selected
sliders.
6.
Use the
bp
dial, the
br
up (q) and down (w)
buttons, or the
bl
PATTERN (1 to 8) buttons to
move the display cursor to the slider position
(1 to 8) whose setting you want to change.
• The numbers 1 through 8 indicate the eight slider
positions, from top (8) to bottom (1).
7.
Use the
br
NO and YES buttons to change the
note or velocity value at the currently selected
slider position.
• You can also press the keyboard key that corresponds
to the note you want to input to specify the note and
velocity for the currently selected slider position.
• For a chord part, you can specify up to three values.
• Use advanced parameter editing to edit slider
functions. For details, see “Editing a Sequence -
Advanced” (page E-56).
1.
Press
1
STEP SEQUENCER.
2.
Hold down
2
SLIDER A/B until the SLIDER
screen appears.
3.
Press
br
MENU and then press the
br
right (I)
button to move the item selection cursor (0) to
“M.Slider”.
Using the Master Slider to Change Note and
Velocity Settings
Changing Slider Assignments
Indicates the selected function as L or M.
NOTE
: Note
VELO
: Velocity
NOTE & VELO : Both note and velocity
Changing the Function Assigned to the
Master Slider