Uploading images to web services – Canon PowerShot SX540 HS User Manual
Page 126

126
Before Use
Basic Guide
Advanced Guide
6
Playback Mode
7
Wi-Fi Functions
8
Setting Menu
9
Accessories
10
Appendix
Index
1
Camera Basics
2
Auto Mode /
Hybrid Auto Mode
3
Other Shooting Modes
4
P Mode
5
Tv, Av, and M Mode
●
After the image is sent, [OK] is displayed
on the screen. Press the [ ] button to
return to the playback screen.
●
Connections require that a memory card with saved images be in
the camera.
●
You can also send multiple images at once, resize images, and
add comments before sending (= 129).
●
You can send the current image by choosing [Send this image] on
the screen in step 3.
●
To look at images sent to CANON iMAGE GATEWAY from your
smartphone, it is recommended that you use the specialized
application Canon Online Photo Album. For iPhone and iPad,
find Canon Online Photo Album in the App Store and download
and install the app. For Android smartphones, find Canon Online
Photo Album in Google Play and download and install the app.
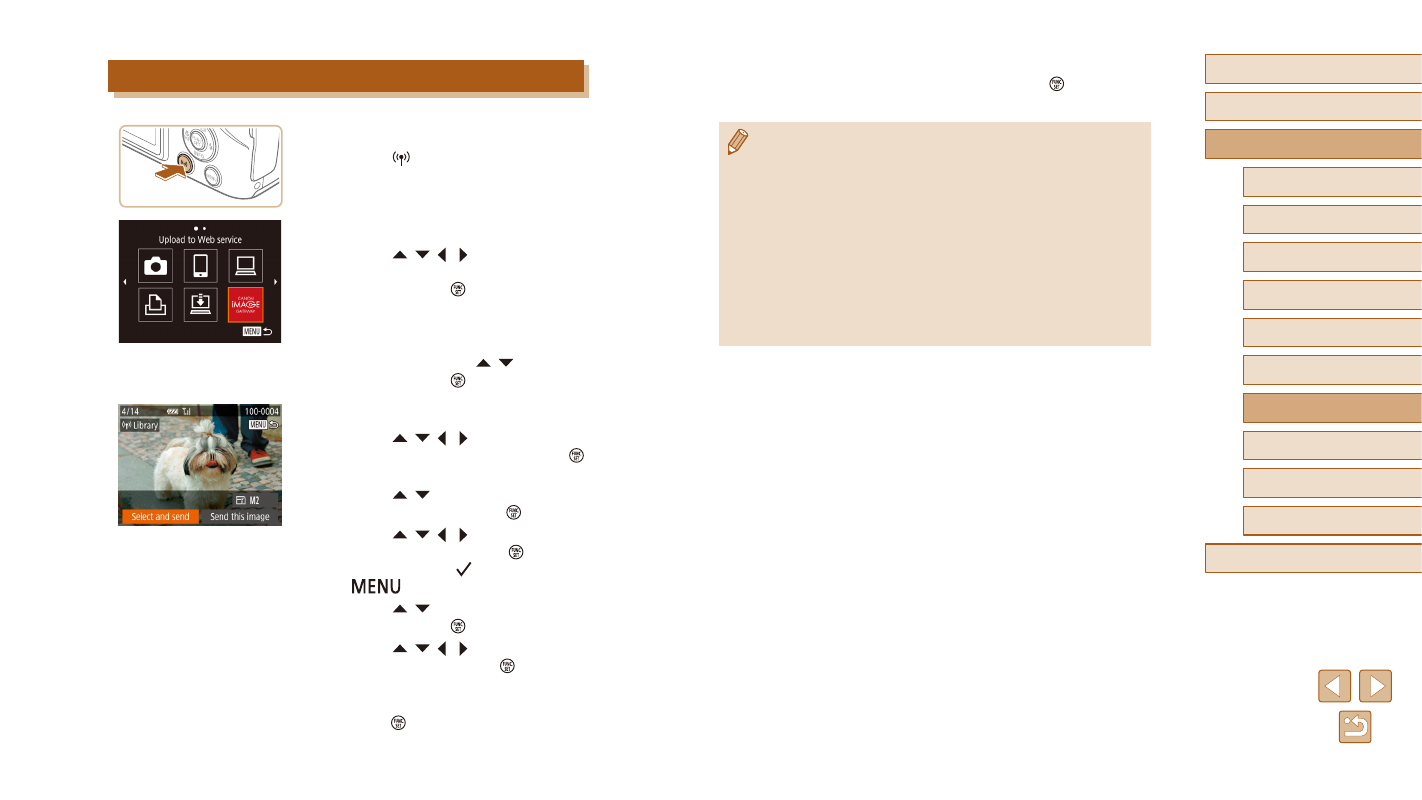
Uploading Images to Web Services
1
Access the Wi-Fi menu.
●
Press the [ ] button.
2
Choose the destination.
●
Press the [ ][ ][ ][ ] buttons to choose
the icon of the Web service to connect to,
and then press the [ ] button.
●
If multiple recipients or sharing options
are used with a Web service, choose the
desired item on the [Select Recipient]
screen by pressing the [ ][ ] buttons,
and then press the [ ] button.
3
Send images.
●
Press the [ ][ ][ ][ ] buttons to choose
[Select and send], and then press the [ ]
button.
●
Press the [ ][ ] buttons to choose
[Select], and then press the [ ] button.
●
Press the [ ][ ][ ][ ] buttons to choose
an image to send, press the [ ] button to
mark it as selected ([ ]), and then press
the [
] button.
●
Press the [ ][ ] buttons to choose [OK],
and then press the [ ] button.
●
Press the [ ][ ][ ][ ] buttons to choose
[Send], and then press the [ ] button.
●
When uploading to YouTube, read the
terms of service, choose [I Agree], and
press the [ ] button.