Canon PowerShot SX540 HS User Manual
Page 127
127
Before Use
Basic Guide
Advanced Guide
6
Playback Mode
7
Wi-Fi Functions
8
Setting Menu
9
Accessories
10
Appendix
Index
1
Camera Basics
2
Auto Mode /
Hybrid Auto Mode
3
Other Shooting Modes
4
P Mode
5
Tv, Av, and M Mode
4
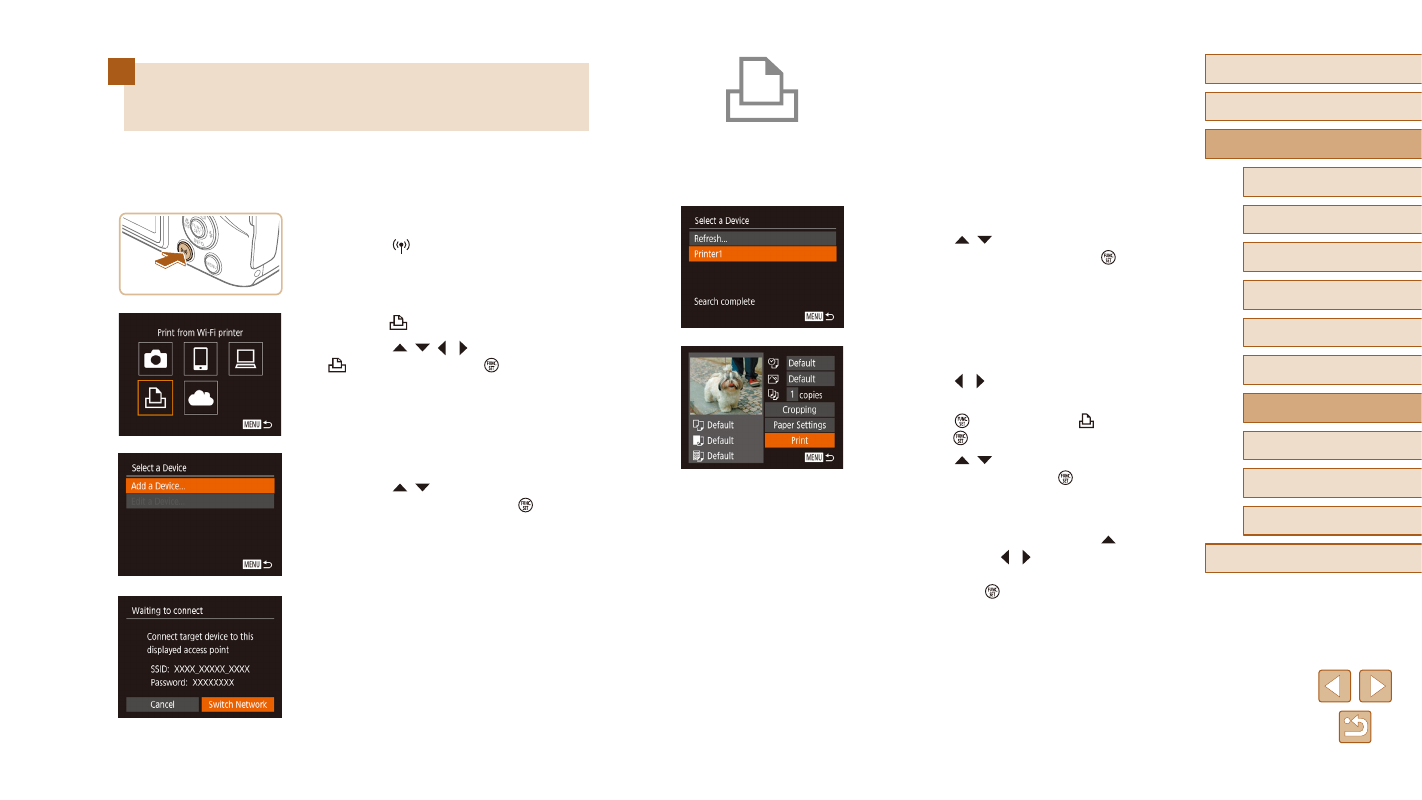
Connect the printer to the network.
●
In the printer’s Wi-Fi setting menu,
choose the SSID (network name)
displayed on the camera to establish a
connection.
●
In the password field, enter the password
displayed on the camera.
5
Choose the printer.
●
Press the [ ][ ] buttons to choose the
printer name, and then press the [ ]
button.
6
Choose an image to print.
●
Press the [ ][ ] buttons to choose an
image.
●
Press the [ ] button, choose [ ], and
press the [ ] button again.
●
Press the [ ][ ] buttons to choose
[Print], and then press the [ ] button.
●
For detailed printing instructions, see
●
To end the connection, press the [ ]
button, press the [ ][ ] buttons on the
confirmation screen to choose [OK], and
then press the [ ] button.
Printing Images Wirelessly from a
Connected Printer
Connect the camera to a printer via Wi-Fi to print as follows.
These steps show how to use the camera as an access point, but you can
also use an existing access point (= 127).
1
Access the Wi-Fi menu.
●
Press the [ ] button.
2
Choose [ ].
●
Press the [ ][ ][ ][ ] buttons to choose
[ ], and then press the [ ] button.
3
Choose [Add a Device].
●
Press the [ ][ ] buttons to choose [Add
a Device], and then press the [ ] button.
●
The camera’s SSID and password are
displayed.