Outputting a loaded still image, Freezing the input video (freeze), Assigning a still image to the cross-point buttons – Roland V-160HD SDI/HDMI Streaming Video Switcher User Manual
Page 25: Inserting a still image in the final output, Setting the operation mode, Freezing the input video, Video operations
25
Video Operations
Outputting a Loaded Still Image
You can assign a still image to the cross-point [1]–[10] buttons and
output it in the same way as with video, or momentarily stop the final
output to output the still image.
* When outputting a still image (.png) with an alpha channel, the
alpha channel (transparency) data is ignored.
Assigning a Still Image to the Cross-point
Buttons
A still image loaded into this unit can be assigned to the cross-point
[1]–[10] buttons, and output in the same way as video.
1 .
Load a still image into this unit as described by the
following procedures.
“Loading a Still Image from a USB Flash Drive” (p. 22)
“Capturing a Still Image from Input/Output Video” (p. 23)
2 .
Assign the still image to a cross-point button by following
the steps in “Assigning Video Sources” (p. 13).
3 .
Follow the steps in “Switching the Video” (p. 17) to
output the still image.
Inserting a Still Image in the Final Output
You can pause the final output, and output a still image of your choice
as a cut.
Still images can be directly output without being assigned to the
cross-point [1]–[10] buttons.
* The same still image as the final output is also output to the preview.
Use the following methods to output still images.
Using the USER buttons
Ø
“Assigning Functions to the USER Buttons” (p. 65)
Using a footswitch
Ø
Using an expression pedal
Ø
“Using an Expression Pedal” (p. 69)
Inputting an external control signal (GPI)
Ø
“Inputting a Control Signal” (p. 70)
MEMO
Outputting a still image with a fade-in effect
Use the [OUTPUT FADE] button to add a fade-in effect and
output the still image.
Assign a still image to the AUX bus (p. 15) and edit the
function for the [OUTPUT FADE] button as shown below.
Use the [MENU] button
Ó
“SYSTEM”
Ó
and set OUTPUT FADE
ASSIGN “VIDEO FADE” to “AUX.”
Freezing the Input Video (Freeze)
Here’s how to temporarily freeze the input video (freeze function).
You can apply transition effects during a video freeze.
Setting the Operation mode
There are two freeze modes: the “ALL mode” for freezing all input
video, and the “SELECT mode” that freezes only the input video you
specify. Set the mode that matches your needs.
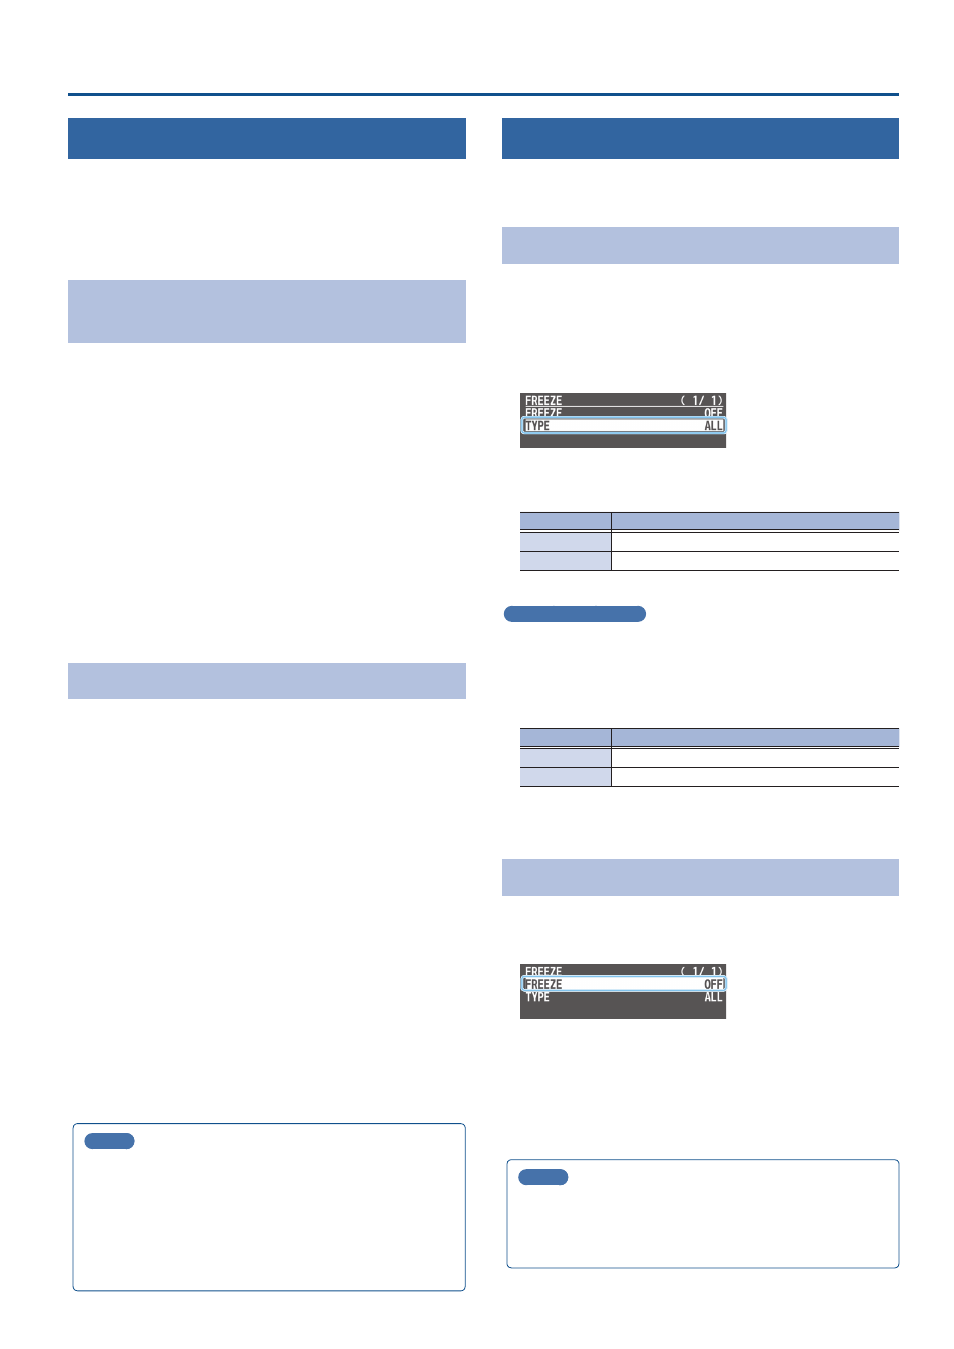
1 .
[MENU] button
Ó
“FREEZE”
Ó
select “TYPE,” and press the
[VALUE] knob.
2 .
Use the [VALUE] knob to select “ALL” or “SELECT,” and
press the [VALUE] knob.
Value
Explanation
ALL
Freezes all video that is being input.
SELECT
Freezes only the specified input video.
If “SELECT” is selected
3 .
Use the [VALUE] knob to select “INPUT 1”–“INPUT 10,” and
press the [VALUE] knob.
4 .
Use the [VALUE] knob to select “ENABLE” or “DISABLE,”
and press the [VALUE] knob.
Value
Explanation
ENABLE
The input video freezes.
DISABLE
The input video does not freeze.
5 .
Press the [MENU] button to close the menu.
Freezing the Input Video
1 .
[MENU] button
Ó
“FREEZE”
Ó
select “FREEZE,” and press
the [VALUE] knob.
2 .
User the [VALUE] knob to select “ON,” and press the
[VALUE] knob.
The freeze function turns on, and the input video freezes.
3 .
Press the [MENU] button to close the menu.
MEMO
You can assign the freeze function to a USER button and turn it
on/off (p. 65).
With the factory settings, the USER [1] button is assigned the
freeze function.