Creating a tapemode project – Teac MX-2424 Tutorial User Manual
Page 26
- 26 -
Creating a TapeMode Project
1) Press [SETUP].
2) Press [2] on the numeric keypad. You will see,
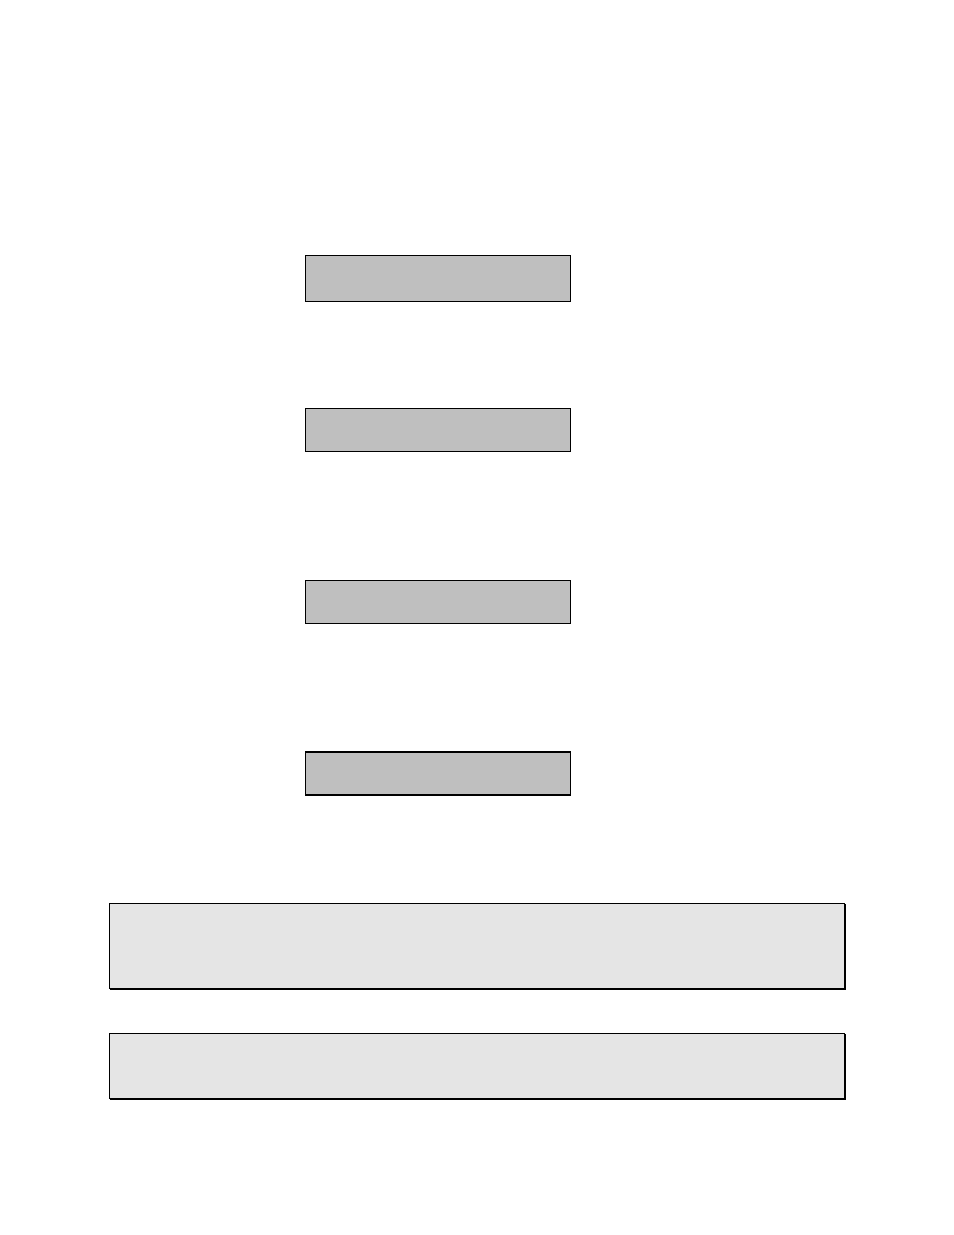
200
Record Mode
* Non-Destructive
3) Press [TRIM].
4) Use the [Up Arrow] to change the display to:
200
Record Mode
TL-Tape Mode
5) Press [STORE/YES] to set the new recording mode. A prompt will appear asking for
confirmation. Press [STORE/YES] to confirm.
6) Use the [Up Arrow] to change the display to:
230
Tape Mode Start
*01:00:00:00
7) Press [TRIM], then use the Shuttle Ring and numeric keypad to set the TapeMode
Start time to the desired position. Press [STORE/YES].
8) Use the [Up Arrow] to change the display to:
231
Tape Mode Length
*00:10:00:00
9) Press [TRIM], then use the Shuttle Ring and numeric keypad to set the desired
value. Press [STORE/YES].
• HOT TIP! — Generally, it’s a good idea to avoid starting a project at 00:00:00:00 due
to the need for pre-roll during loop, auto-punch or synchronized operation. If a pre-roll
value sends the transport to a location earlier than 00:00:00:00 the MX-2424 would not
know to go forward or backward.
• HOT TIP! — It is possible to record longer than the value set in menu 231 as long as
recording began before the set Tape Mode Length ran out. However, if it is needed to
punch in after this time, the value of menu 231 will need to be increased.