Disk cleanup, Performing a disk cleanup – Teac MX-2424 Tutorial User Manual
Page 46
- 46 -
Disk Cleanup
The "Disk Cleanup" function keeps your available hard drive space optimized by
erasing unused audio files. For example, audio files that where left over from a deleted
project or any punch-ins previously made in a non-destructive project. Removing these
files keeps your drive running at peak efficiency, and helps prevent running out of drive
space unexpectedly.
Performing a Disk Cleanup
1) To clear the MX-2424’s memory of your current project, you must first unmount then
remount the drive. Press [SHIFT] then [UNMOUNT] to unmount the hard drive. Then
press [MOUNT] to remount the drive.
2) Press [SETUP], press [7] on the numeric keypad, and then use the [Up Arrow] to
scroll to Menu #720. It should look similar to this,
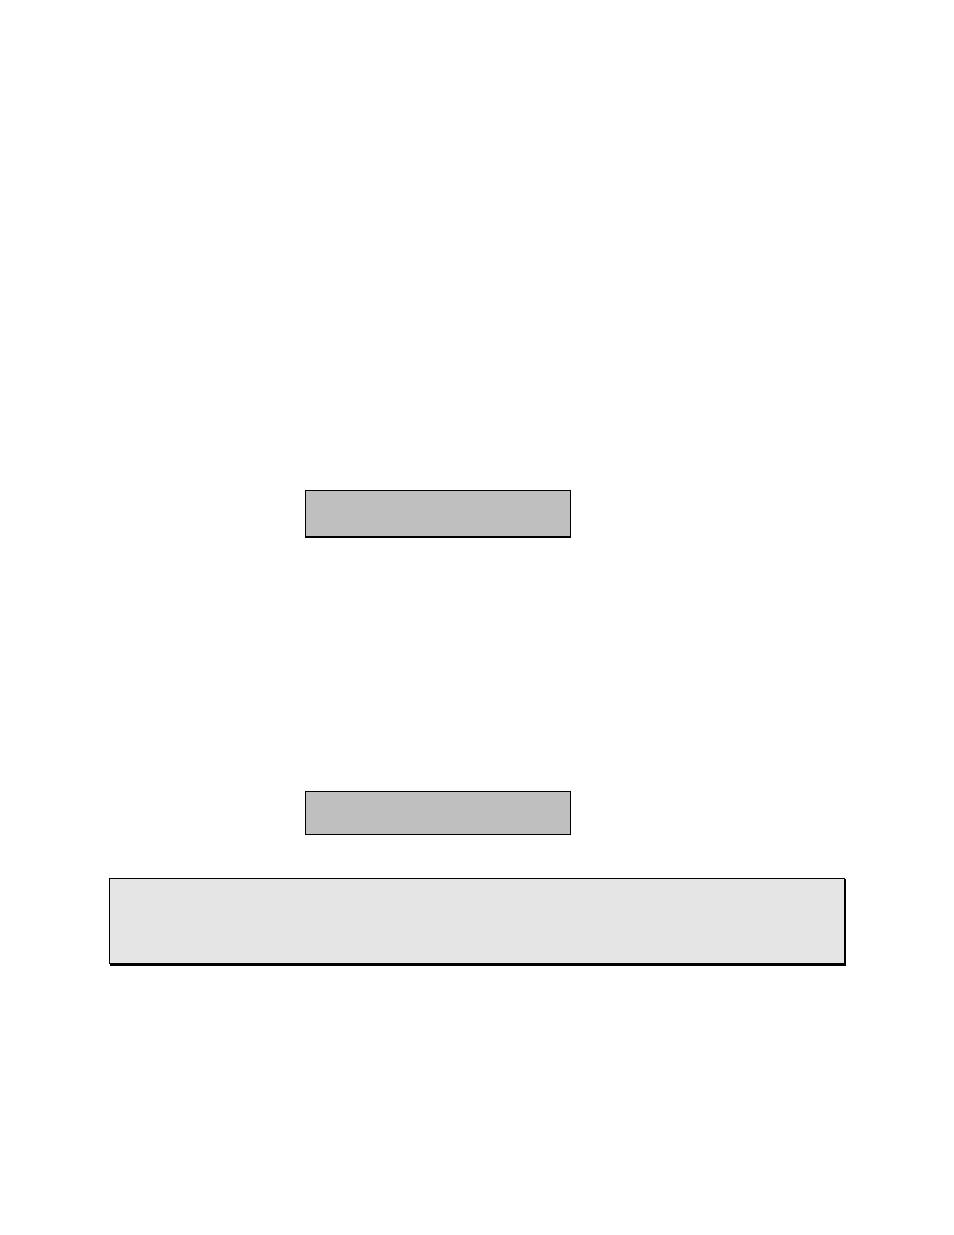
720 Disk Cleanup
* Cleanup Disk 0
3) Press [TRIM] and select the SCSI device you want to cleanup. The stock internal
hard drive is SCSI ID 0.
4) Once you have selected the SCSI device, press [STORE/YES]. You are prompted,
"Are you sure (y/n)?" Press [STORE/YES] if you are sure.
5) The LCD will read "Cleanup in Progress." This may take a few moments depending
on how many files need to be cleaned up.
6) When the cleanup is complete, the LCD will display the following,
720 Disk Cleanup
Cleanup complete
• HOT TIP! — If you have a project that contains audio files located on more than one
drive, all drives should be mounted when performing a Disk Cleanup operation. Disk
Cleanup works by deleting any audio files not referenced by a project file, if the MX-
2424 doesn’t find such a reference then those unreferenced audio files will be deleted.