Replacing a transceiver module – H3C Technologies H3C S12500 Series Switches User Manual
Page 113
103
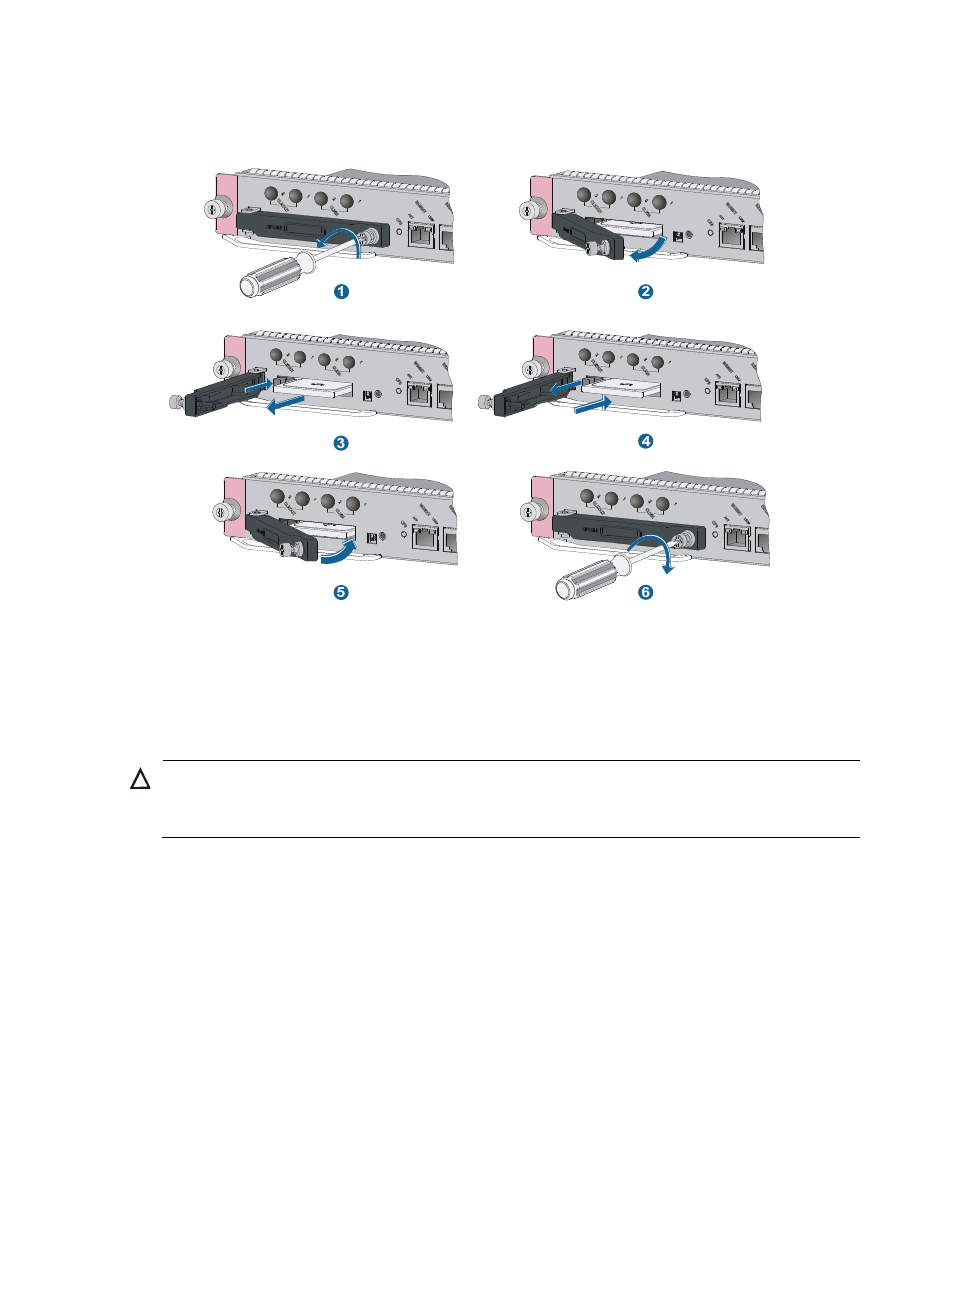
6.
Use a Phillips screwdriver to fasten the screw at the right side of the CF card cover.
Figure 79 Replacing a CF card
Replacing a transceiver module
The replacement procedures of XFP, SFP+, and SFP transceiver modules are similar. This section takes an
SFP transceiver module as an example.
CAUTION:
When installing or removing an SFP transceiver module, do not touch the golden finger of the SFP
transceiver module.
To replace a transceiver module:
1.
Put on an ESD-preventive wrist strap, making sure that the strap makes good skin contact and is
well grounded.
2.
Remove the optical fibers from the SFP transceiver module, pivot the clasp down to the horizontal
position, and then pull SFP the transceiver module out of the socket, as shown in
3.
Put the removed SFP transceiver module in an antistatic bag or its original shipping materials.
4.
Unpack a new SFP transceiver module, pivot the clasp of the SFP transceiver module upward to the
vertical position so that it catches a knob on the top of the SFP transceiver module, and then,
holding both sides of the SFP transceiver module, gently push the SFP transceiver module into the
socket until it has close contact with the socket (you can feel that the top and bottom spring tabs
catch in the socket), as shown in
.
5.
Connect the optical fibers to the new SFP transceiver module.