User account, Ultralink 2 installation and operations manual 17 – Rose Electronics UltraLink 2 User Manual
Page 21
UltraLink 2 Installation and Operations Manual
17
User Account
Click on the “User Accounts” tab to display the user account menu and to set-up authorized
users.
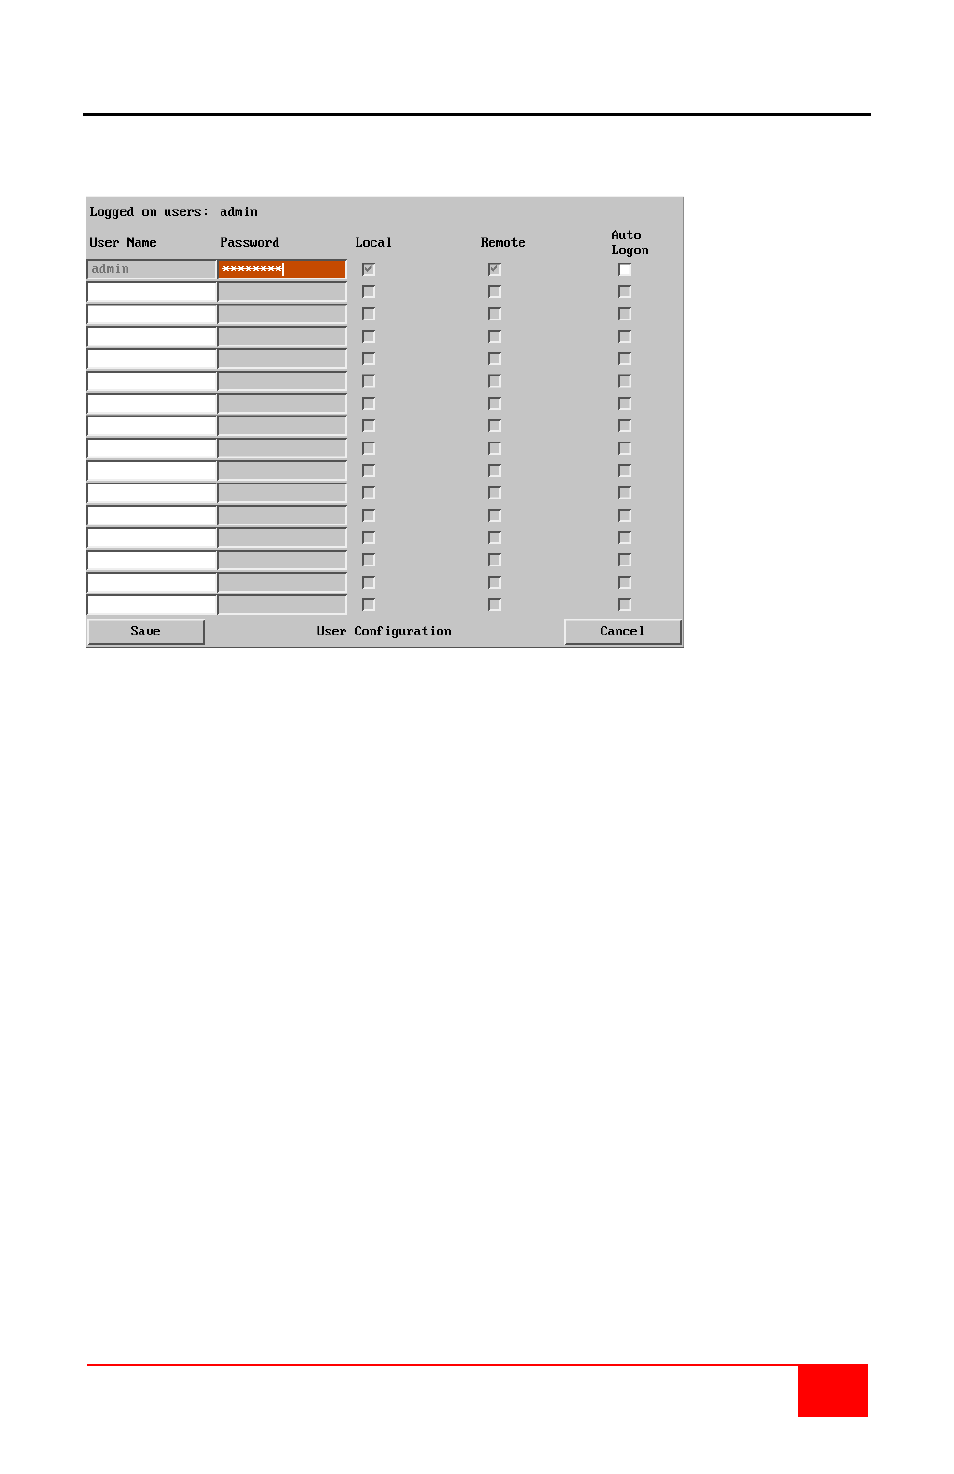
Figure 8. Remote User Account Menu
The User Accounts menu allows you to manage up to sixteen separate accounts. Account
#1 is the administrator account. Only this account has access to the configuration menus.
The admin accounts user name and access rights are fixed. Only the password can be
modified.
There are fifteen user account positions.
To create a new account
1.
Select a user name field and enter a User Name to activate that position (the
Password and access tick box positions will become editable).
a. All user names must consist of lower case characters or numbers only. No
symbols or upper case characters are permissible. The user name can be
between 1 and 16 characters in length
2.
Optionally enter a password for the user account.
a. Passwords are case sensitive and can include certain keyboard symbols. The
password can be between 1 and 16 characters in length. The password
background remains shaded in amber while the UltraLink 2 considers your
entered password to be too easy to guess. A suitable password is best
constructed using a mixture of more than 6 letters, numbers and punctuation
characters.
3.
Tick/untick the Local and Remote options that are appropriate to the user.
a. Local - User can access the UltraLink 2 directly from the local KVM station
b. Remote – User can access the UltraLink 2 via an IP network link or via the
internet (depending how the unit is connected and network permissions)
4.
Tick/untick the Auto logon option for a selected user. Local access unit only and
the user must have local access permission. When power is applied to the unit, the
user is automatically logged on. When not is use, the user should logoff.
5.
Select another account field and enter the next user information
6.
Click on the Save tab to register your changes.