Time and date, Ultralink 2 installation and operations manual 21 – Rose Electronics UltraLink 2 User Manual
Page 25
UltraLink 2 Installation and Operations Manual
21
Upgrade Firmware
UltraLink-2 is fully reconfigurable via flash upgrade. This will always keep your UltraLink 2
current and up to date with new enhancements and equipment. Contact Rose Electronics
for full details
To perform a flash upgrade
1.
Connect to the UltraLink 2 from a remote workstation and log on as the admin user.
The firmware upgrade file (xxxxxxx.bin) must be saved on the connecting remote
workstation’s PC.
Upgrades may be performed in one or two stages depending on the update. Make
sure that switch 1 is in the off position.
2.
Access the Unit configuration page to determine the current firmware version.
Ensure that the replacement firmware file has a later version than the installed
firmware.
3.
Within the Unit configuration page, click the Advanced Unit Configuration button.
4.
Click the Upgrade Firmware button and in the subsequent dialog, note the displayed
IP address and click OK. The unit is now ready to accept the upgrade files.
5.
Open your browser and log into the unit using the IP address that was confirmed in
step 4. Once connected, use the Browse button to locate the replacement (.bin)
firmware file on your system (Stage 1 or 2). Click the Upload file button. The browser
window will confirm the current and replacement firmware versions.
6.
Click the Perform upgrade button to proceed. The upgrade progress will be shown on
screen and you will be notified when it is complete. When complete cycle power on
the unit to complete the upgrade.
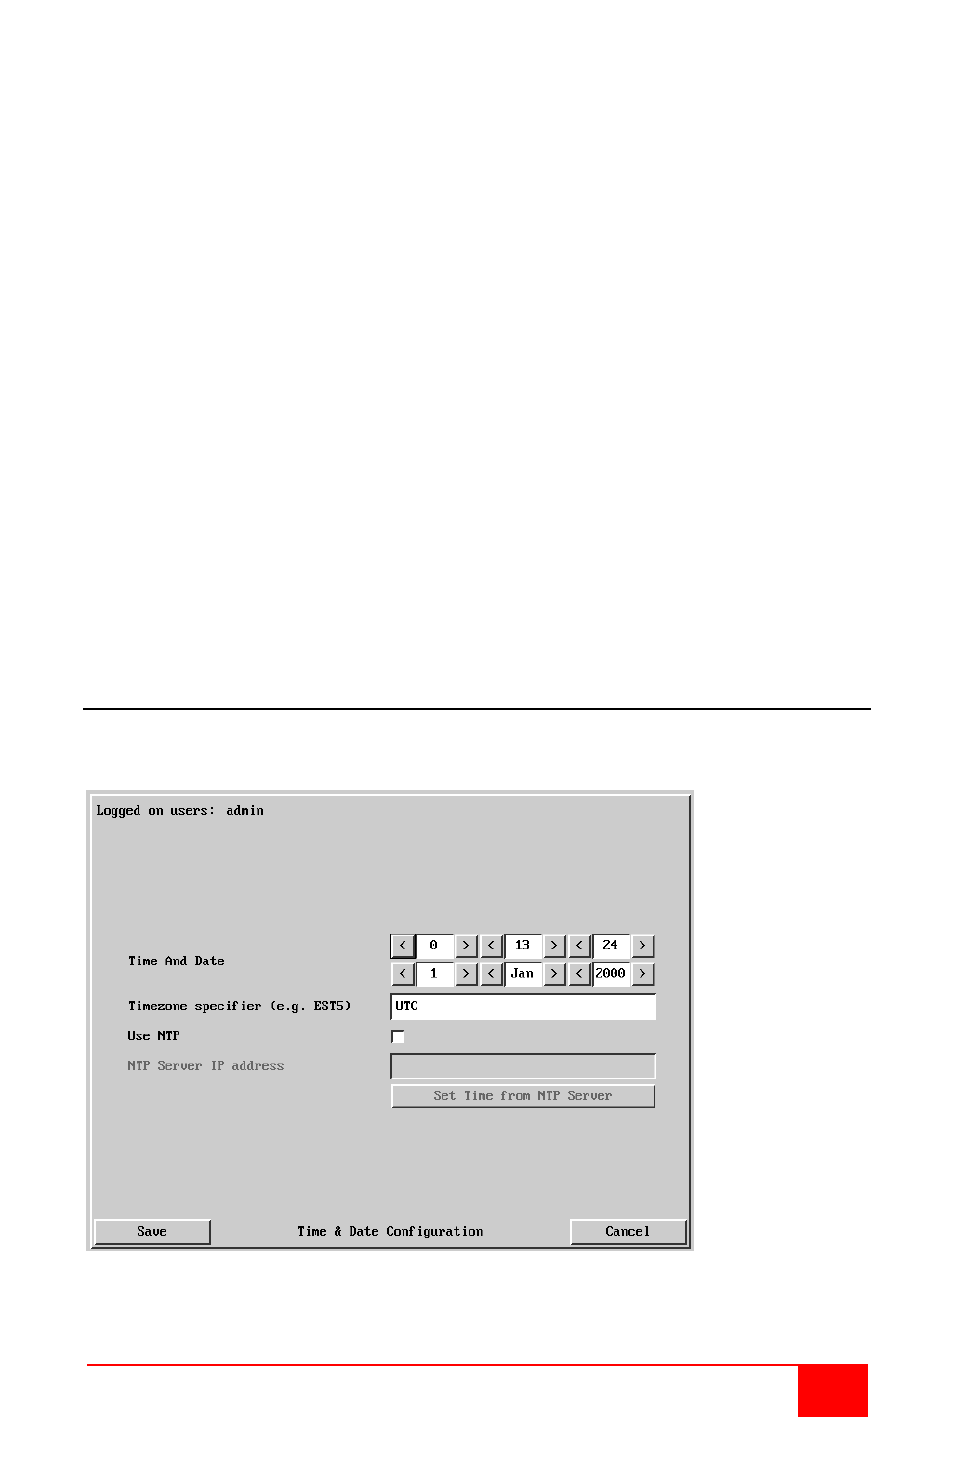
Time and Date
Clicking on the “Time & Date Configuration” tab brings up the below Time & Date
Configuration menu.
Figure 11. Remote Time / Date Configuration