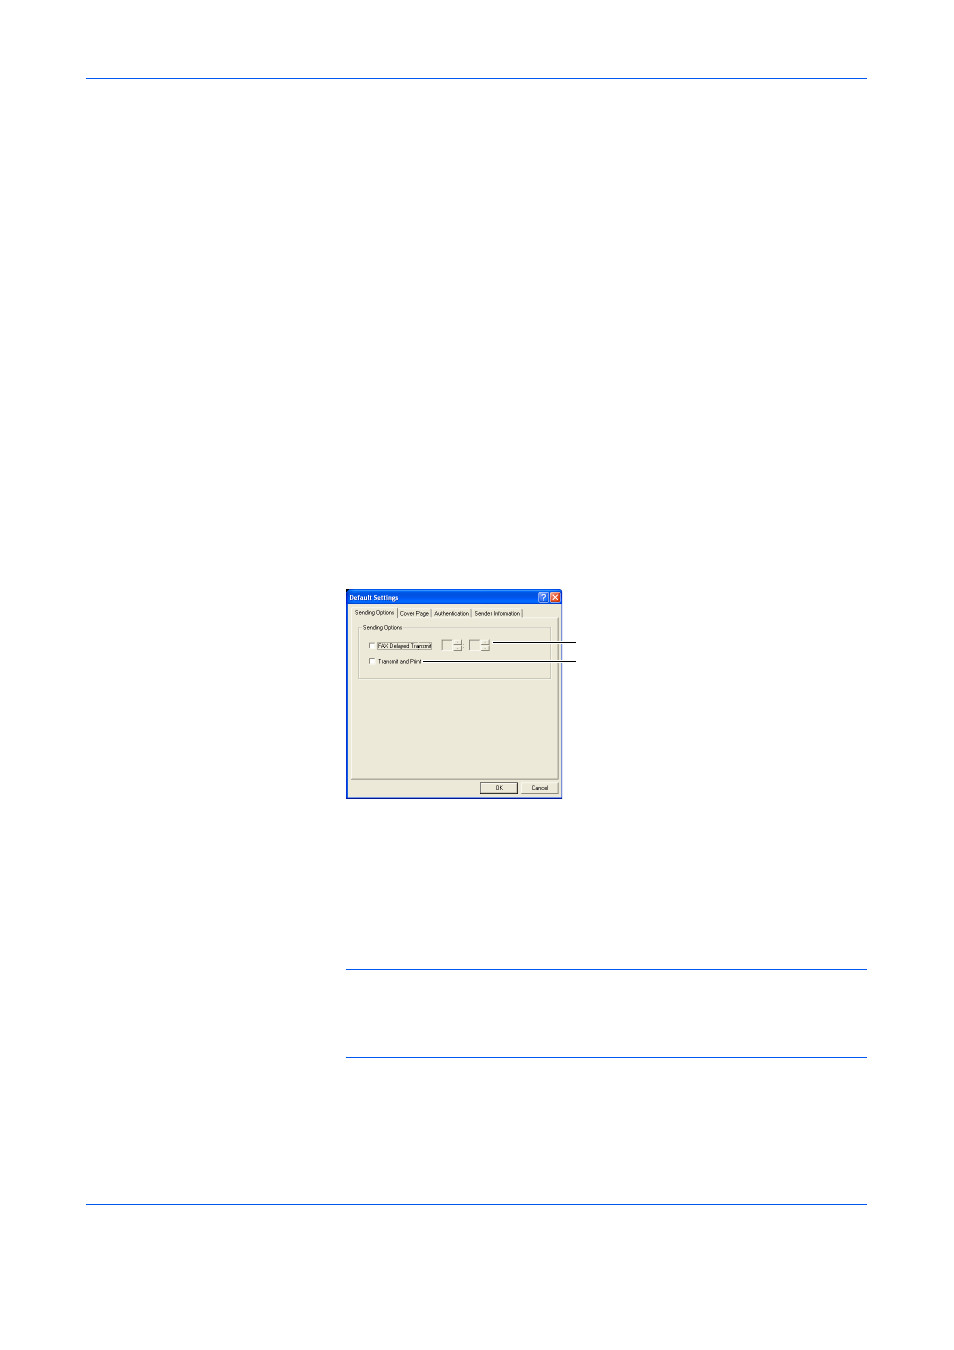
Default setting dialogue box, 1) sending options tab – TA Triumph-Adler DC 2018 User Manual
Page 220

Sending a Fax
2-9
Default Setting Dialogue Box
By setting the transmission conditions that you use most in this dialogue
box, you can minimize the need to change the settings each time.
The Default Setting dialogue box can be accessed by the following
procedure:
Click on Start in the Windows Task Bar and then select Control Panel.
Select Printer and other Hardware and then Printers and Faxes in that
order from the successive menus to access the Printers and Faxes
dialogue box. Right-click on the name of the machine to be used as the
network fax and select Printing Preferences from the resulting drop-down
menu. Click on the Fax TX Setting button in the Printing Preferences
window. (With systems such as Windows 98 and Windows Me, click on
Start in the Task Bar, select Settings and then Printers in that order from
the successive menus to access the Printers dialogue box. Right-click on
the name of the machine to be used as the network fax and select
Properties from the resulting drop-down menu. Then, click on the Fax TX
Settings button in the Properties window.)
(1) Sending Options Tab
1
FAX Delayed Transmit checkbox
Check the checkbox in order to activate the time fields to the right
of the checkbox whenever you want to set the time that your
documents will be transmitted. The desired time setting can be
entered directly with the keyboard or by clicking on the
S and T
arrows. Enter the time on a 24-hour time basis (00:00 - 23:59).
IMPORTANT: If the time that is shown in the message display of this fax
machine does not match the current time, communications that use the
timer may not be accomplished as expected. If the displayed time is not
current, be sure to adjust it to match the correct time.
1
2