PLANET MAP-3020 User Manual
Page 37
PLANET Mesh Network Manager Guide
PLANET Mesh Network Manager Guide
Page 37 of 126
As you can see from the figures, the customization can be divided to two parts, the Node and
the Link. At the Node part, user may select the icon that need to be updated, and then fill in
the path of the new image (or click the “…” button to choose from the file chooser window).
Hit the Update button to update the new image icon. Besides, user can also decide whether
to show the indication of the AP-unit, which is the IP Address, by using the available
checkbox; and alter the foreground color of the IP Address using the “…” button to select a
desired color from the popup window. Hit the Save & Apply Changes button to commit the
changes. The Use Default button enables the user to restore the default settings of the AP
unit look and feel.
Meanwhile, in order to change the style of the link, switch the Map Customization Tool to the
Link page. User can change the color by hitting the “…” button to select a desired color from
the popup window. Then key in the thickness of the link and its dashing pattern. The dashing
pattern defines the way the dashed link look like. The following table explains how to use the
dashing pattern. After fill in the data, user may click the Update button to update the image at
the preview. Once confirm the changes, select the Save & Apply Changes button to commit
the change.
Pattern
(line1, space1, line2,
space2)
Preview
20, 0, 0, 0
20, 10, 20, 10
5, 10, 5, 10
20, 3, 10, 3
20, 10, 30, 5
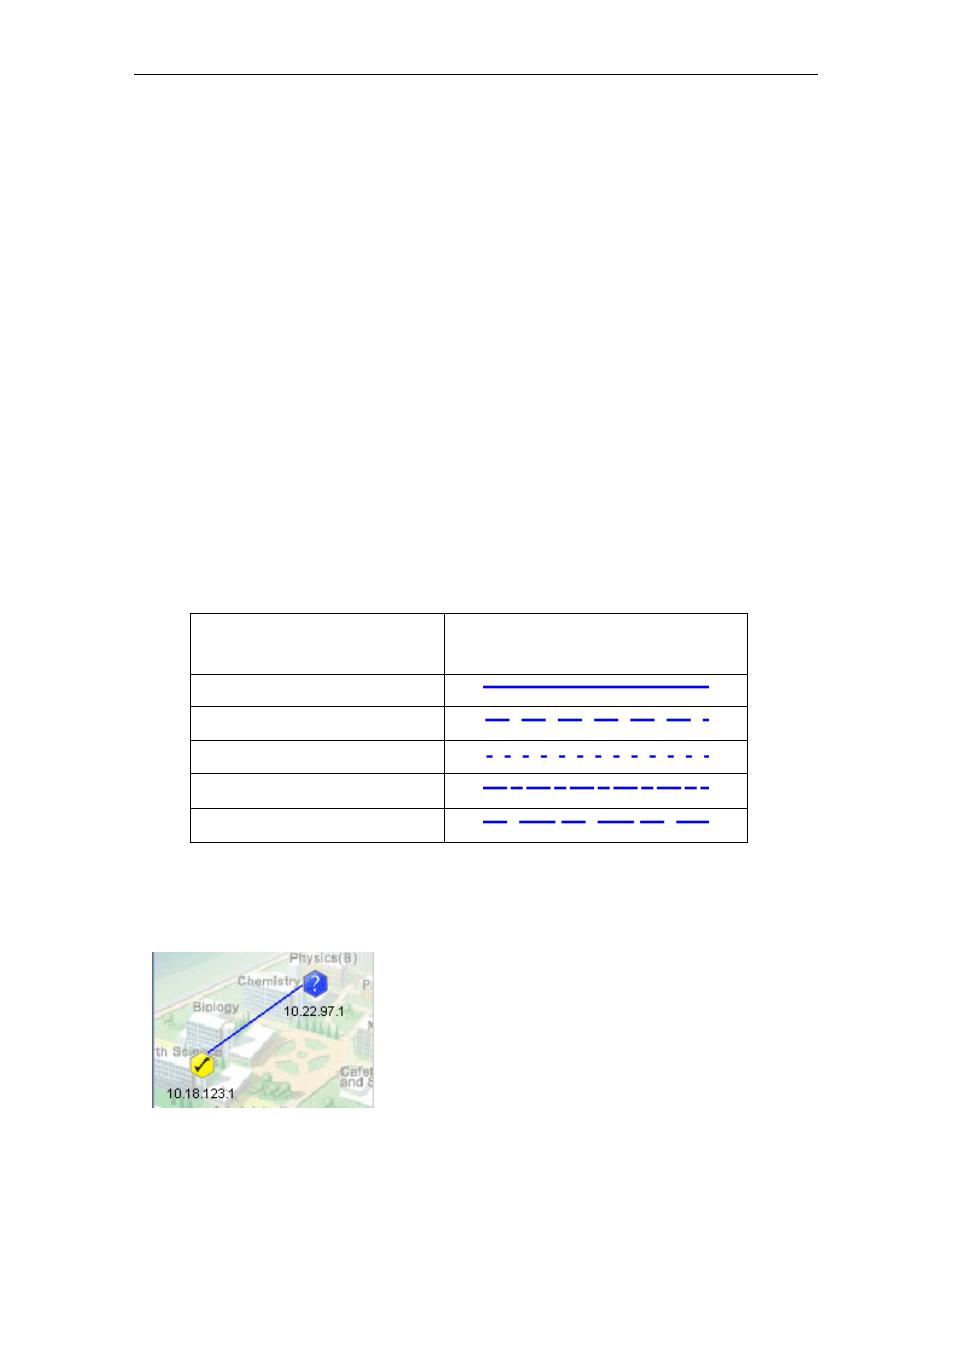
Here is an example to show the effect of the map customization.
a) The original map