Image sending options, Notes on sending images, Size before sending (= 138) – Canon PowerShot SX60 HS User Manual
Page 138
138
Before Use
Basic Guide
Advanced Guide
1
Camera Basics
2
Auto Mode /
Hybrid Auto Mode
3
Other Shooting Modes
5
Tv, Av, M, C1, and C2 Mode
6
Playback Mode
7
Wi-Fi Functions
8
Setting Menu
9
Accessories
10
Appendix
Index
4
P Mode
Image Sending Options
You can choose multiple images to send at once and change the image
resolution (size) before sending. Some Web services also enable you to
annotate the images you send.
Notes on Sending Images
●
Keep your fingers or other objects off the Wi-Fi antenna area
(= 3). Covering this may decrease the speed of your image
transfers.
●
Depending on the condition of the network you are using, it may take
a long time to send movies. Be sure to keep an eye on the camera
battery level.
●
Up to 50 images can be sent together at once. One movie up to five
minutes (or one digest movie up to 13 minutes) can be sent. However,
Web services may limit the number of images or length of movies you
can send. For details, refer to the Web service you are using.
●
For movies that you do not compress (= 121), a separate,
compressed file is sent instead of the original file. Note that this may
delay transmission, and the file cannot be sent unless there is enough
space for it on the memory card.
●
When sending movies to smartphones, note that the supported image
quality varies depending on the smartphone. For details, refer to the
smartphone user manual.
●
On the screen, wireless signal strength is indicated by the following
icons.
[
] high, [ ] medium, [ ] low, [ ] weak
●
Sending images to Web services will take less time when resending
images you have already sent that are still on the CANON iMAGE
GATEWAY server.
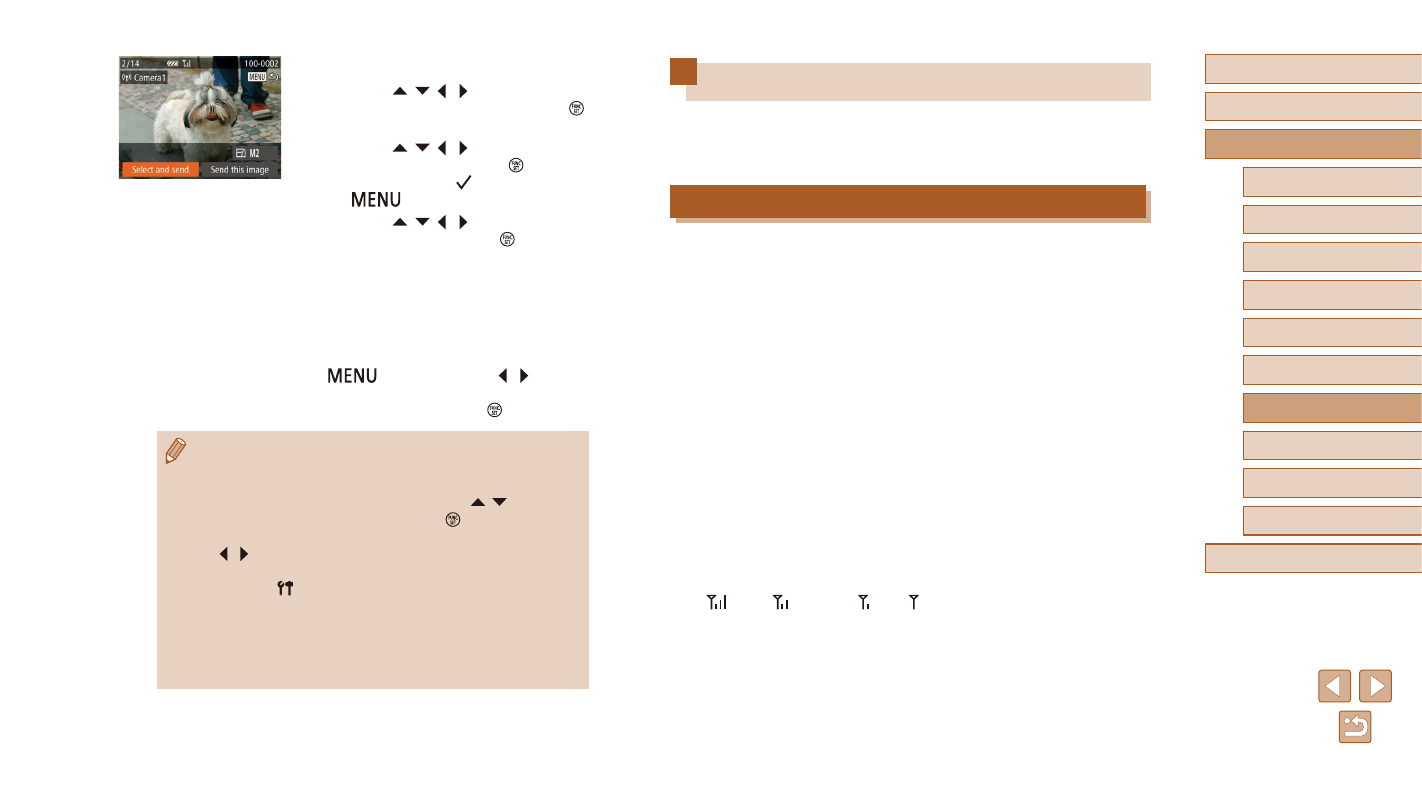
4
Send images.
●
Press the [ ][ ][ ][ ] buttons to choose
[Select and send], and then press the [ ]
button.
●
Press the [ ][ ][ ][ ] buttons to choose
an image to send, press the [ ] button to
mark it as selected ([ ]), and then press
the [
] button.
●
Press the [ ][ ][ ][ ] buttons to choose
[Send], and then press the [ ] button.
●
Image transfer will begin. The screen
darkens during image transfer.
●
[Transfer completed] is displayed after
the image is sent, and the image transfer
screen is displayed again.
●
To cancel the connection, press the
[
] button, press the [ ][ ] buttons
on the confirmation screen to choose
[OK], and then press the [ ] button.
●
Connections require that a memory card be in the camera.
●
Once you have connected to devices via the Wi-Fi menu, recent
destinations will be listed first when you access the Wi-Fi menu.
You can easily connect again by pressing the [ ][ ] buttons to
choose the device and then pressing the [ ] button. To add a
new device, display the device selection screen by pressing the
[ ][ ] buttons, and then configure the setting.
●
If you prefer not to display recent target devices, choose MENU
(= 30) ► [ ] tab ► [Wi-Fi Settings] ► [Target History] ►
[Off].
●
You can also send multiple images at once and change the image
size before sending (= 138).
●
You can send the current image by choosing [Send this image] on
the screen in step 4.