Canon EOS R6 Mark II Mirrorless Camera with 24-105mm f/4-7.1 Lens User Manual
Page 417
Time-lapse movie shooting ends if the power switch is set to <
>, for
example, and the setting is changed to [
Disable
].
Even if a flash is used, it will not fire.
The following operations cancel standby for time-lapse movie recording and switch
the setting to [
Disable
].
• Selecting either [
Clean now
] in [ :
Sensor cleaning
] or [
Basic settings
]
in [
Reset camera
]
• Turning the Mode dial to <
>, <
>, <
>, <
>, or <
>
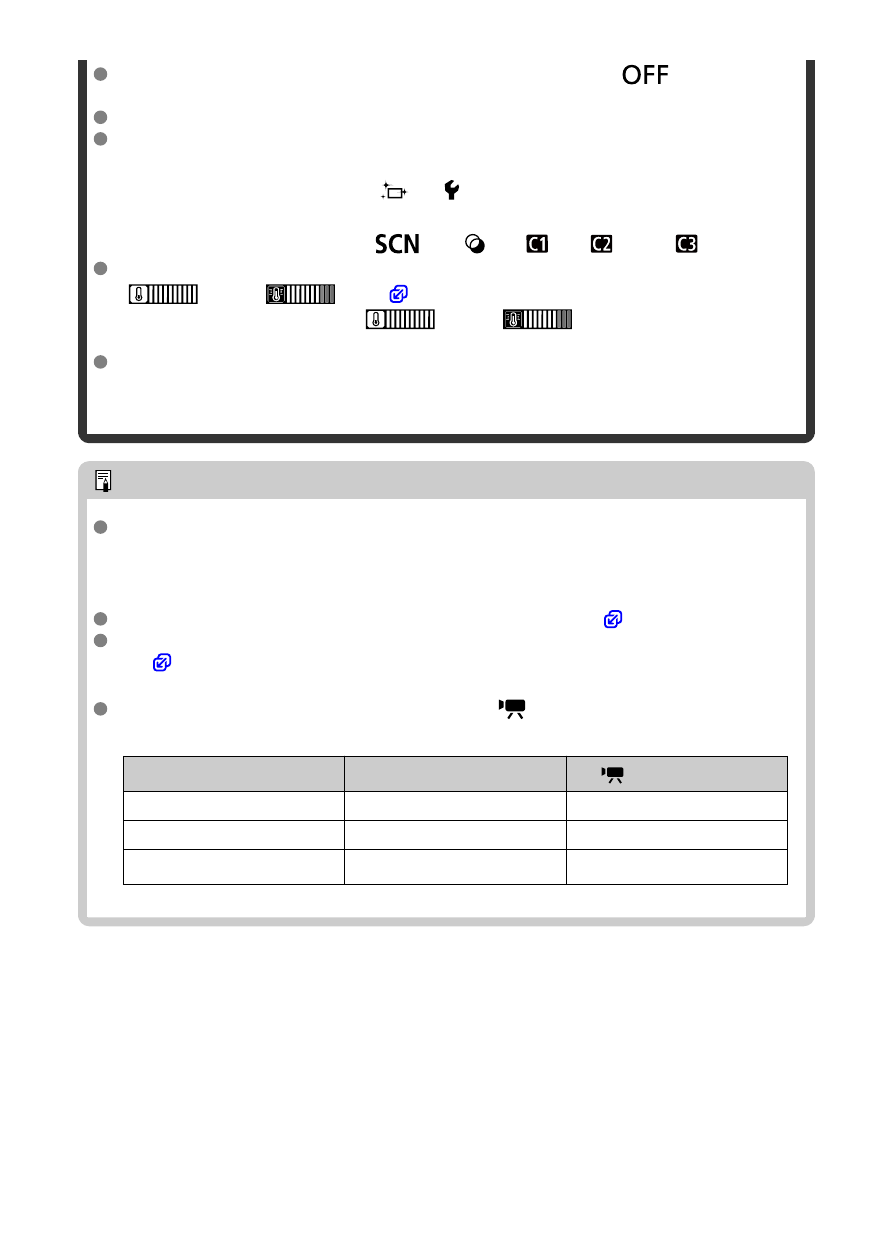
Image quality may be lower if you start time-lapse movie recording while a white
[
] or red [
] icon (
) is displayed. For best results, before
recording, wait until the white [
] or red [
] icon is no longer
displayed, which indicates that the camera has cooled down.
With [
Auto exposure
] set to [
Each frame
], the ISO speed, shutter speed, and
aperture value may not be recorded in the time-lapse movie Exif information in
some shooting modes.
Note
You can use Wireless Remote Control BR-E1 (sold separately) to start and stop
time-lapse movie recording.
With Wireless Remote Control BR-E1
First, pair Wireless Remote Control BR-E1 with the camera (
After you take some test shots and the camera is ready to shoot (as in step
13,
), set the release timing/movie shooting switch on the BR-E1 to <●>
(immediate release) or <2> (2-sec. delay).
If the remote control's switch has been set to <
>, the time-lapse movie
recording cannot start.
Camera Status/Remote Control
Setting
<●> Immediate Release
<2> 2-sec. Delay
<
> Movie Recording
Test-recording screen
Test recording
To recording standby
Recording standby
Starts recording
To test-recording screen
During time-lapse movie
recording
Ends recording
Ends recording
417