Function setting] menu, Marker setting – Sony ECM-X7BMP Electret Condenser Lavalier Microphone for UWP Transmitters User Manual
Page 47
Adjustment Using the Menus
47
– When [Pixel Zoom] is set to on
When the HDMI computer signal is input (The native
scan is displayed regardless of the setting.)
When a digital cinema signal (2048 × 1080) is input
and the internal signal is displayed ([Native Scan] is set
to [Off] and the normal scan is displayed regardless of
the setting.)
When the signal system is the SD signal of 720 × 576,
[Native Scan Mode] is set to [Aspect Correction] or
[×2] and the internal signal is displayed ([Native Scan]
is set to [Off] and the normal scan is displayed
regardless of the setting.)
Display of the input signal system 2048 × 1080
When the input signal system is 2048 × 1080 and the
native scan mode is selected, you can display no display
area of the left and right sides over the H size (1920) by
sliding the picture with the PHASE knob of the
controller. You can restore the display position to the
center by pressing the MANUAL button of PHASE on
the controller.
Note
The set position is held even when the system is changed
to another input signal system.
Display of the input signal system 576/50i or 576/
50P
When the input signal system is the SD signal of 720 ×
576 and [Native Scan Mode] is set to [×2] or [Aspect
Correction], you can display no display area of the upper
and lower sides over the V size (1080) by sliding the
picture with the UP/DOWN button of the controller.
And when the input signal is the same as above and
[Native Scan Mode] is set to [Aspect Correction] and the
aspect ratio is 16:9, you can display no display area of the
left and right sides over the H size (1920) by sliding the
picture with the PHASE knob of the controller. You can
restore the display position to the center by pressing the
MANUAL button of PHASE on the controller.
Note
The set position is held even when the system is changed
to another input signal system.
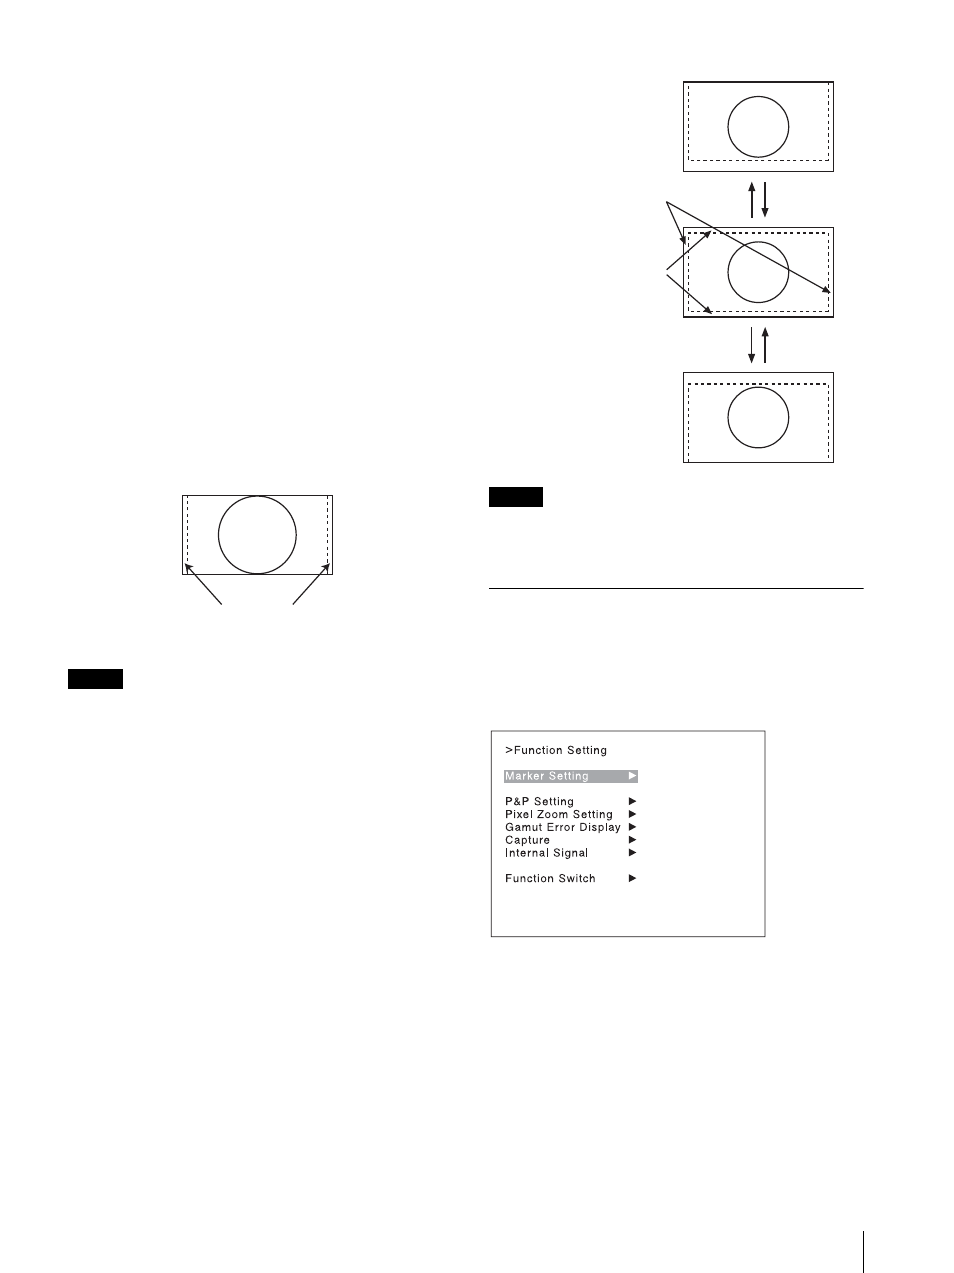
[Function Setting] Menu
This menu is used to set the function related to the
picture display.
When [Function Setting] is selected, the following menu
is displayed.
[Marker Setting]
Sets whether or not to display the marker when the
MARKER button is pressed. Also sets the display mode.
When the item is selected, the marker preset data to be
set is displayed. To change the marker preset data to be
adjusted, you can select from [Marker1], [Marker2],
[Marker3], [Marker4], and [Marker5] in the [Marker
Preset] menu (page 38) of the [Channel Configuration]
menu.
Displayed by sliding the picture with the
PHASE knob of the controller.
Displayed the whole picture of
the H direction by sliding the
picture with the PHASE knob of
the controller.
Displayed the whole picture of
the V direction by sliding the
picture with the UP/DOWN
button of the controller.
UP button
DOWN button
UP button
DOWN button