4 entering a dde field, Entering a dde field – Daktronics Venus DataStreamer User Manual
Page 57
Creating Messages for the Panelized DataTrac
51
next to the color field and then click the desired color.
4. Within the Display tab, choose the alignment of the date field by clicking on the down
arrow next to the Justification field and click Center, Top, or Bottom. Refer to Section 8
for information on setting conditionals.
5. Click the File menu and select Save As. The Save As dialog window will appear.
Enter a name for the field and click OK. The message is now saved.
7.4 Entering a DDE Field
Dynamic Data Exchange (DDE) fields are used to display information from other DDE
compliant programs such as Microsoft Excel. The following example will use information
coming from an Excel spreadsheet.
To add a DDE field, complete the following
steps:
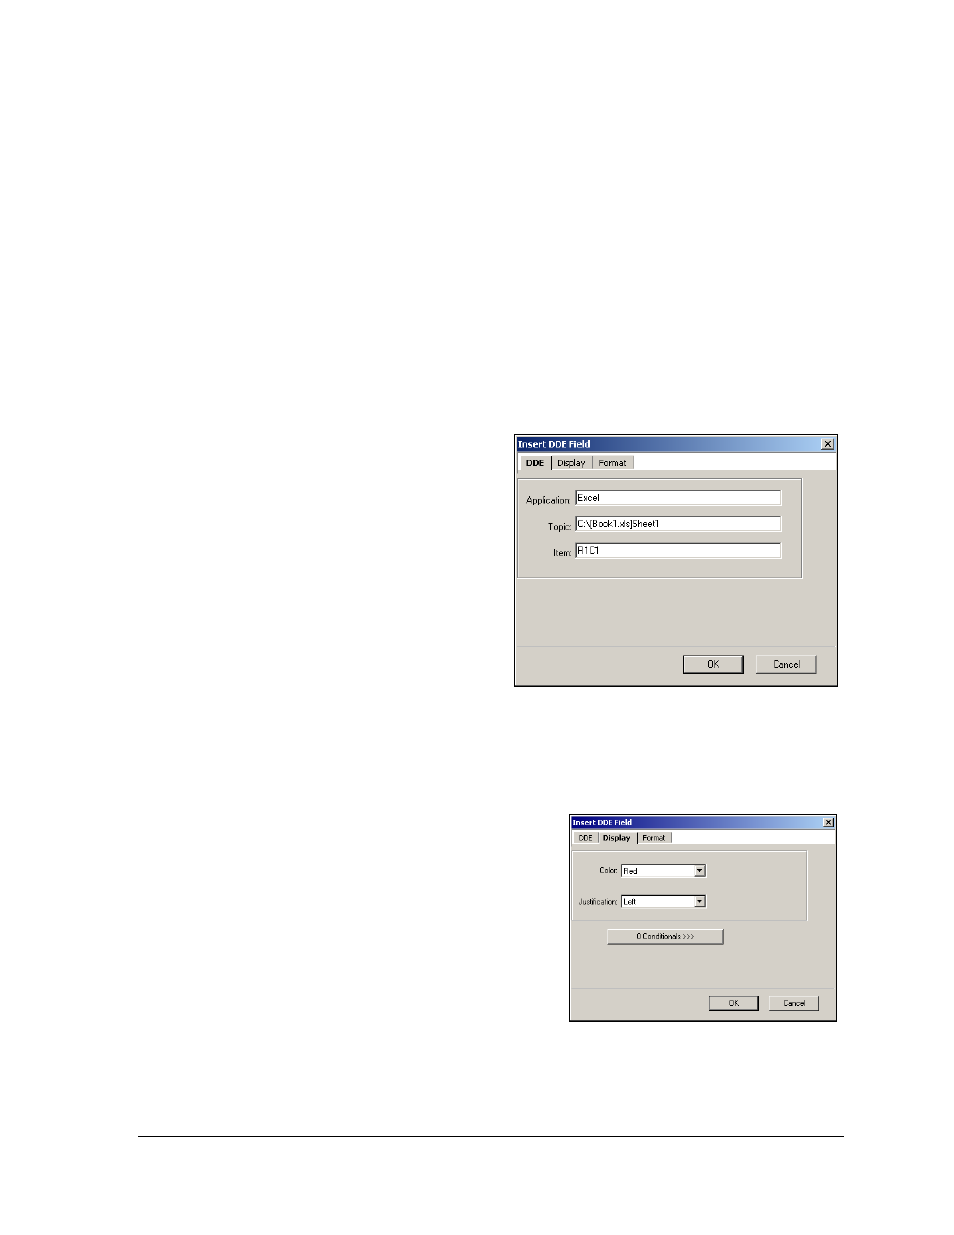
1. Click the DDE icon located in the
left toolbar.
2. In the
Application field, enter the
name of the program from which
the information is coming (Ex:
Excel) as shown in Figure 87.
3. Enter the complete file name of the
file to be monitored in the Topic
field (including file extensions and
worksheet name).
4. In the Item field, enter the location of the data in the source program. For example, in
a spreadsheet situation, enter the row and column of the information to be displayed.
For instance, data being pulled from row 1
column A would be entered as R1C1.
5. Click the Display tab and the Display
dialog window will appear as shown in
6. Select the text color by clicking on the
down arrow next to the color box. Repeat
this process to set the Justification of the
information. Refer to Section 8 or
information on setting conditionals.
7. Click the Format tab and the Format dialog window will appear as shown in Figure
Figure 87: Inserting DDE Field
Figure 88: DDE Display Tab