Operation – Beisler 1265-4 User Manual
Page 36
Operating Instructions Automatic Single-Head Serging Machine 1265-4
Beisler GmbH
B-26
B.3
Operation
B.3.10 Stopping a sewing program
You can use the program stop switch of the operating panel to stop the
machine cycle.
1. Fig. 21: Press the program stop switch 1.
All machine movements and the sewing process are stopped immedia-
tely. The switch is locked after it has been pressed.
2. To restart the machine after a program stop, all functions must be re-
set and the machine cycle must be set to zero position. This is done
by unlocking the program stop switch.
Rotate the switch clockwise until it is unlocked and returns to its origi-
nal position.
The control program performs a restart.
B.3.11 Moving the machine to zero position
Prior to a production start, after machine tests or after sewing program
modifications, the machine must be moved to its zero position before a ma-
chine cycle can be started:
1. Press the program stop switch.
2. Unlock the program stop switch.
B.3.12 Shutting the machine down
For extended work intermissions, the machine must be shut down com-
pletely.
1. Switch off power supply by moving the main switch to the 0 position.
2. Disconnect the machine from the compressed air supply.
B.3.13 Cleaning the machine
The machine must be cleaned after large production series or at least once
a day, whichever occurs first.
CAUTION - Danger of injuries!
If the machine is put in motion accidentally, persons in its
direct vicinity may be caught by moving parts which may
cause injuries.
Prior to any cleaning work, disconnect the machine from the
power supply!
Turn the machine off using the main switch.
Remove the power plug from the socket and protect it
from accidental reconnection.
1. Remove fabric residues.
2. Blow off dust and thread residues from sewing head, working plate, main
clamp, and linear rail using compressed air.
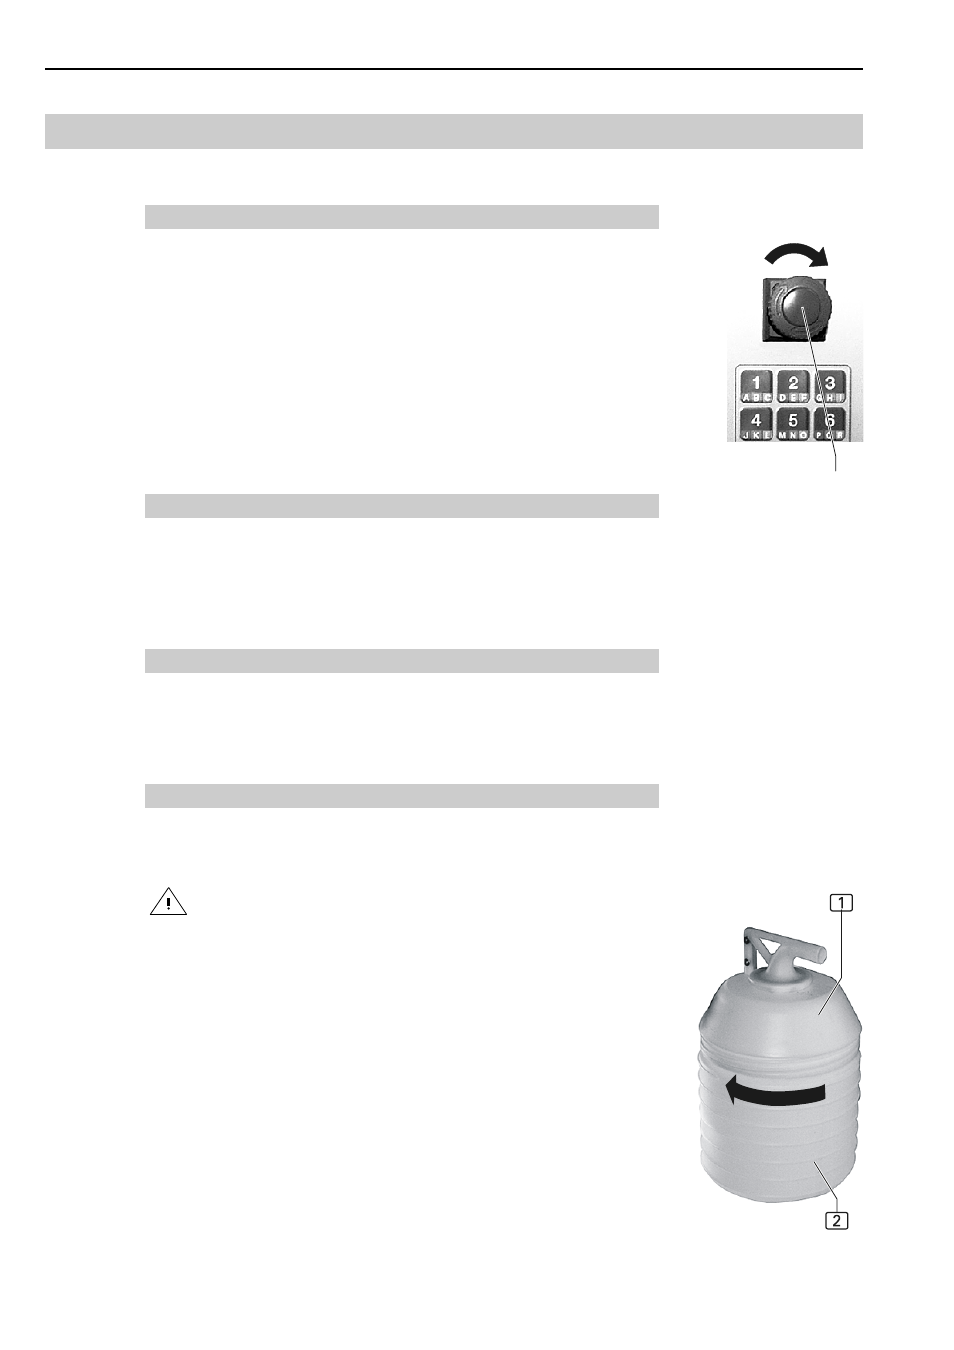
3. Fig. 22: Empty waste container: Unscrew container 2 from head 1
by rotating container clockwise.
4. Screw container counterclockwise onto container head.
Fig. 22
Fig. 23