Saving, restoring & copying schedules, Gpc-xp controller technical guide, Saving schedules – Orion System GPC-XP Controller User Manual
Page 37: Restoring schedules, Copying schedules, Set 24 hour operation, Erase schedules
GPC-XP Controller Technical Guide
Section 9: Setting Schedules
37
Saving, Restoring & Copying Schedules
Saving Schedules
To save the weekly time schedule, click
<Save>
. The
File Save
Window
will appear (Figure 75 below). Give the fi le a name in the
“Selected File” fi eld and click
<Save>
or press
<ENTER>
to save.
Figure 75: File Save Window
A message will pop up if the schedule is saved successfully.
Click
<OK>
to make it disappear.
Restoring Schedules
Click
<Restore>
to restore any previously saved schedule from a
previously saved fi le. Click
<Open>
. A message will pop up if the
schedule is restored successfully.
Click
<OK>
to make it disappear.
If you try to load a schedule from one type of controller to a different
type of controller, Prism 2 will display an error message and prevent
you from making this mistake.
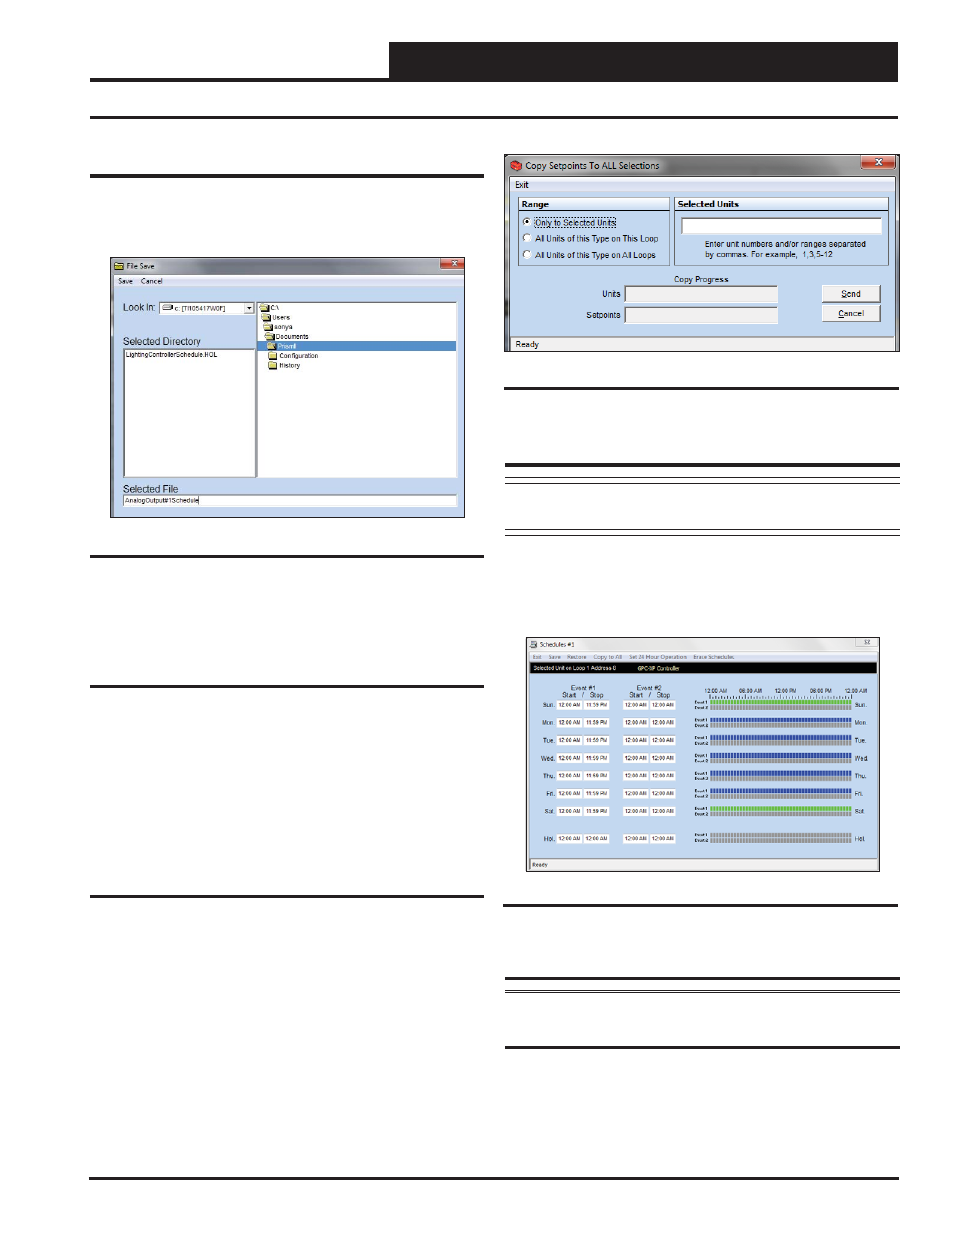
Copying Schedules
Click
<Copy To All>
to copy a schedule to other controllers. The
Copy Setpoints Window will appear (Figure 76).
Select
a range to copy to in the
Range Box
or type unit number(s)
in the
Selected Units Box
and then
click
<Send>
to start the copy
process. When the copying is complete, the message
Copy Completed
will appear in the bottom status bar of the window.
Click
<Exit>
to
close the window.
Figure 76: Copy Setpoints Window
Set 24 Hour Operation
NOTE: Make sure to save any schedules you desire before
selecting this option.
To set all schedules for continuous operation, click
<Set 24 Hour
Operation>
. The
Schedules Window
will display constant operation
for weekends and weekdays (Figure 77 below). In order to return to
the normal schedule, you will need to restore the schedule.
Figure 77: Set 24 Hour Schedule Operation
Erase Schedules
WARNING: <Erase Schedules>
will clear ALL entered
stop/start times, so use with caution.
To erase all schedules, click
<Erase Schedules>
. The schedules
will be completely cleared. In order to return to a schedule, you will
need to restore the schedule.