Setting holidays and schedule override, Gpc-xp controller technical guide 38 – Orion System GPC-XP Controller User Manual
Page 38
Section 9: Setting Schedules
GPC-XP Controller Technical Guide
38
Click
on the date to highlight it and tag it as a holiday.
Days selected as holidays are indicated with a green background
and white text.
There are 14 holiday periods available for each year. These holiday
periods can be a single day or they can span multiple days, weeks,
or even months. The key to extended holiday periods is to make sure
you select every single day, including weekends, between the start
of the holiday and the end of the holiday.
For example, if you want to schedule a summer break, you need only
schedule one holiday period to defi ne a two or three month break
from operating in the occupied mode. Of course, the equipment will
still operate with its unoccupied settings.
Setting Holidays and Schedule Override
Every defi ned holiday uses the same Holiday operating schedule
programmed in the
Schedules Window
.
As in the case with Week Schedules, you can select the
<Erase>
button to clear all selected holidays at one time. Refer to Week
Schedules for directions on
<Save>
,
<Restore>
, and
<Copy to All>
.
Holidays can only be programmed for the current year. You cannot program
holidays before the next year occurs. Holidays do not automatically
adjust for the new year, so you will need to access this screen after
the new year and make necessary adjustments to the days that fl oat,
such as Memorial Day.
Setting Holidays
If your job-site has days during the year when you need
to override the standard operating hours to accommo-
date holidays or other special events, you can use this
window to select the holidays.
To access the controller’s Holiday scheduling,
click
the
<Holidays>
button in the Schedules Status Window (Figure 73, page 35). The
Holiday Schedule Window
will appear. See Figure 78 below.
Figure 78: Holiday Schedule Window
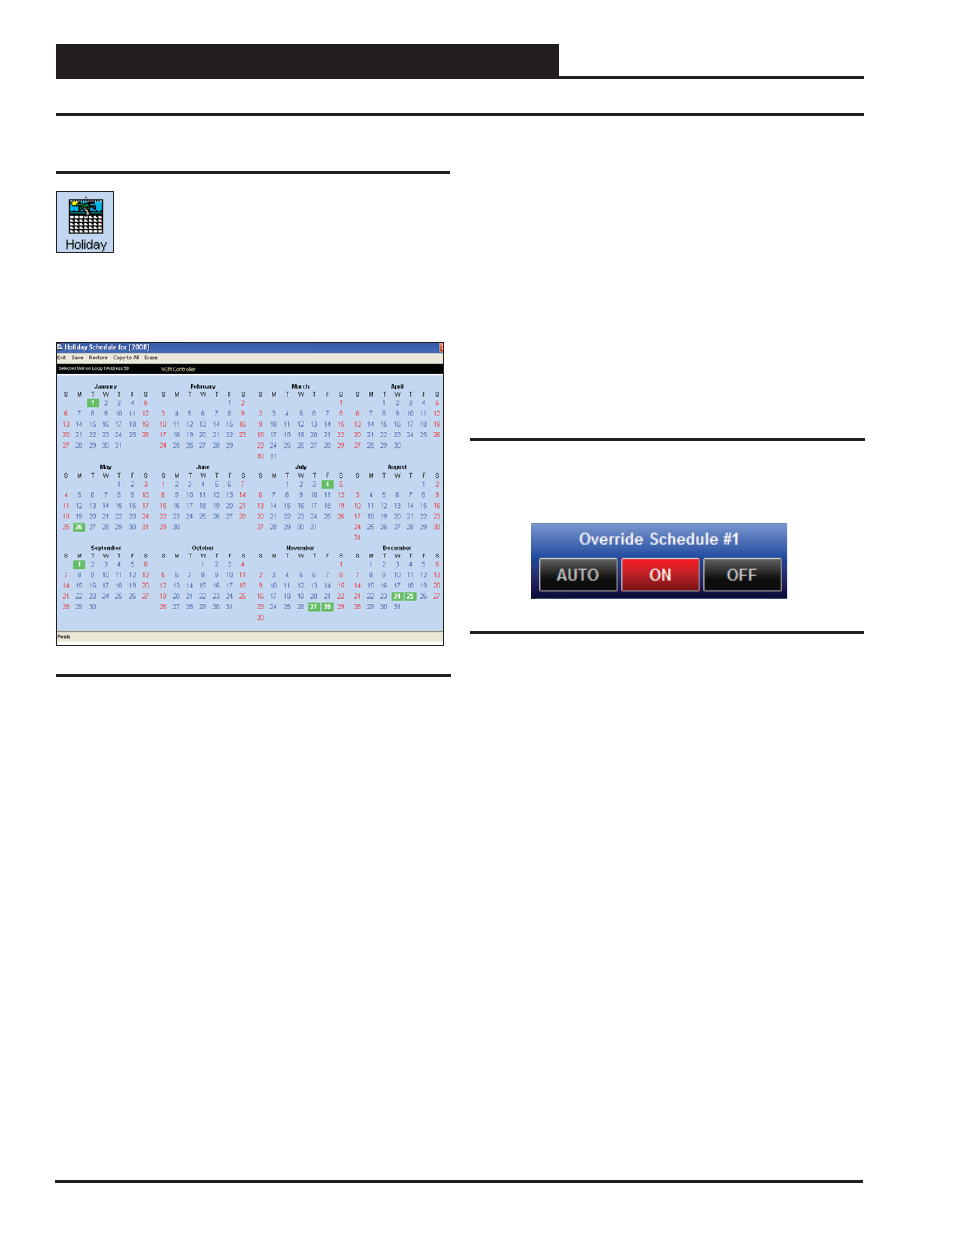
Schedule Override
To override a schedule, click on the
<Force Modes>
button next to
the Schedule you wish to override from the Schedules Status Window
(Figure 73, page 35). See Figure 79 below.
●
Auto - Click Auto to have the schedule run under its
normal schedule.
●
ON - Click ON to override the schedule and have the
schedule be continuously occupied.
●
OFF - Click OFF to override the schedule and have the
schedule be continuously unoccupied.
Figure 79: Override Schedule