7 - backup and restore, Backup, Restoring – Teac 2488 User Manual
Page 72: 7 – backup and restore
72
TASCAM 2488
User’s Guide
7 – Backup and restore
Backup
You can use the 2488 disc drive to back up your work
to disc. You can either use CD-R media (cheaper, but
you can only use it once) or CD-RW media (slightly
more expensive, but you can erase and reuse it a
number of times).
NOTE
The operations all deal with songs on the currently-
selected partition. If the song you want is on another
partition, you must select another disk partition as the
active partition before proceeding (see “Selecting the
active partition” on page 65).
The discs you make in this way are not audio CD—
you cannot play it on a CD player, and it can be read
only by a 2488. If you have friends with 2488 units,
this is a very convenient way of taking your songs
around (you could record the drums in one location,
take the CD over to the bassist, then the guitarist, and
vocalist, and then finish the mixdown at yet another
location with great monitoring facilities).
NOTE
Observe the usual precautions when working with
recordable media: handle discs by their edges, avoid
getting fingerprints or grease on the recording surface,
and keep them clean. Also, avoid using hard pens or
pencils or oil-based markers to label the discs.
Have a blank CD-R or CD-RW disc ready before
proceeding with the instructions described here.
1
First, save all your song to disk.
Press
MENU
, select
SONG
, and then select
SAVE
.
2
Press
ENTER
, and a popup appears, telling
you that the song is being saved. The HD indi-
cator lights as the song is saved.
The display shows the home screen after the
save has been done.
3
Open the CD-RW drive, using the eject button
on the drive, and load your blank disc into the
tray, recording side down. Use the drive but-
ton to close the tray.
Now press the
MENU
key and select
DATA
BACKUP
.
4
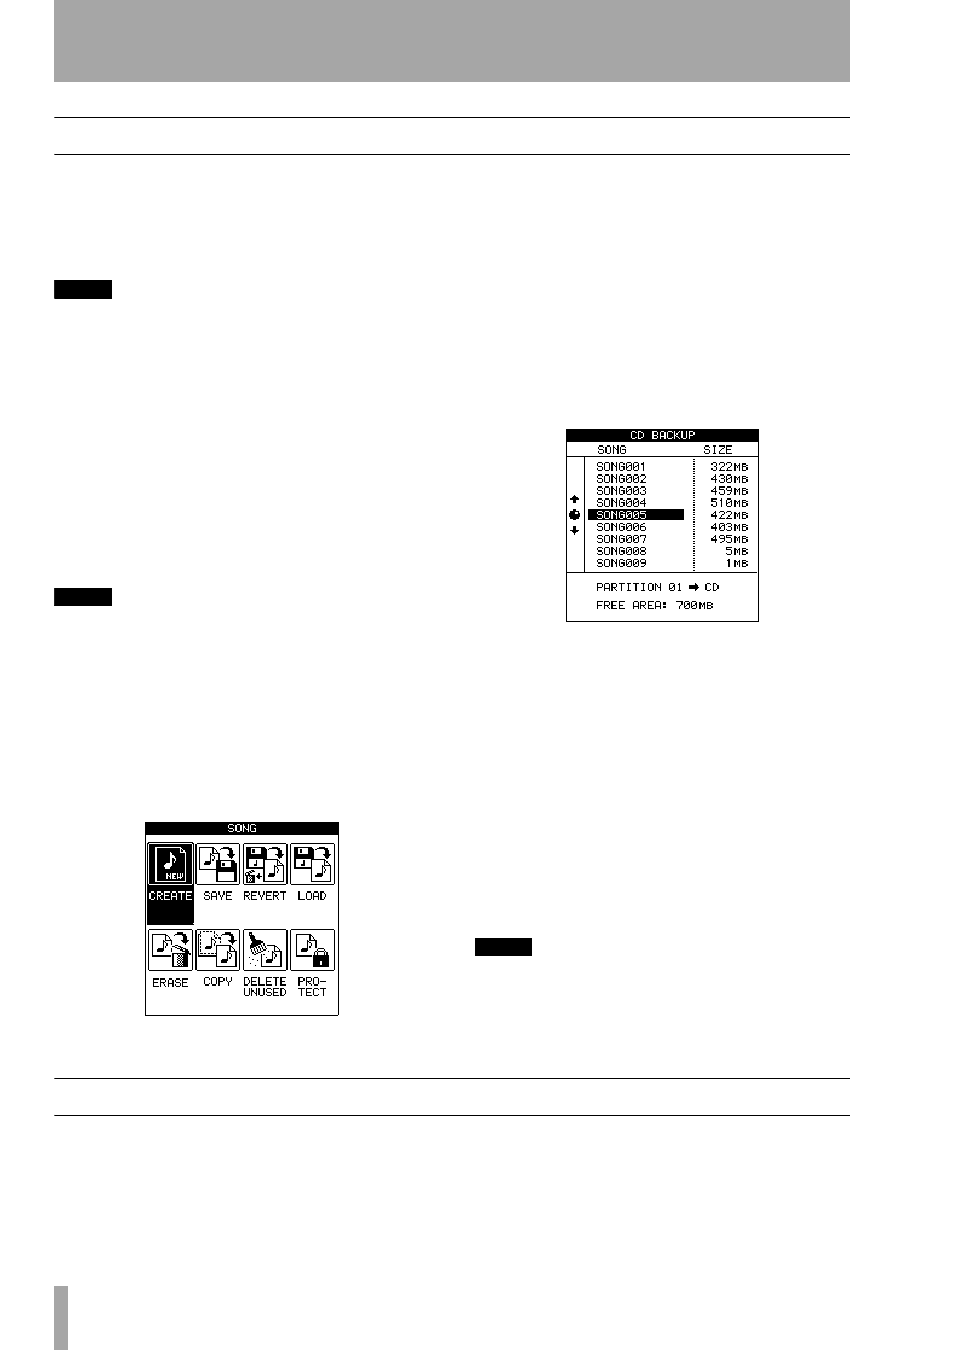
Select your song using the wheel and press
ENTER
. A pop-up message appears telling you
how many discs will be needed to back up the
song.
5
Press
ENTER
again. A pop-up message tells
you the progress of the backup operation.
A backup may span more than one disc.
6
When the backup is complete or if the first
disc is full, the disc drive tray opens. Remove
the disc, label it and store it in a safe place.
7
Continue the process if more discs are needed
until the backup is complete.
NOTE
If you are backing up to more than one disc, you must
ensure that the discs are identical (from the same man-
ufacturer). Even if two discs from different manufactur-
ers have the same stated capacity, you may not be able
to use them in the same backup operation.
Restoring
If you ever need to restore your data from a data
backup CD or CDs, you basically reverse the
process.
Before you start restoring a song, make sure that you
have all the discs that were used to back up the song.
If some of the discs are missing, you will not be able
to restore the song (you cannot load half a song).