Backing up, Restoring, Backing up restoring – Teac 2488 User Manual
Page 74: 7 – backup and restore
7 – Backup and restore
74
TASCAM 2488
User’s Guide
Backing up
If you do not understand the 2488’s disk arrange-
ment, you should read “Disk management and file
import/export” on page 65 before proceeding.
Backup to a computer connected via USB is a two-
stage process. The first stage is copying the song data
from the native partition to the FAT partition, and the
second stage is copying from the FAT partition to the
computer.
To backup:
1
With the transport stopped, press the
MENU
key. Note that you do not have to connect the
2488 to the computer at this stage.
From the
DATA BACKUP
menu, select
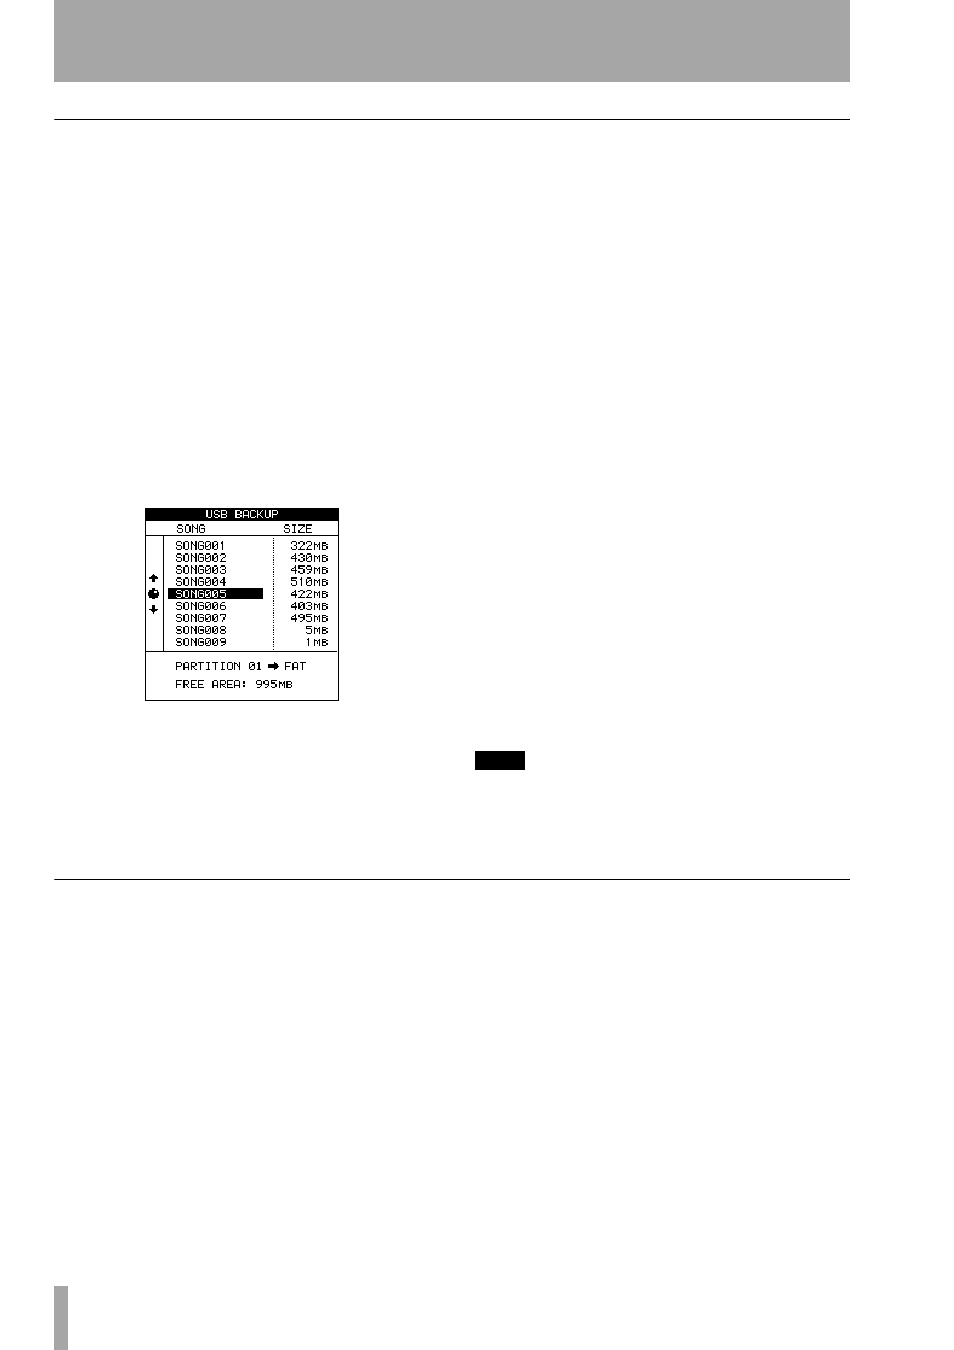
USB BACKUP
.
The screen shows a list of songs on the current
partition, and their size.
2
Note the size of the free space available on the
FAT partition, and select a song which will fit
onto that partition.
3
Press
ENTER
when you’ve selected the song.
The
HD
indicator flashes as the song data is
copied.
•
The song files in the FAT partition will
appear as “8.3” filenames, rather than with
the 12-character internal names. The “real”
longer names are stored as a part of the
song.
4
When the copy is finished, attach the 2488 to
your computer using a USB 2.0 cable.
5
Select the
DISK
option and press
ENTER
and
then select the
USB OPEN/CLOSE
option and press
ENTER
(see “Enabling and disabling USB” on
The 2488 will appear as a removable disk on
your computer system.
6
Drag and drop the song file from the 2488 to
your computer’s disk. You can then archive it,
burn a backup CD-R, etc. Note that you
should not rename it at all—when you come to
restore it, the 2488 needs the filename in its
original state as it came from the 2488.
7
You can now disconnect the 2488 from the
computer (see “Using USB for backup and
restore” on page 73).
8
Press
EXIT
to dismiss the popup message on
the 2488.
The 2488 restarts.
TIP
If you repeat this process many times, you may find that
the FAT partition fills up. You can manage the files on
the FAT partition from your computer, as well as erasing
the FAT partitions’s contents from the 2488.
Restoring
This is basically the reverse of the backup process.
The archived song data is copied from the computer
onto the 2488’s FAT partition and then onto the
2488’s native disk partition.
1
Select the
DISK
option and press
ENTER
and
then select the
USB OPEN/CLOSE
option and press
ENTER
.
2
Connect the 2488 to the computer.
The 2488 will appear as a removable disk on
your computer system.
3
Drag and drop the song file from your com-
puter’s disk to the 2488.
4
You can now disconnect the 2488 from the
computer (see “Using USB for backup and
restore” on page 73).
5
Press
EXIT
to dismiss the popup message on
the 2488.
The 2488 restarts.
6
Press the
MENU
key. From the
DATA BACKUP
menu, select
USB RESTORE
. The screen shows a