SMA SC 200 Installation User Manual
Page 31
SMA Solar Technology AG
Internal Electrical Connections
Installation Guide
SC20_25_35-IEN094521
31
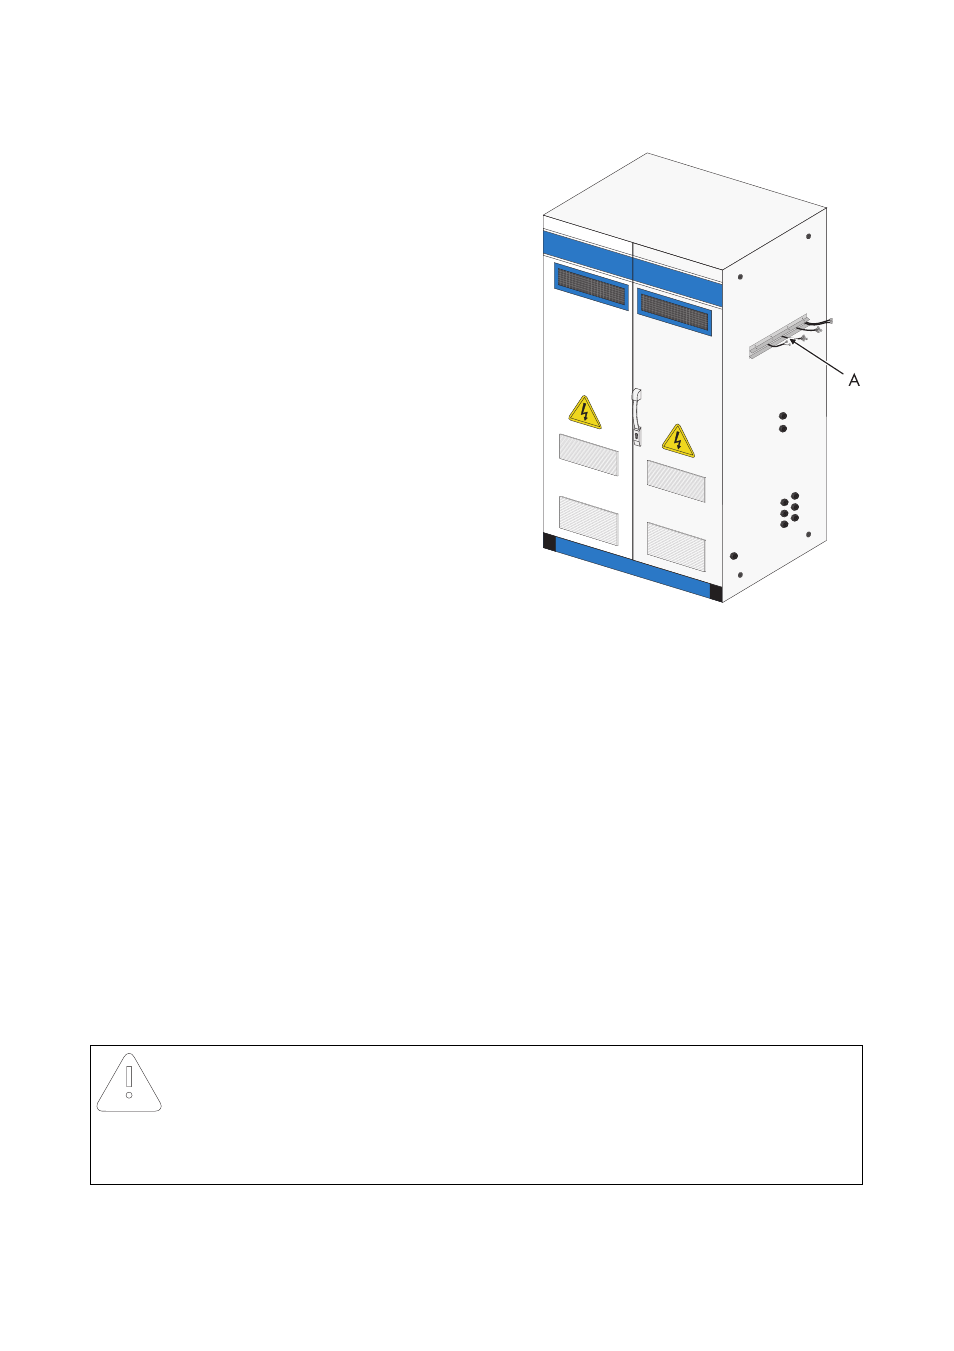
1. Open the knurled nuts on the sliding plates (A).
2. Move the sliding plates up or down.
3. Route the following wires through the clamping felt into the AC cabinet.
– Control lines
(see section 5.4 ”Connecting the Control Lines on the Transfer Terminal Strip” (page 42)).
– Data lines
(see section 5.5 ”Connecting the Sunny Central Control to the Power Unit” (page 43)).
– Internal control lines X8 and X9
(see section 5.6 ”Connecting the Internal Control Lines” (page 44)).
– Insulation monitoring cable (optional)
(see section 5.7 ”Connecting Insulation Monitoring (optional)” (page 45)).
– Temperature sensor
(see section 5.8 ”Installing the Internal Temperature Sensor” (page 46)).
☑ The individual lines are routed through the clamping felt into the AC cabinet. They are
required in the following steps.
4. Connect the control cables to the transfer terminal strip.
☑ The control cables are connected.
Notice!
Air permeable cable ducts cause corrosion in the Sunny Central.
• Press the sliding plates together with sufficient force.
• Tighten the knurled nuts on the sliding plates.