Each job account, Counting the number of pages printed – TA Triumph-Adler 1855 User Manual
Page 165
8-13
Job Accounting > Configuring Job Accounting
Counting the Number of Pages Printed
This counts the number of pages printed. Counts are classified into Total Job Accounting and Each Job Accounting. A
new count can also be started after resetting the count data which was stored for a certain period of time.
Total Accounting
This counts the number of pages for all accounts and resets the counts for those accounts together at the same time.
Each Job Accounting
This counts the number of pages for each account and resets the counts by account. When checking Each Job
Accounting, select the account for which you want to check the count.
Types of the counts are as follows.
To check other items, press the [
Back
] key to return to the previous screen.
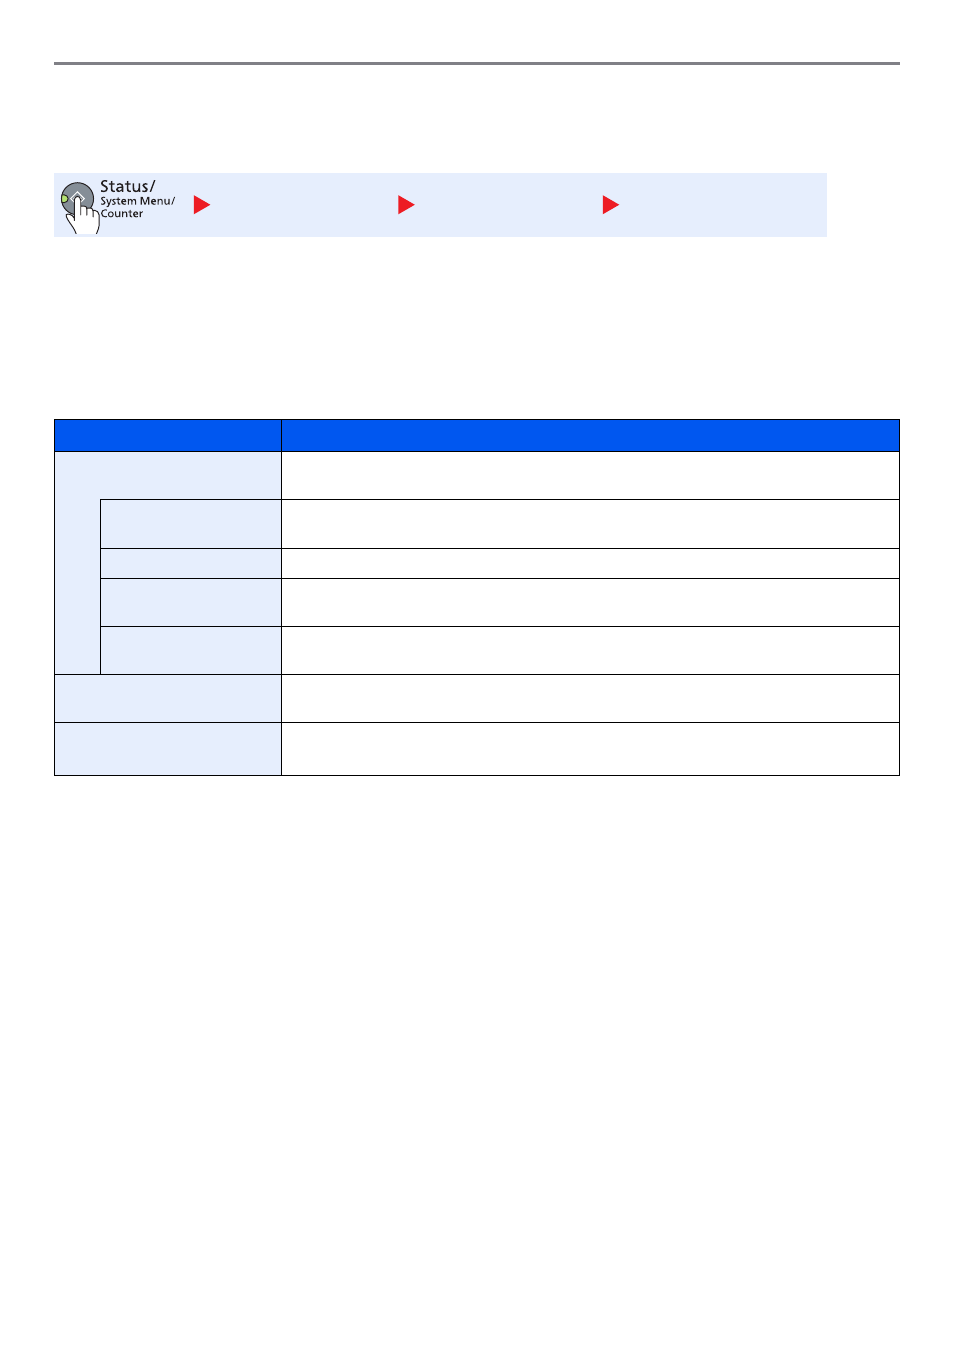
Admin/Accounting
Job Account. Set.
Total Accounting /
Each Job Accounting
Item
Descriptions
Printed Pages
Displays the number of pages copied and printed, and the total number of pages used. You can
also use [Duplex Pages] and [Combine Pages] to check the number of pages used.
Copy/Print Pages
Displays the number of pages copied and printed, and the total number of pages used. Press
the [
▲
] or [
▼
] key to switch the screens.
Total Print Pages
Displays the total number of pages used for copying and printing.
Duplex Pages
Displays the number of pages printed in [1-Sided] mode, [2-Sided] mode, and the total pages in
both modes. Press the [
▲
] or [
▼
] key to switch the screens.
Combine Pages
Displays the number of pages printed in [None] (no Combine) mode, [2 in 1] mode, [4 in 1]
mode, and the total pages in both modes. Press the [
▲
] or [
▼
] key to switch the screens.
Scanned Pages
Displays the number of pages scanned for copying and other functions, as well as the total
number of pages scanned. Press the [
▲
] or [
▼
] key to switch the screens.
Counter Reset
Resets the counter.
Press the [
▲
] or [
▼
] key to select [Yes] in the confirmation screen, and press the [
OK
] key.