Setting the shared printer, Setting the shared printer -16, Sharing printer on the host pc – TA Triumph-Adler 1855 User Manual
Page 42: Adding the shared printer on the client pc
2-16
Installing and Setting up the Machine > Installing Software
Setting the Shared Printer
If the computer connected to the machine (Host PC) via USB is also connected to the computer on the network (Client
PC), printing from the computer on the network is enabled by setting the machine as the shared printer.
This section explains how to operate the device on the Host PC and on the Client PC respectively by using the setting
example on Windows 7.
Sharing Printer on the Host PC
1
Click [
Start
] button on the Windows, and then click [
Devices and Printers
].
In Windows 8, select [
Settings
] in charms on Desktop, and select [
Control Panel
], and then
[
Devices and Printers
].
2
Right-click the printer driver icon of the machine, and click the [
Printer properties
] menu of
the printer driver.
3
Select [
Share this printer
] on the [
Sharing
] tab.
4
Click the [
OK
] button.
Adding the Shared Printer on the Client PC
1
Click [
Start
] button on the Windows, and then click [
Devices and Printers
].
In Windows 8, select [
Settings
] in charms on Desktop, and select [
Control Panel
], and then
[
Devices and Printers
].
2
Click [
Add a printer
].
3
Click [
Add a network, wireless or Bluetooth printer
].
4
Select the printer added via an operation on the Host PC from the list, and then click
[
Next
].
5
Confirm that the printer is added, and then click [
Next
].
6
Print the test page as needed, and then click [
Finish
].
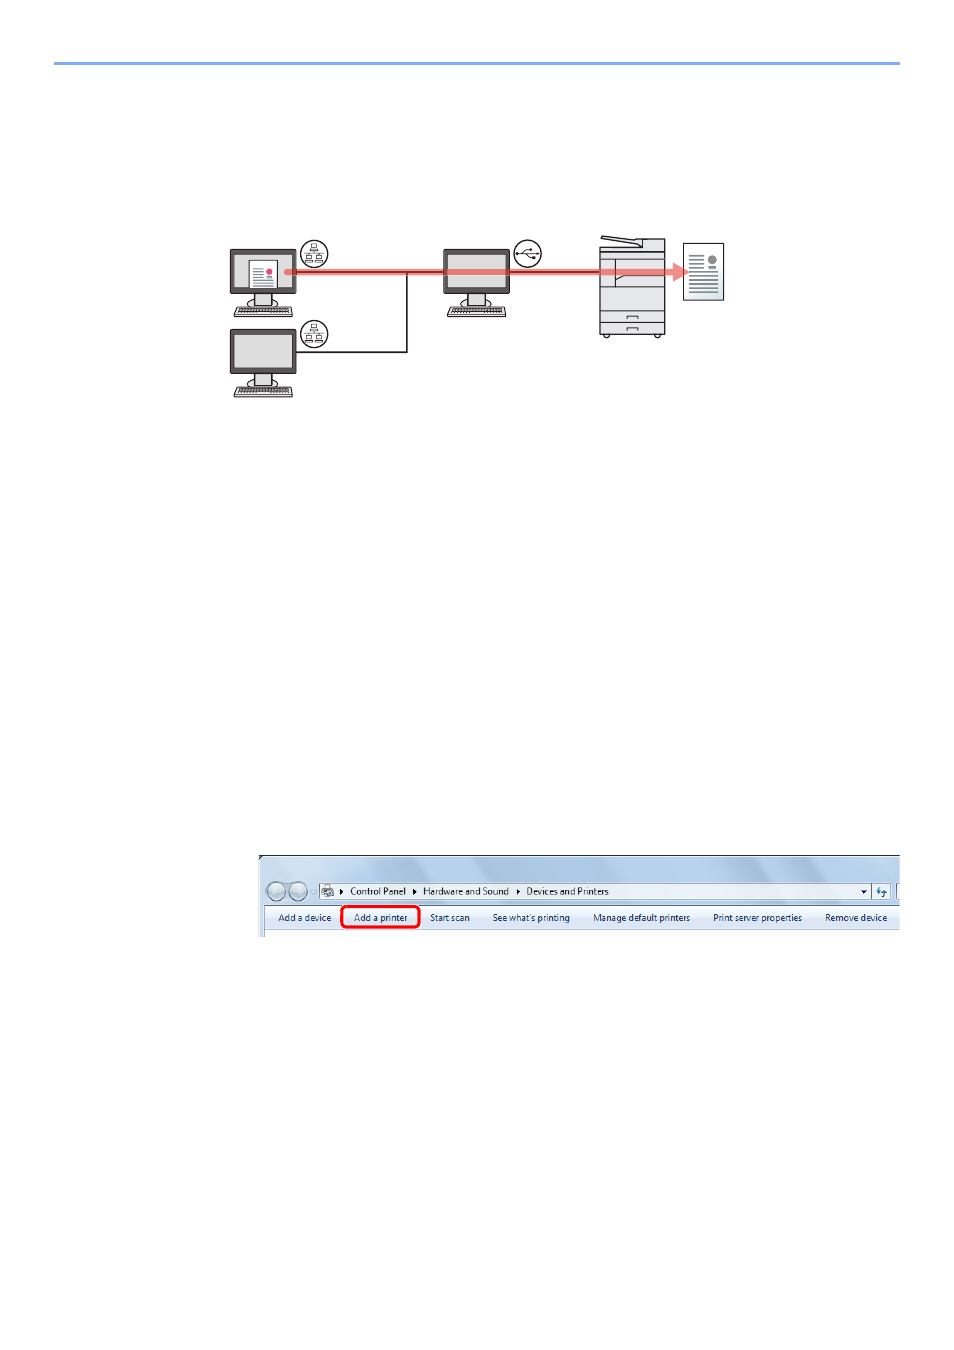
Host PC
Client PC
Network
Network
USB