Using the menu screen – Canon PowerShot G3 X User Manual
Page 31
31
Playback Mode
Wi-Fi Functions
Setting Menu
Accessories
Appendix
Index
Auto Mode /
Hybrid Auto Mode
Other Shooting Modes
P Mode
Tv, Av, M, C1, and C2 Mode
Before Use
Basic Guide
Advanced Guide
Camera Basics
3
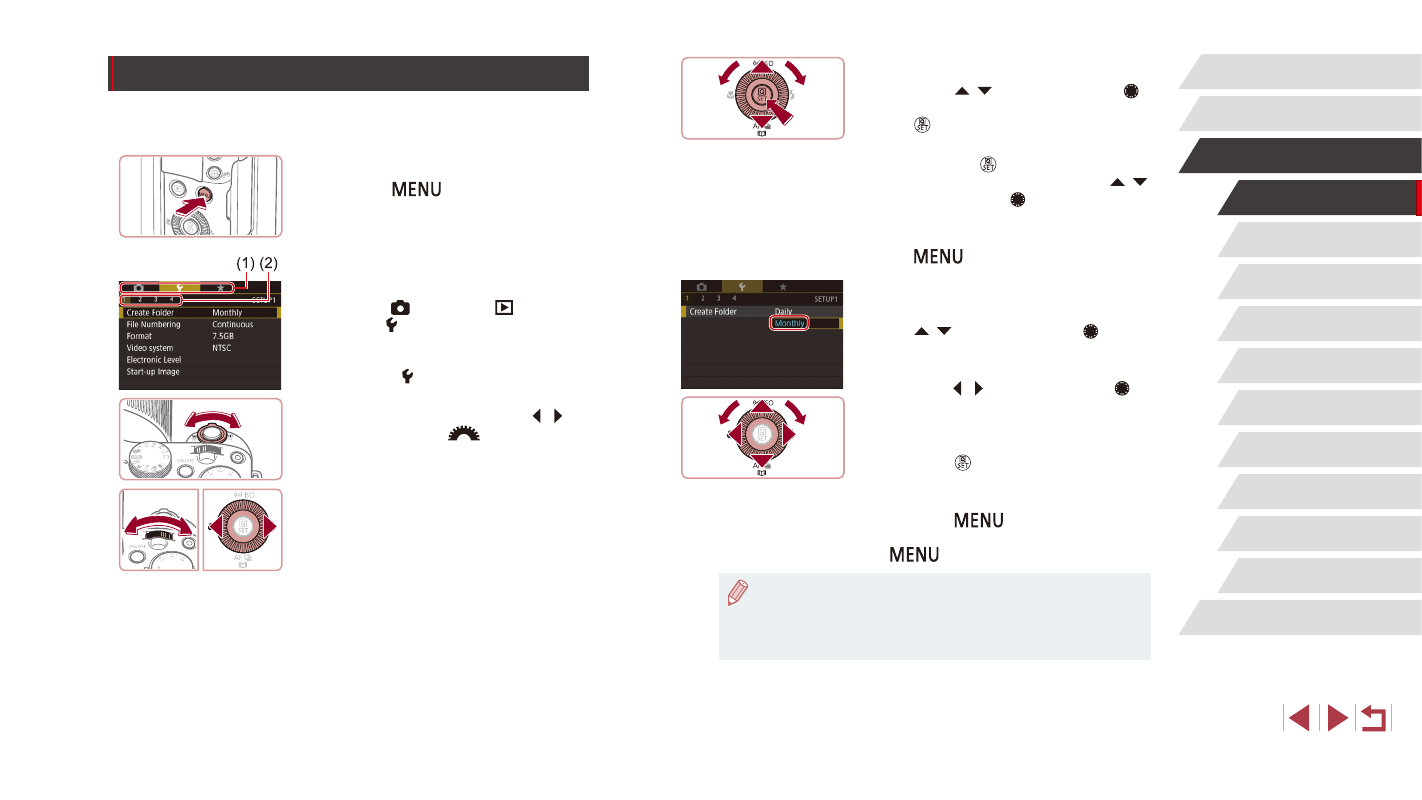
Choose a menu item.
z
Press the [ ][ ] buttons or turn the [ ]
dial to choose an item, and then press
the [ ] button.
z
For menu items with options not shown,
first press the [ ] button to switch
screens, and then either press the [ ][ ]
buttons or turn the [ ] dial to select the
menu item.
z
To return to the previous screen, press
the [
] button.
4
Choose an option.
z
When options are listed vertically, press
the [ ][ ] buttons or turn the [ ] dial to
choose an option.
z
When options are listed horizontally,
press the [ ][ ] buttons or turn the [ ]
dial to choose an option.
5
Finish the setup process.
z
Press the [ ] button to confirm your
choice and return to the menu item
selection screen.
z
Press the [
] button to return to the
screen displayed before you pressed the
[
] button in step 1.
●
To undo any accidental setting changes, you can restore the
camera’s default settings (= 165).
●
Available menu items vary depending on the selected shooting or
playback mode (= 200 – = 209).
Using the Menu Screen
Configure a variety of camera functions through the menu screen as
follows.
1
Access the menu screen.
z
Press the [
] button.
2
Choose a tab.
z
Tabs represent functions (1), such as
shooting ([ ]), playback ([ ]), or
settings ([ ]), or pages within each
function (2). Tabs are identified in this
manual by combining the function and
page, as in [ 1].
z
Move the zoom lever to choose the
function tab, and then press the [ ][ ]
buttons or turn the [
] dial to choose
the page tab.