5 lines lcd model(p. 232) – Canon imageCLASS MF264dw II Multifunction Monochrome Laser Printer User Manual
Page 241
●
If [Off] is selected, the shortcut key information registered in Step 4 in canceled.
●
When [USB Connection] is selected, go to Step 7.
6
Select the destination computer.
Select from computers on the network where the machine participates.
7
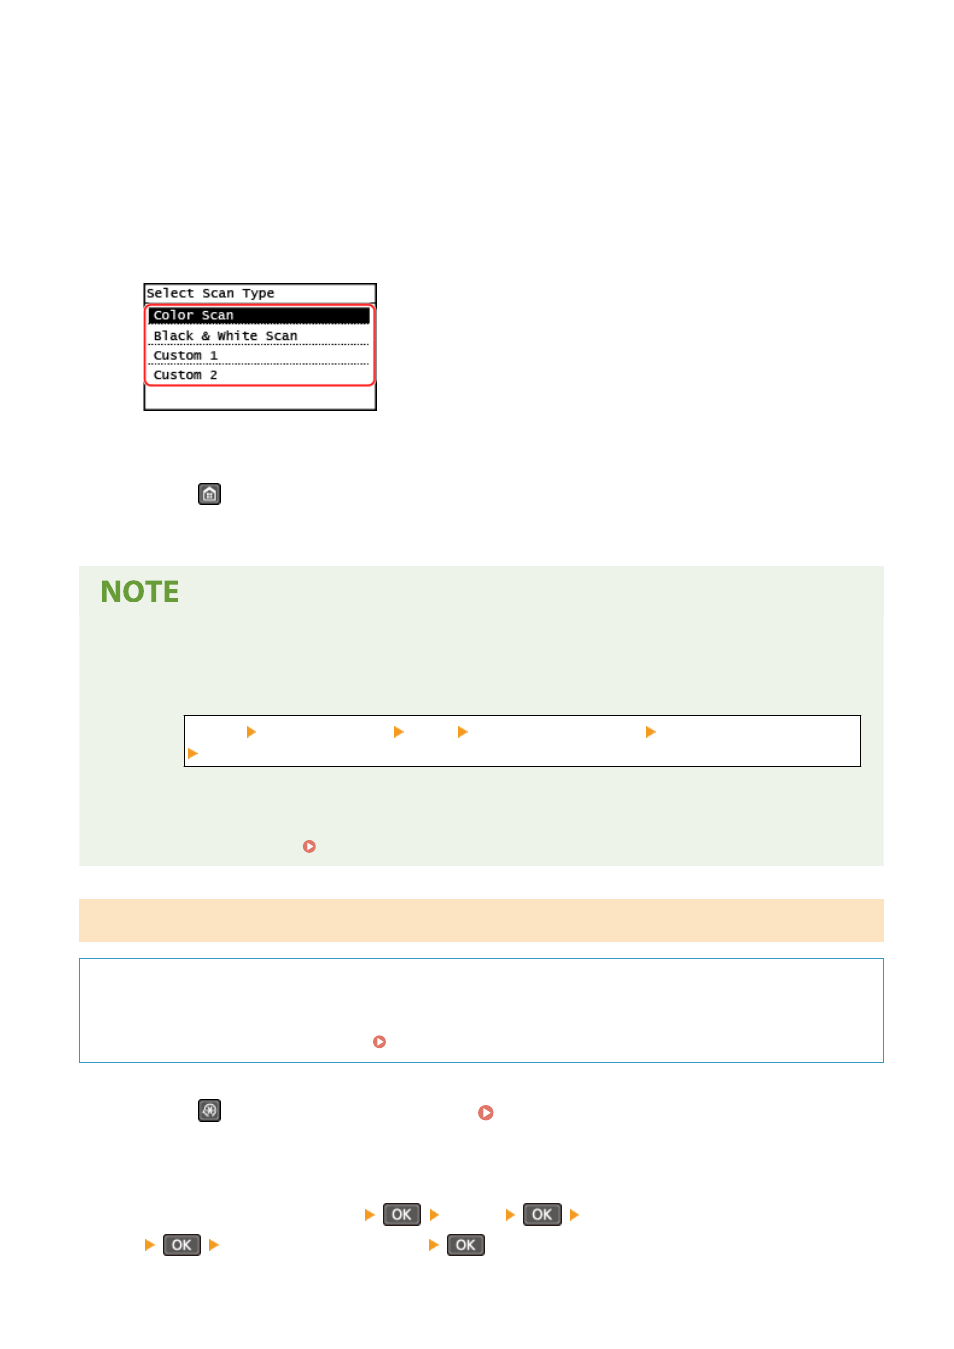
Select the scan type.
➠
The [Shortcut Key Settings] screen is displayed.
8
Press
on the control panel.
➠
The [Home] screen is displayed.
Confirming the registered information of the shortcut key
●
You can confirm the registered information of the shortcut key selected in Step 4 by selecting the shortcut
key on the screen displayed with the following steps:
[Menu] [Function Settings] [Send] [Scan and Send Settings] [Shortcut Key Settings]
[Confirm Destination] from the [Home] screen
Checking or Changing Scan Setting or Save Location
●
You can check and change the scan setting selected in step 7 by using the MF Scan Utility on the computer
used as the save location. Starting MF Scan Utility(P. 257)
5 Lines LCD Model
Required Preparations
●
Make preparations such as installing the scanner driver (ScanGear MF) and application (ScanGear MF) to the
computer used as the save location. Preparing to Save Scanned Data to a Computer(P. 229)
1
Press
(Menu) on the control panel. Control Panel(P. 14)
➠
The [Menu] screen is displayed.
2
Press [Function Settings]
[Send]
[Scan and Send Settings]
[Shortcut Key Settings]
.
Scanning
232