When using macos(p. 283) – Canon imageCLASS MF264dw II Multifunction Monochrome Laser Printer User Manual
Page 292
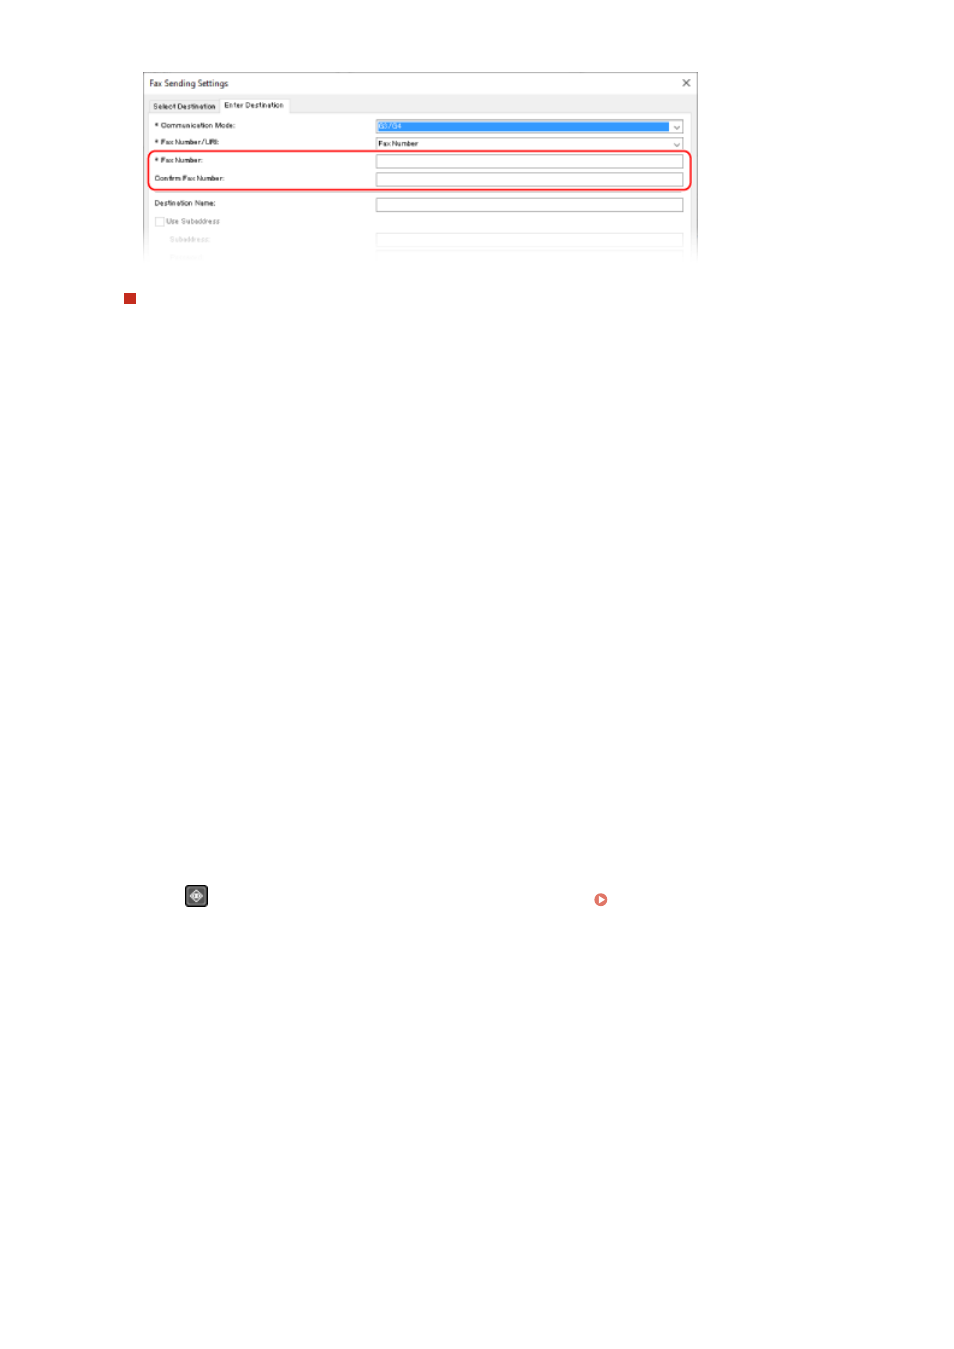
When Entering Multiple Fax Numbers
1
In [Select Destination] tab, click [Add Destination].
➠
The [Add Destination] screen is displayed.
2
Enter the destination name and fax number, and click [Add Next Destination].
When [Confirm Fax Number] can be entered, enter the same fax number.
3
Repeat Step 2, and after entering all destinations, click [OK].
5
Configure the cover sheet, the setting for saving the TX Job Log, and other fax
setting, as needed.
●
To configure the cover sheet details, click [Cover Sheet].
●
To save the TX Job Log to the computer, select the [Store Sent Fax Information and Image] checkbox.
●
For more information about the other fax settings, click [Help] on the [Fax Sending Settings] screen to display
help.
6
Click [Send].
➠
A screen confirming the send destination is displayed.
7
Check that the destination is correct, and click [OK].
➠
The fax is sent via the machine.
●
Press
on the control panel to view the sending status and log. Checking the Status and Log for Sent
●
When sending a fax with the [Store Sent Fax Information and Image] checkbox selected, you can view the log
also from the [Sent Fax Information and Image] tab of the fax driver.
◼
When Using macOS
1
Open the document you are sending on your computer.
2
In the application used to open the document, click [Print].
➠
The printing dialog box appears.
Faxing
283