CONTA-CLIP CONTA-Sign 5.2 User Manual
Page 43
Page 43 of 67
The next thing to do is to define the strip parameters:
First select the alignment of the strip. Lay the strip(s) vertically or horizontally on the
plotter.
Then enter the length and width of the strip, followed by the number of strips lying on
the plotter.
By using the Take measurements function, it is easy to calculate the start coordinates
and the strip spacing. Proceed exactly as described in the previous section.
After you have measured the strips and pressed Apply, you can specify a layout for
the strips in the right-hand section of the window.
You can subdivide the individual strips using horizontal and vertical scale factors.
First, if required, divide the strips into horizontal sections.
First define the height of the first section, by entering the height in mm in the
> Partition 1 field. The remaining height is then transferred into > Partition 2. In this
way, you can subdivide the strips into a maximum of 5 sections. When you have
finished dividing them up into sections, first click on the Apply button. This completes
the horizontal subdivision.
Next, you can make a vertical subdivision for each section. Click on Crosswise for the
relevant strip.
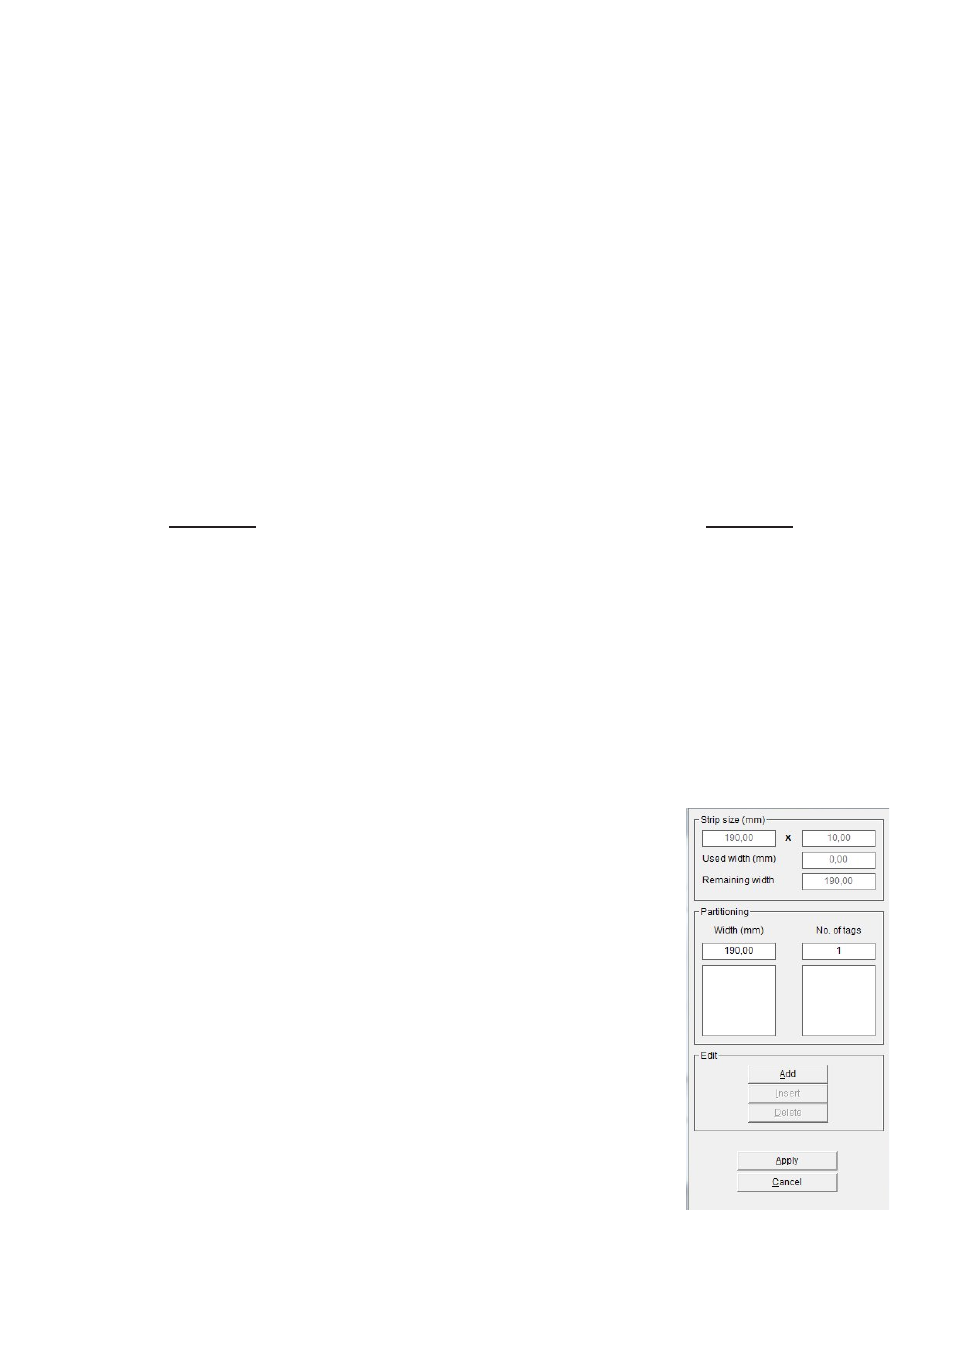
Then the following window opens up:
To enter the required subdivision of the strip, proceed as
follows:
First enter the width and then the number of tags.
By clicking on the Add button, the data are transferred to the
field below. If the strip is not yet fully divided up, you will be
shown the length of strip that is still available. Now you can
specify other tag widths.
When you click on Apply, the program takes you back to the
previous window and displays the subdivision that you have
specified.
In this way you can subdivide the individual sections using
different tag widths in succession as required.