CONTA-CLIP CONTA-Sign 5.2 User Manual
Page 51
Page 51 of 67
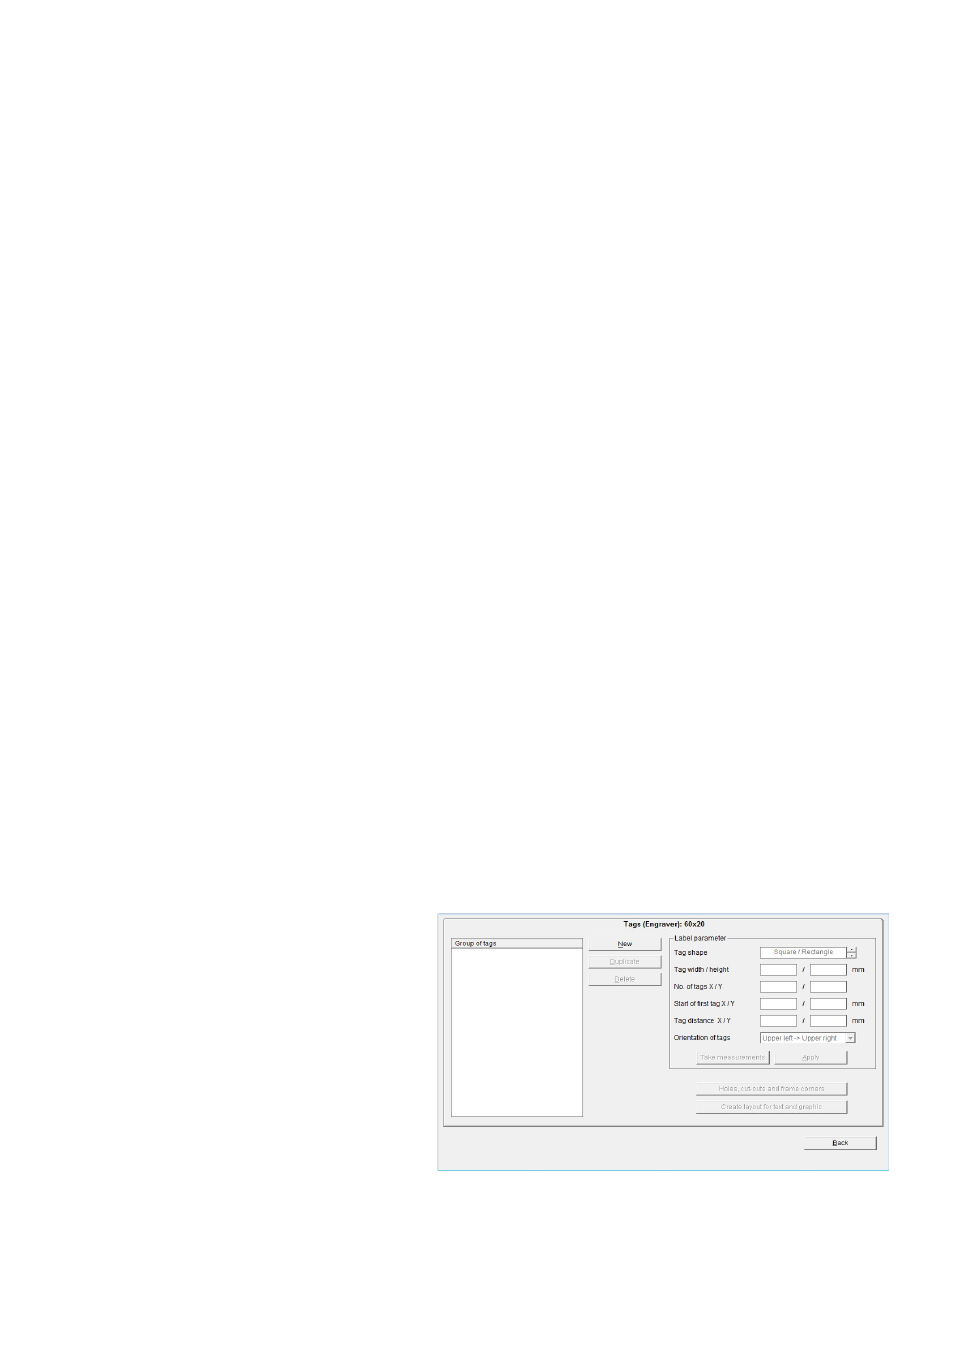
Having completed the engraving tags, you now also have the option of positioning text
fields and graphic elements on the tags. Creating text fields like this is always useful if
you want to divide the tag up into different fields, so that you can later produce
different text sizes, font types or symbols on the tag.
To do this, click on the Layout for text and graphics button.
See Section 10 of this manual for a description of how to set up a layout.
After you have specified the design and, if you wish, also the layout, click on Back to
close the Designer or Layouter.
The program takes you back to the main window, which you can then close by clicking
on the Close button.
You can select the engraving element you have created in the folder
> User defined under > Manufacturer and call it up for engraving
11.2.2 Design tags within multiple groups
To set up groups of tags of different sizes, you proceed exactly as described in the
previous section.
In order to assign the tag groups, on the left of the window you must specify
appropriate names for the different tag groups. Once you have specified the name for
a tag group, you can then enter the tag parameters and measure the tags and then, if
you wish, add holes, cut-outs and radii.
Then a layout can be created.
When you have finished one tag group, you can set up
more tag groups.