CONTA-CLIP CONTA-Sign 5.2 User Manual
Page 64
Page 64 of 67
13.5 Calibrating plotter versions
There is usually no need to calibrate the plotter, as all devices are calibrated at the
plant. However, if small deviations occur when printing (labeling is not properly
centered on the tag), there is an option to make small adjustments using manual
calibration. In order to reposition lettering, proceed as follows:
Note:
Make sure that the plotter’s writing arm is able to move freely and that there are
no obstructions, such as a ballpoint pen, on the plotting surface. Follow the menu path
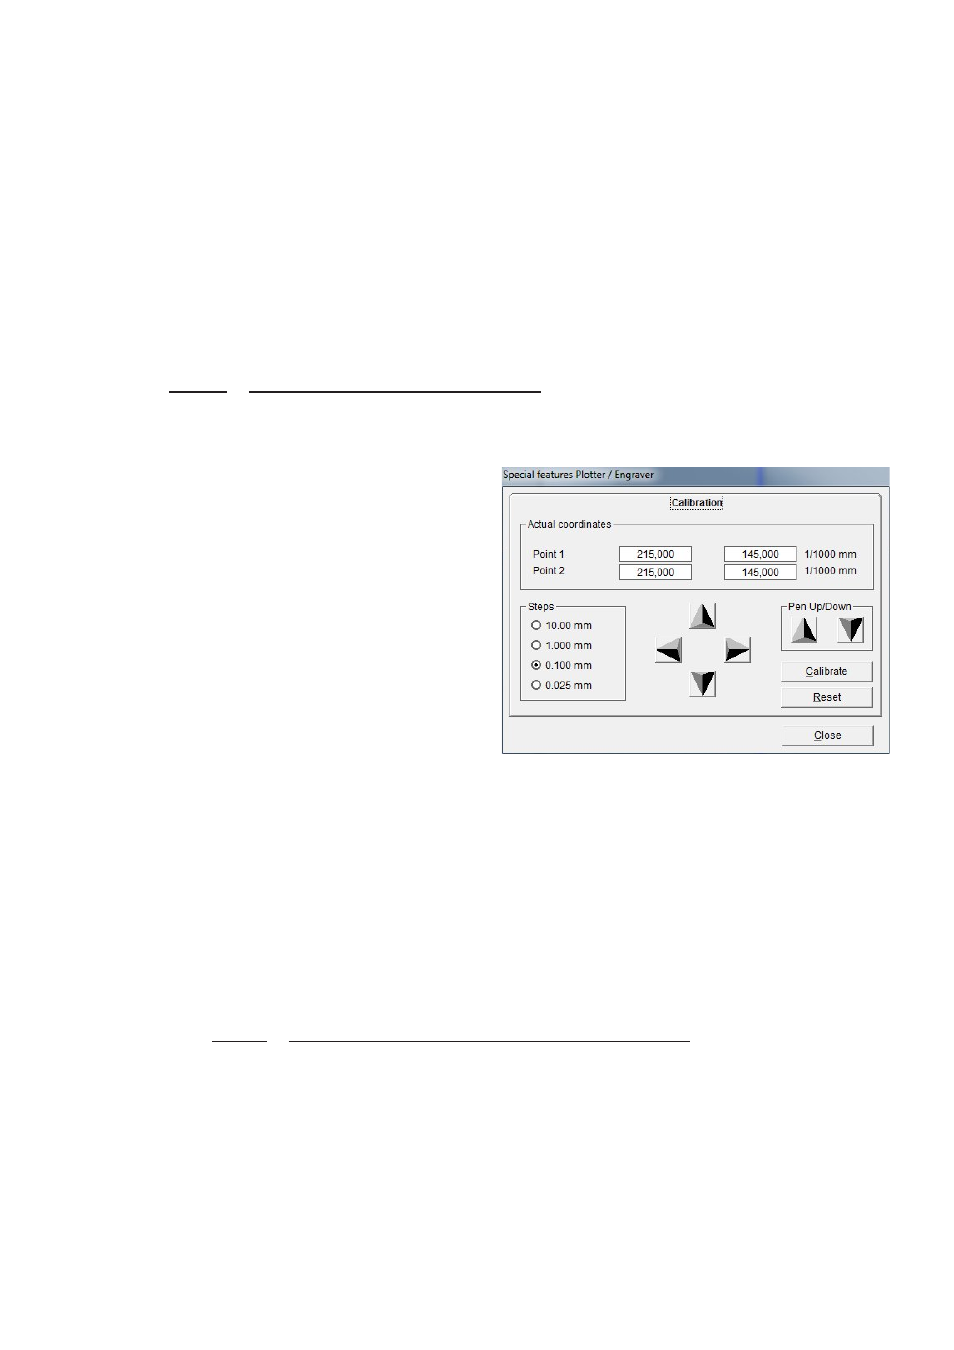
> Output > Special features Plotter / Engraver. The Calibration tab will appear.
The writing arm moves to a preset
starting position and four cursor
buttons appear in the menu for you to
press in order to move the plotter's
writing arm.
The step size can be changed within a
range of .025 mm to 10 mm. The default
step size is set at .1 mm.
Reposition by moving to the right or to
the left, up or down, by clicking on the
relevant cursor buttons.
Each click of the cursor button will move the writing arm by the step distance, in this
case .1mm.
After completing the adjustment, you need to click on the Calibrate button in order to
apply the new data. After you have successfully completed calibration, close the
window.
You can repeat this step as many times as you like until you achieve an optimum
output.
Click on the Reset button to go back to the original settings.
Check the position always on the upper left tag
(see > Extras > Shift of start point and correction of scale factor).