Create an audio processor – Omnia Audio Omnia A/XE User Manual
Page 22
16 | Getting Started
tion. If you see this message and still need additional audio sources, please purchase an
additional license.
4. When done, click the
Main
link or use the
Back
button to return to the
Control Panel
page.
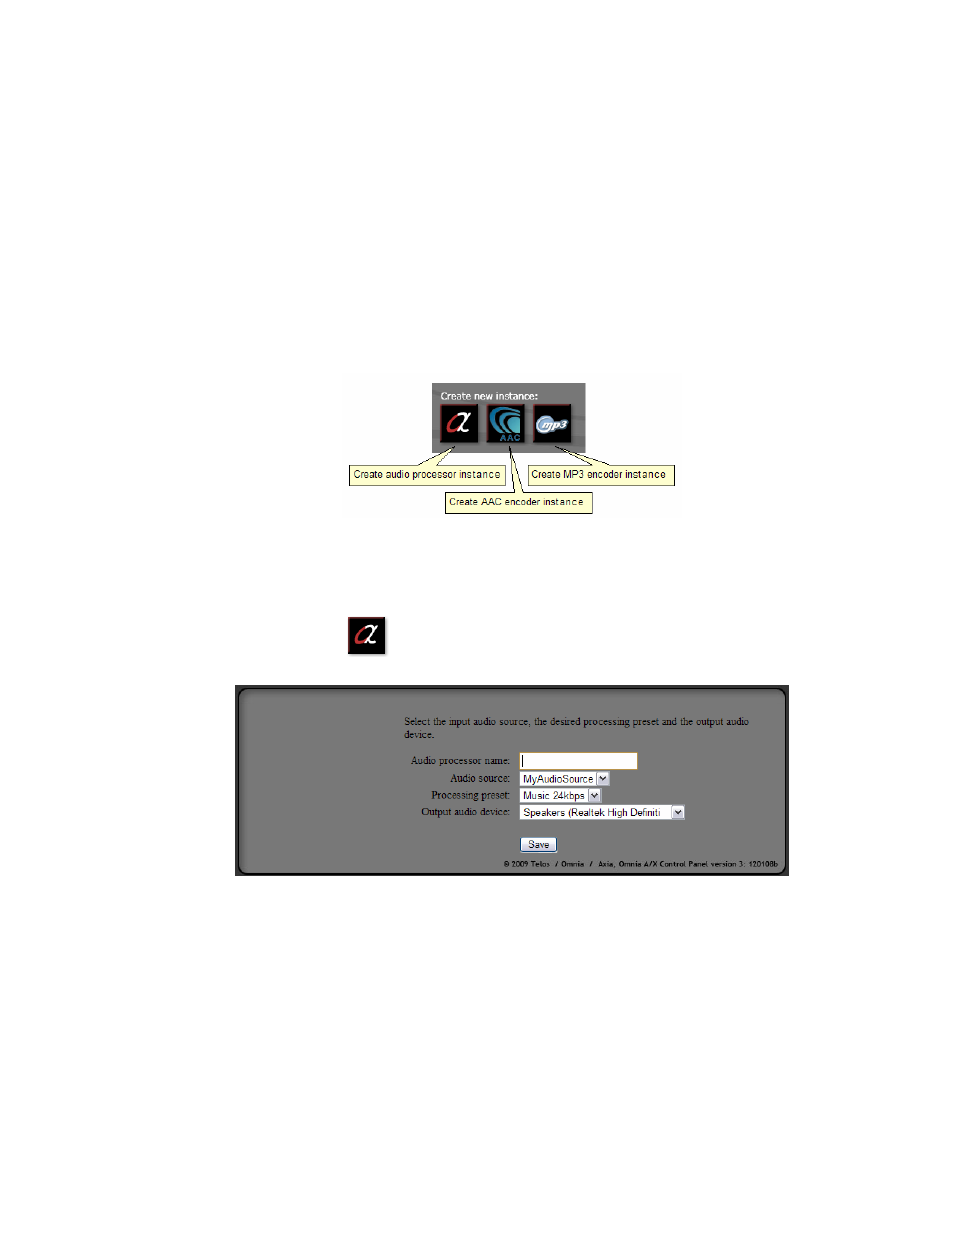
Create an Audio Processor
The three buttons on the Control Panel page allow you to create audio processor instances
and AAC or MP3 encoder instances. You may create multiple instances of each to suit your
needs.
An audio processor instance accepts audio from an audio source, applies Omnia processing
to it then sends it out to an audio device on the PC. If you need to create an audio processor
then follow the steps below.
1. Click this button
to create an audio processor instance. The following page will be
displayed:
2. Enter a name for the audio processor. You may use letters and digits along with under-
score characters if needed. Please do not use other special characters in the name.
3. In the
Audio source
drop down select the audio source you wish to use. Select the
processing preset from the
Processing preset
drop down then the output audio device
from the
Output audio device
drop down list.
4. Click the
Save
button. You have just created an audio processor instance. When the
Control Panel page is displayed you will see the audio processor instance you have just
created: