Send to shoutcast server – Omnia Audio Omnia A/XE User Manual
Page 41
HTTP Stream Server
The HTTP server choice will send the stream to the Omnia A/XE’s built in stream server.
This server will allow you to monitor the encoded stream directly from the source PC. This
is often helpful in troubleshooting server connections or just as a quick way to test that
everything is working as expected. The HTTP server is also useful when adjusting audio
processing parameters as the audio delay should be smaller than listening to the stream
delivered through an external server. As mentioned previously, the internal stream server is
not intended to support large numbers of listeners. Always use a dedicated media server to
deliver the streams to large numbers of listeners.
When you select this choice you will see the following
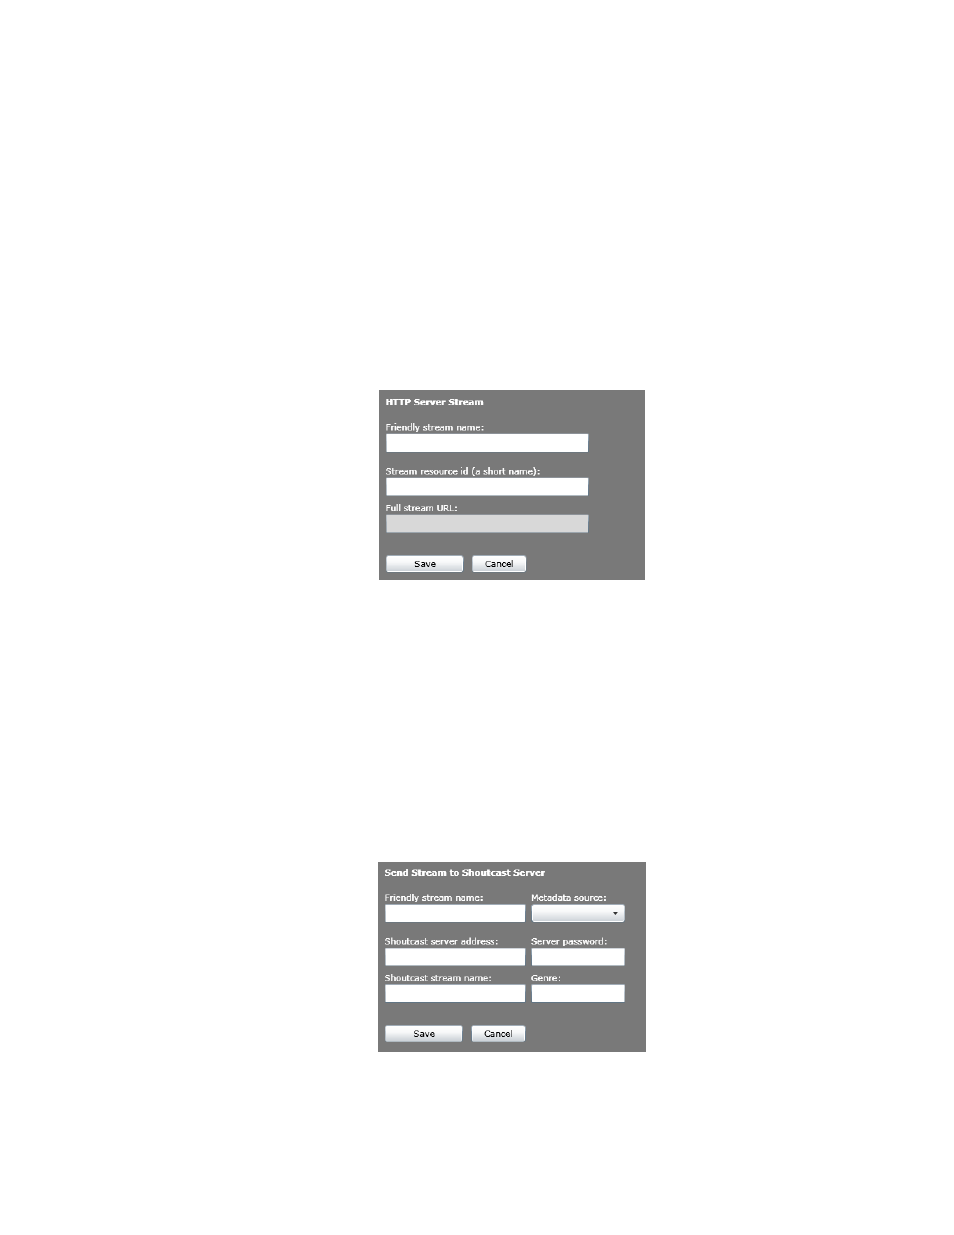
HTTP Server Stream
dialog:
1. Enter a friendly stream name in the first text box. You may use letters, digits, spaces and
the underscore character in the name but please avoid special characters.
2. Next, select a resource ID for the stream. The resource ID will become part of the URL
you will use to reach this stream. For example, if the stream server is active on port 8080
and you use a resource ID of “stream1” then you would listen to this stream by entering
http://ip_address_of_pc:8080/stream1
in your media player. The
Full stream URL
will
display an example of the full URL you can use to listen to this stream.
3. When done, click the
Save
button. The stream will appear in the streams list on the left.
Send to SHOUTcast server
This option will send the stream to a SHOUTcast-compatible server.
1. Enter a friendly stream name. You may use letters and numbers but please avoid special
characters.
2. Select a metadata source from the drop down list. If no metadata sources have yet been
dELIVEr ThE ENCOdEd STrEAM | 35