Manual tab/stamp positioning features – Rena T-750 User Manual
Page 25
SETUP AND OPERATION
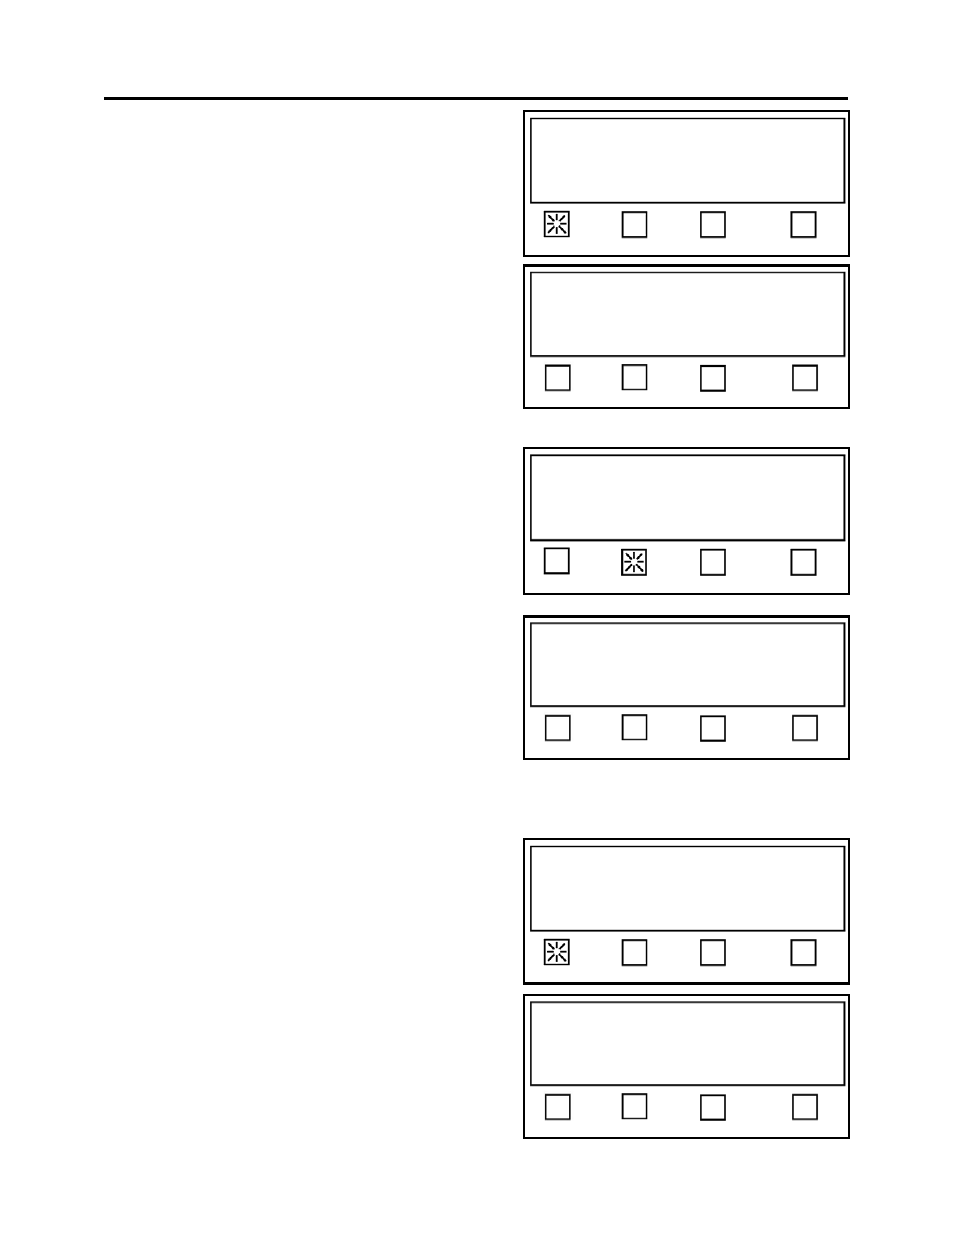
Select program mode Job# or Automatic.
Status: Mode
Job # Auto Pos. EXIT
Manual Tab/Stamp Positioning Features
When the Job # soft key is pressed, from the Mode
menu, this puts the tabber into “manual positioning
mode”. In this mode the operator must manually set
the offset value (tab position) for each of the
tabs/stamps.
The display will prompt you to select the Job# you
wish to use or edit.
When a Job number is selected, the display will
prompt you to select the number of tabs, offset values
for each tab, and type of backing being used.
In our example, we are selecting Job # 2 using
the soft key 2.
Select Saved Job # (1-4), or
Press RUN to tab using Job 1
Status: Job #
1 2 3 4
Select Saved Job# (1-4), or
Press RUN to tab using Job 1
Status: Job #
1 2 3 4
# Tabs - This soft key is used to select the
number of tabs you wish to apply on each mail
piece.
Select option to edit, or
Press RUN to tab using Job 2.
Status: Setup
# Tabs Offset Backing EXIT
Offset - This soft key is used to set the Offset
value (starting position from leading edge) for
each tab/stamp.
Backing -
This soft key is used to set the type
of tab/liner material that is being used, and
the Pitch of the tab.
EXIT –
Brings you back to the “Select program mode Job# or Automatic”
screen/selections (shown at top of page).
Select option to edit, or
Press RUN to tab using Job 2.
Status: Setup
# Tabs Offset Backing EXIT
If the # Tabs soft key is pressed.
The display will prompt you to select the
number of tabs/stamps you would like applied
each mail pi
to
ece.
1 – Selects one tab/stamp
2 – Selects two tabs/stamps
Press 1, 2 or 3 for the number of tabs.
Current Value: 2
Status: Pieces: 0
1 2 3 EXIT
3 – Selects three tabs/stamps
EXIT –
Brings you back to the previous
screen.
25