Rena T-750 User Manual
Page 26
SETUP AND OPERATION
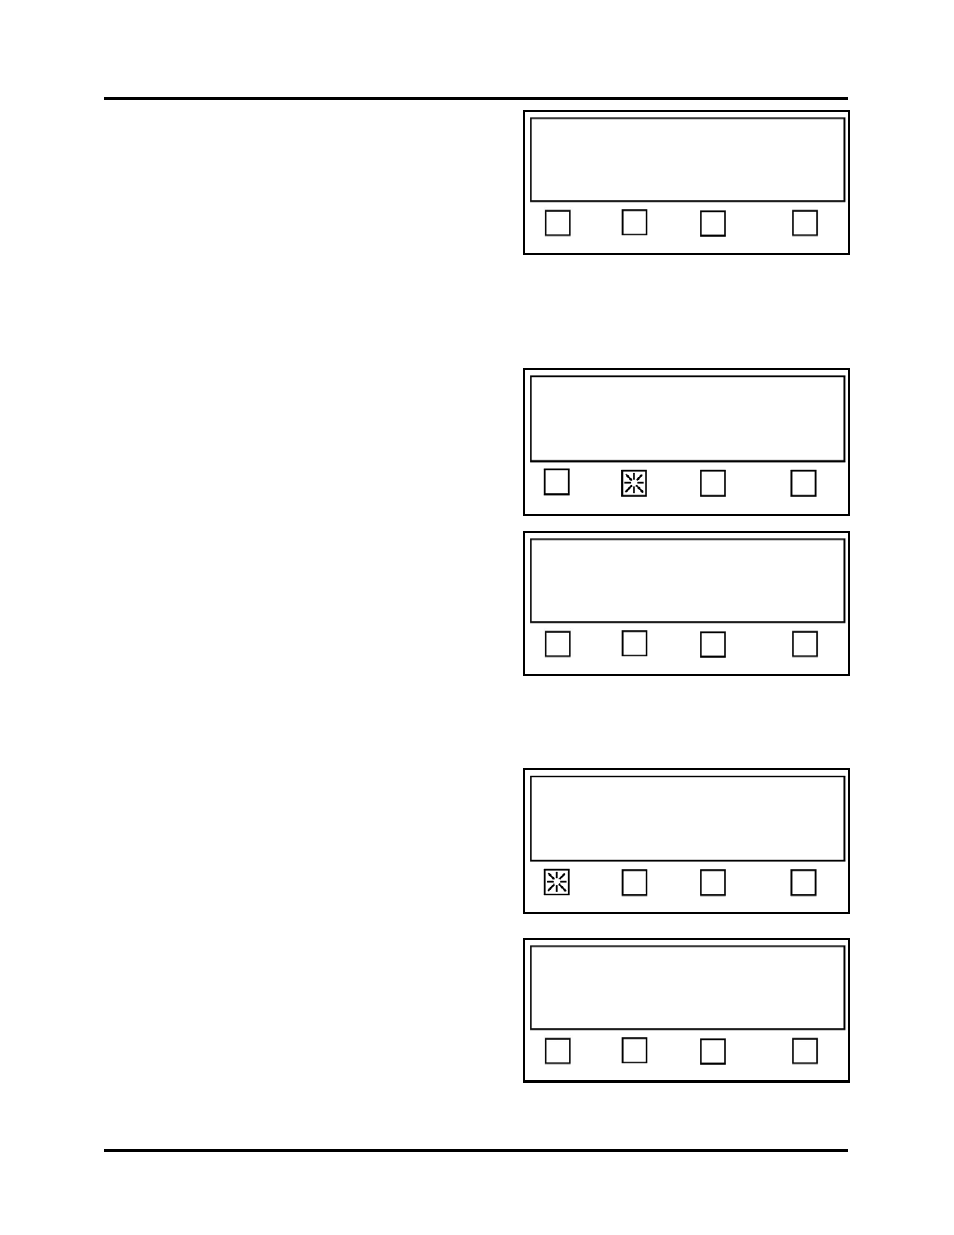
Choose tab placement
Status:
Separate Together EXIT
If you select 2 or 3, for # Tabs, you will be
prompted to choose tab placement.
Separate – Allows individual adjustment of
each tab/stamp position via the Offset value.
Together – Tabs/Stamps are placed next to
each other, starting at the Offset value you
set for Tab 1.
EXIT –
Brings you back to the previous screen.
If the Offset soft key is pressed.
The display will prompt you to set the Offset
value (starting position from leading edge) for
each tab/stamp.
Select option to edit, or
Press RUN to tab using Job 2.
Status: Setup
# Tabs Offset Backing EXIT
Offset Value = distance from leading edge of
mail piece to leading edge of tab.
Tab 1 – Use this soft key to set the offset value
for tab/stamp 1.
Select tab offset to edit
Tab 1 Tab 2 Tab 3 EXIT
Tab 2 – Use this soft key to set the offset value
for tab/stamp 3.
Tab 3 – Use this soft key to set the offset value
for tab/stamp 3.
EXIT –
Brings you back to the previous
screen.
If the Tab 1 soft key is selected then you will be asked to enter the offset value for Tab 1.
In the following example, # Tabs was set to 3.
Note: The number of tab choices, you are presented
with, is based off the “# Tabs” and the “tab
placement” (separate, together), that you previously
selected. If # Tabs was set to 1 or tab placement
“together” was selected; you will be prompted to
‘Enter tab offset 1…”, as soon you press the Offset
key.
Enter the desired offset value for Tab #, using the
numeric keypad.
Then press the SAVE button.
Press EXIT.
Repeat this process for each tab/stamp position.
Select tab offset to edit
Tab 1 Tab 2 Tab 3 EXIT
Enter tab offset 1 and press SAVE key:
0.0”
Current Value: 4.000”
EXIT
T-750 Tabber Operations Rev. 3/4/08
26