Rena T-750 User Manual
Page 36
SETUP AND OPERATION
black backing (liner) and a white line (space) between each tab.
Position a tab and backing (liner) under the tab sensor. When the voltage “V=” reaches
the highest voltage obtainable, press the Tab V soft key. In our example, the voltage was
1.67 volts.
4. The next step is to adjust the Backing V.
In this example, the space between the tabs
is white; therefore, the voltage setting for
this adjustment should be lower than the
one for the tab on the backing material.
Pull the tab back until you obtain the
lowest voltage reading for “V=”. Then
press the Backing V soft key to register
that voltage into the memory. In our
example, this voltage was 0.11.
Tip: In some cases you may find it necessary to set the Backing V voltage using the
narrow gap between tabs, instead of using a large area of backing (liner) with no tabs
attached. This can be done by pulling the tab stock forward, until the gap between two
tabs is centered in the sensor and the lowest voltage is obtained. Then press Backing V.
NOTE: A tab with a white backing and a black line between each tab the numbers will
be reversed. The Tab voltage will be lower than the Backing voltage.
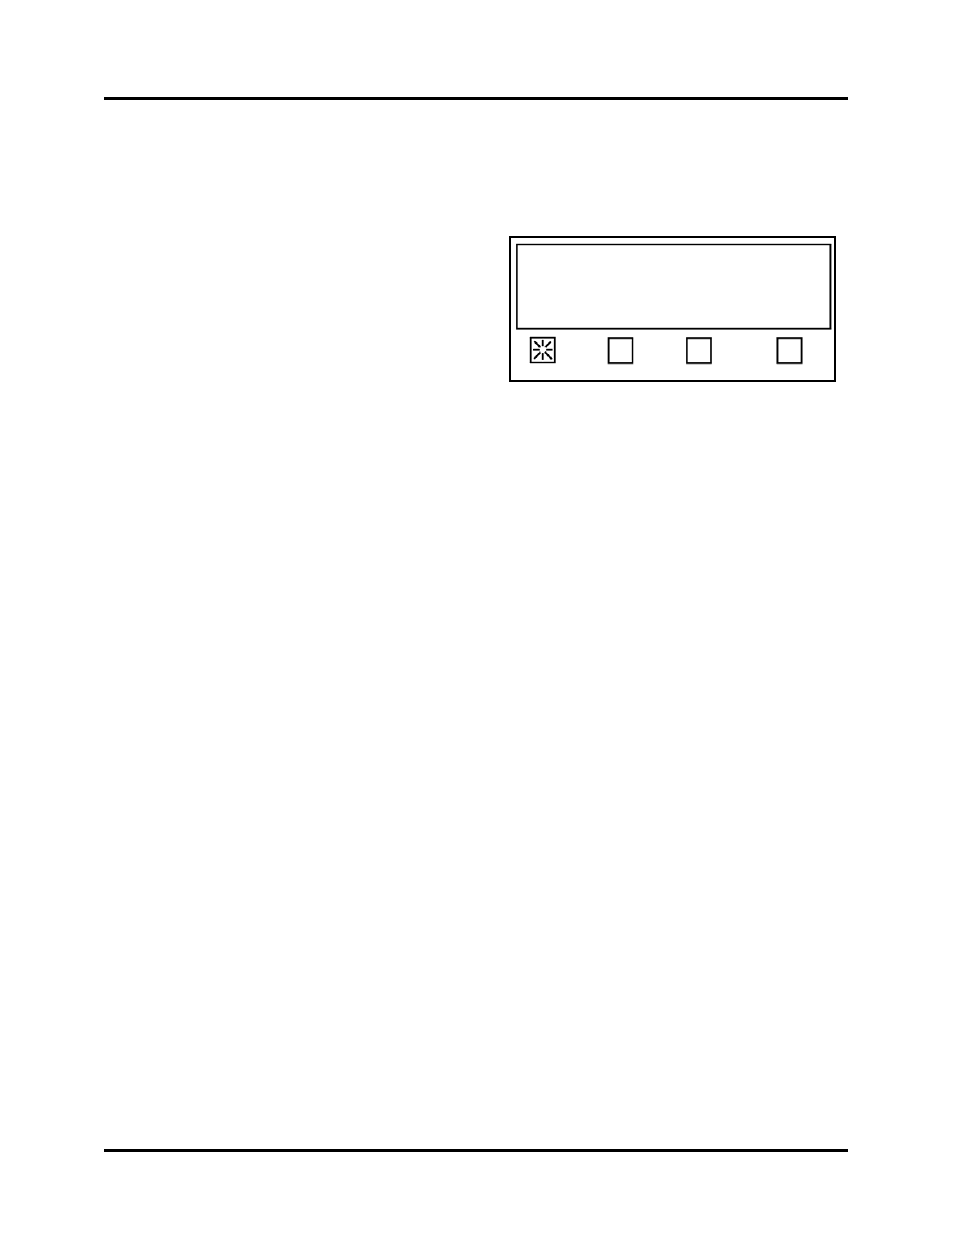
Tab Sensor setup. Press EXIT when done.
V=0.11, Trip=0.89, Backing=0.11, Tab=1.67
Status: Advanced
Backing V Tab V Automatic EXIT
5. Press the EXIT soft key twice to return to the Start-Up screen.
6. Test the T-750 for proper operation. If you experience tab advancement or positioning
problems, verify proper transport setup, media length, tab liner type and tab pitch
settings.
Important! If the tab liner type or tab pitch values needed to be changed, then you will
need to repeat the tab sensor setup procedure.
T-750 Tabber Operations Rev. 3/4/08
36