3 smart booster documentation, 0 rc2500 interface to the aiu – Research Concepts RC2500 User Manual
Page 121
114
RC2500 Antenna Controller
Appendix K
Driving 36VDC Motors
Research Concepts, Inc. • 5420 Martindale Road • Shawnee, Kansas • 66218-9680 • USA
www.researchconcepts.com
J2 Terminal
Description
opto-coupler photo diode.
J2-8
Reset Input. Pull to ground to reset an alarm triggered by an
over-current condition. . Internally tied to 24 VDC through
2600 ohm in series with an opto-coupler photo diode.
2.3
Smart Booster Documentation
The following Smart Booster II documents can be found at the end of this section.
• Production Smart Booster II Schematic
• Schematic Showing Changes to the Smart Booster II input circuit.
• PCB Layout with Component Legend
• Circuit Board bottom side trace diagram showing cut traces and jumper locations.
• Data sheet showing the internal configuration of the Omron G6H type relay (K3 in the Smart Booster).
3.0 RC2500 Interface to the AIU
This section describes the interface of the RC2500 (running Vertex 7134 AIU software) to the Smart
Booster based AIU. This version of the RC2500 supports a number of features that are not needed for
this application.
All controller output signals are optically isolated pull down type current drivers. There are a number of
terminals dedicated to the return signals associated with these pull down drivers. The controller’s
unregulated 24 volts DC power supply and the associated return are available on the Auxiliary I/O
connector (J6). This voltage will be used to power the control loop (i.e. provide current for the pull down
drivers).
The controller inputs are optically isolated. A current of approximately 1 milliamp (ma) will ‘turn the input
on’. Note that each input has a return associated with it. A given return may be connected to a number
of ‘inputs’.
Note that the documentation for the RC2500 states that J6 is the Antenna I/O connector and J7 is the
Auxiliary I/O connector. The labeling on the back of the controller lists J7 as the Antenna I/O connector
and J6 as the Auxiliary I/O connector. The back panel is correct.
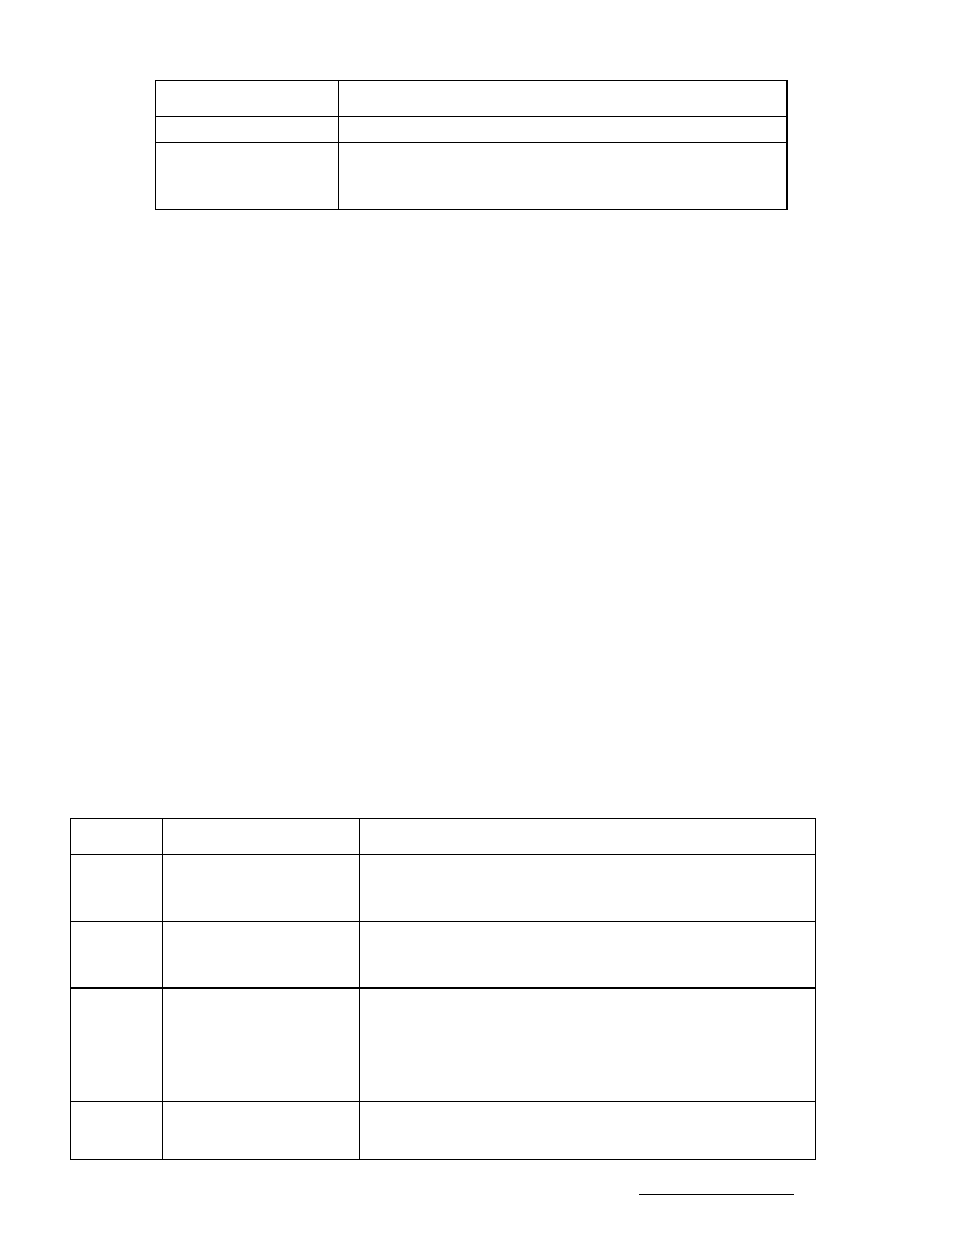
Here is a description of the signals present on the controller’s J7 connector (D25 male) …
Terminal
Signal Name
Description
1, 3, 4, 6,
7, 9
AZ CW, AZ CCW, EL UP,
EL DOWN, POL CW,
POL CCW respectively.
Pull down type current drivers. The controller turns the driver
ON to command the antenna to move in the direction
associated with the driver.
2, 5, 8
DRIVE COMMON
The return paths associated with the az, el, and pol drivers.
Note that this signal is also available on the controller’s
Auxiliary I/O connector (J6).
10
SUMMARY LIMIT
Summary Limit input. When the current to this terminal is
interrupted the controller assumes that one of the limit switches
is active. Not used with the 36 volt AIU. Tied to 24 VDC in this
design. Note that this signal is also present on the Auxiliary I/O
connector (J6). When this input is asserted the controller
displays the ‘Summary Limit’ alarm message.
11, 12, 13
NO CONNECTS
In this design these pins should be tied to the SUMMARY
LIMIT (24 VDC) via bus wire on the J7 mating connector.
Other circuits that require 24 VDC are tied to these terminals