Installing a power module, Installing a fip module – H3C Technologies H3C SR6600-X User Manual
Page 23
13
Installing a power module
Before you install a power module, make sure the power switch is off and the router is well grounded. The
procedures for installing an AC power module and a DC power module are the same. The following uses
an AC power module as an example.
1.
Locate the slot to install the power module.
{
To install the power module to slot PWR1, go to step 2.
{
To install the power module to slot PWR2, use a Phillips screwdriver to remove the filler panel
from the slot first. Keep the filler panel safe for future use.
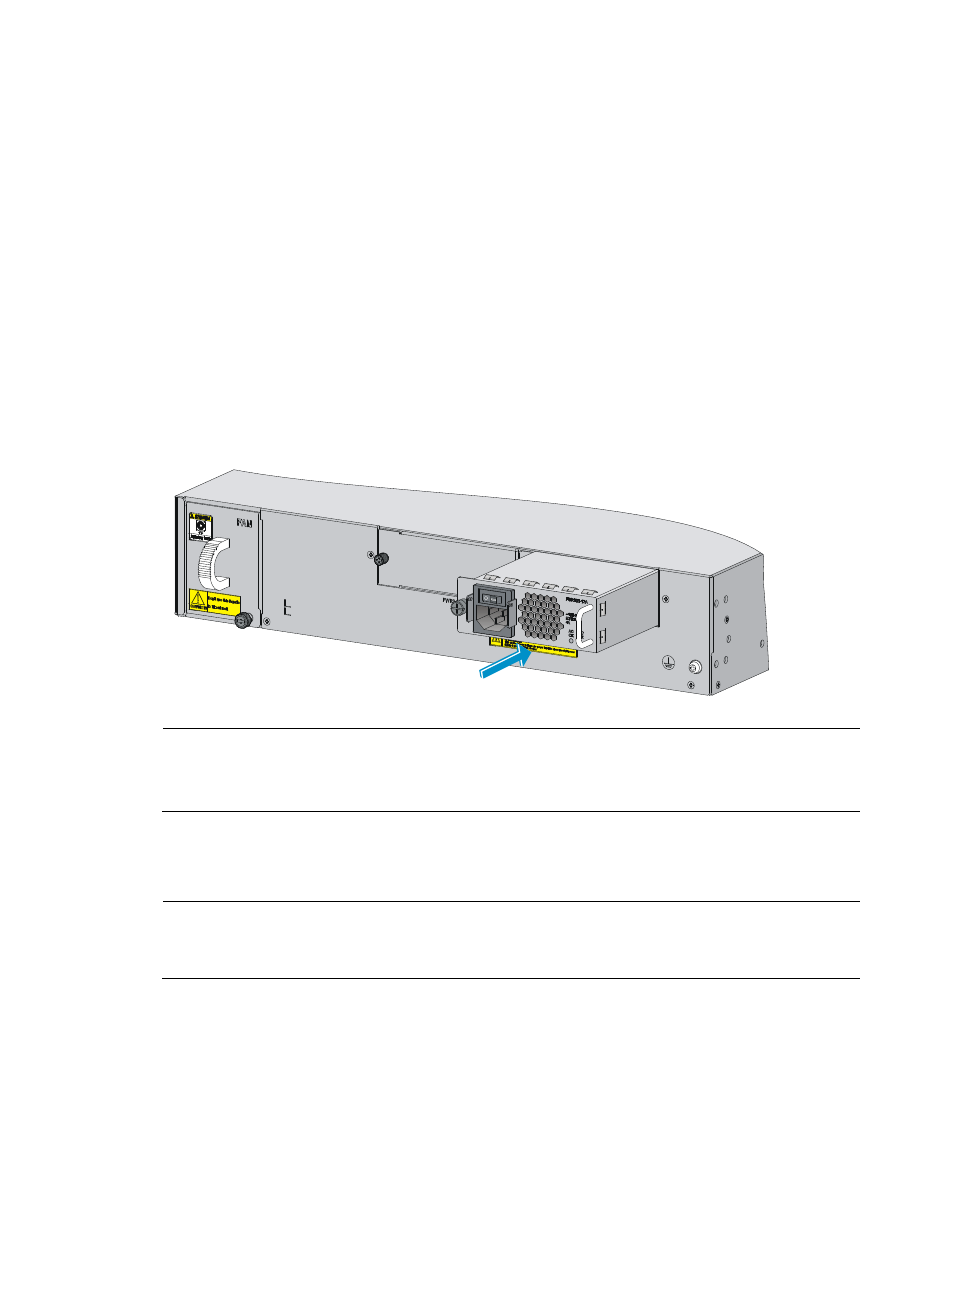
2.
Correctly orient the power module with the power module slot (see
of the power module with one hand and support its bottom with the other, and slide the power
module slowly along the guide rails into the slot.
3.
Fasten the captive screws on the power module with a Phillips screwdriver.
Figure 10 Installing the power module
NOTE:
•
For the power module LED description, see “
•
An AC power module and a DC power module cannot be installed on the same router.
Installing a FIP module
NOTE:
Before you install a FIP module, make sure that the ejector levers are in the open position away from the
FIP module panel.
The following uses a FIP-20 as an example.
1.
Locate the slot to install the FIP module, and remove the filler panel.
2.
Use a Phillips screwdriver to loosen the captive screws on the filler panel, and remove the filler
panel. Keep the filler panel safe for future use.
3.
Use even pressure to gently push the FIP module into the slot along the slide rails until positioning
pins on the backplane are seated in the positioning holes, and then push the ejector levers inward
to lock the FIP module in position.
4.
Fasten the captive screws on the FIP module with a Philips screwdriver.