RISCO Group ACUS User Manual
Page 21
ACUS Quick Start Guide
Uncontrolled
when
printed
©
RISCO
Group
20
Field Name
Description/ Procedure
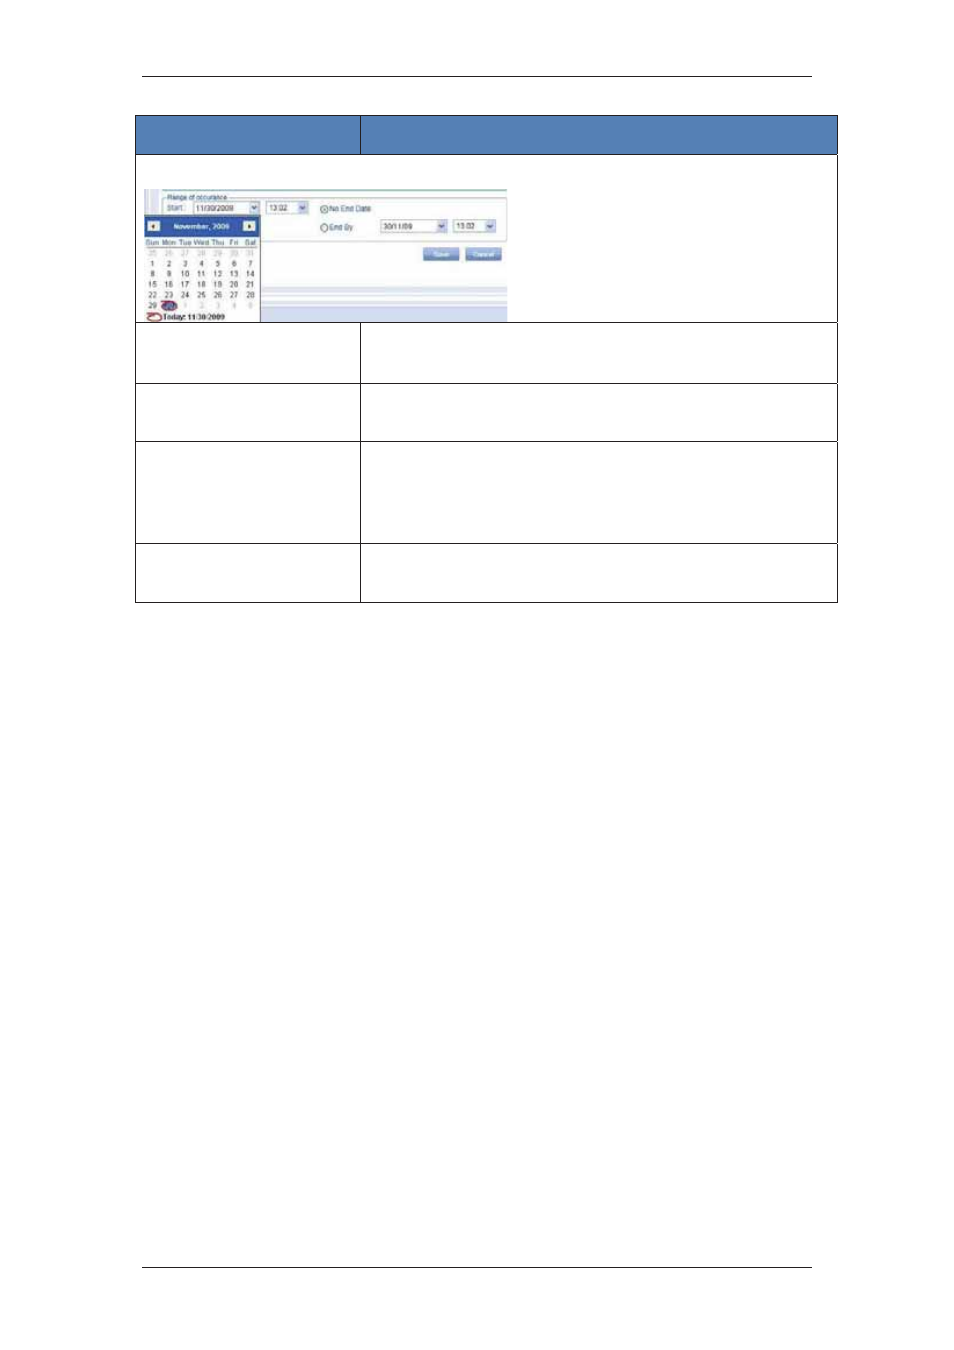
Range of occurrence
Start
Select the Start Date from the calendar.
Select the time when you want the automation to be executed
No End Date
Click No End Date option button if you do not want the schedule
to expire.
End By
Click End By option button if you want the schedule to be
expired on a particular day.
Select the Date and Time when the schedule has to be expired
from the drop-down lists.
Translation
Refer to section,
5 Managing Persons
in the
ACUS User
Manual
for details on how to translate the terms.
4. Click
Save. The message appears, “Schedule created successfully”.
The schedule is saved. After the schedule is saved, the Fixed Rules, Custom Rules and
Graph tabs appear. There is no data in these tabs as you have just created a schedule and
there is no rule assigned to it. For details on how to assign rules and select a schedule, refer
to section
7 Configuring Doors
in the
ACUS User Manual
.
For more details on how to define schedules and add special day groups, refer to the section,
11 Managing Schedules and Special Days
in the
ACUS User Manual
.